2013 Nissan Pathfinder Battery Replacement
Alright, let's talk about replacing the battery in your 2013 Nissan Pathfinder. It's a task that falls squarely within the capabilities of a moderately experienced DIYer, saving you some cash and giving you the satisfaction of tackling it yourself. This guide walks you through the process, highlighting important safety considerations and technical details specific to the 2013 Pathfinder.
Understanding Your Battery
Before we dive in, let's briefly touch on battery basics. The Pathfinder uses a 12-volt (12V) lead-acid battery. This voltage is crucial for powering the vehicle's starting system, electrical accessories (lights, radio, etc.), and providing a stable voltage supply to the electronic control units (ECUs). Think of the battery as a reservoir of electrical energy. Over time, through charging and discharging cycles, the battery's ability to hold a charge diminishes, eventually requiring replacement.
Signs your battery is failing include:
- Slow engine cranking: The starter motor struggles to turn the engine over.
- Dim headlights: Especially noticeable when the engine is idling.
- Frequent jump starts: You need to jump-start the vehicle regularly.
- Illuminated battery warning light: The dashboard light comes on, indicating a charging system issue, which often stems from a failing battery.
- Corrosion on battery terminals: White or bluish deposits accumulate around the terminals.
- Bulging or cracked battery case: This is a serious issue indicating internal damage and a potential safety hazard. Replace the battery immediately and with extreme caution.
Choosing the Right Replacement Battery
Selecting the correct replacement battery is critical. You need a battery that meets or exceeds the original equipment manufacturer (OEM) specifications. Look for these key parameters:
- Group Size: The Pathfinder typically uses a Group Size 35 battery. This dictates the physical dimensions of the battery, ensuring it fits correctly in the battery tray and the terminals align properly. Always confirm the group size in your owner's manual or by checking the label on your existing battery.
- Cold Cranking Amps (CCA): CCA measures the battery's ability to deliver a large burst of current at 0°F (-18°C) for 30 seconds. This is crucial for starting the engine in cold weather. Choose a battery with a CCA rating that meets or exceeds the OEM specification (typically around 640 CCA for the 2013 Pathfinder). Higher CCA is generally better, especially if you live in a cold climate.
- Reserve Capacity (RC): RC indicates how long the battery can supply a minimum current (typically 25 amps) before dropping below a usable voltage (10.5 volts). A higher RC provides more time to operate essential electrical systems if the charging system fails.
- Type (Flooded, AGM): The 2013 Pathfinder originally came with a flooded lead-acid battery. You can upgrade to an Absorbed Glass Mat (AGM) battery. AGM batteries are more resistant to vibration, have a longer lifespan, and offer better performance in extreme temperatures. However, they are typically more expensive. If you choose an AGM battery, ensure your charging system is compatible. While most modern vehicles will charge AGM batteries adequately, some older vehicles might not fully charge them, shortening their lifespan. Consider consulting a mechanic or reviewing your vehicle's electrical system specifications.
Tools and Materials
Before you begin, gather the necessary tools and materials:
- New Battery: Correct group size and CCA rating.
- Wrench Set: Typically 10mm and 13mm wrenches.
- Socket Set: Including extensions for reaching recessed bolts. 10mm socket is most common.
- Battery Terminal Cleaner: For cleaning corrosion from the terminals and cable connectors.
- Battery Terminal Protector Spray: To prevent future corrosion.
- Safety Glasses: Essential for protecting your eyes from battery acid.
- Gloves: To protect your hands.
- Baking Soda and Water: For neutralizing any spilled battery acid.
- Memory Saver (Optional): Plugs into the OBDII port to maintain the vehicle's electronic memory (radio presets, ECU settings, etc.) while the battery is disconnected.
- Shop Rags: For cleaning.
- Torque Wrench (Optional but Recommended): To ensure proper tightening of battery terminals. Consult your owner's manual or a reliable source for the correct torque specifications.
Safety Precautions
Working with car batteries can be dangerous due to the presence of sulfuric acid and the potential for electrical shock. Always follow these safety precautions:
- Wear Safety Glasses and Gloves: Battery acid can cause severe burns.
- Work in a Well-Ventilated Area: Batteries can release explosive hydrogen gas.
- Never Smoke or Use Open Flames Near a Battery: The hydrogen gas is highly flammable.
- Disconnect the Negative (-) Terminal First: This prevents accidental short circuits.
- Avoid Touching Metal Tools to the Battery Terminals Simultaneously: This can cause a dangerous short circuit.
- If Battery Acid Contacts Your Skin or Eyes, Flush Immediately with Water for at Least 15 Minutes and Seek Medical Attention.
- Properly Dispose of the Old Battery: Most auto parts stores will recycle old batteries.
Step-by-Step Battery Replacement
- Prepare the Vehicle: Park the Pathfinder on a level surface, engage the parking brake, and turn off the engine. Open the hood and secure it.
- Locate the Battery: On the 2013 Pathfinder, the battery is typically located under the hood, on the driver's side. Refer to your owner's manual if you are unsure of its location.
- Disconnect the Negative (-) Terminal: Using a wrench (usually 10mm), loosen the nut on the negative (-) battery terminal clamp. Carefully remove the clamp from the terminal. Important: Tuck the cable away from the terminal to prevent accidental contact.
- Disconnect the Positive (+) Terminal: Repeat the process for the positive (+) battery terminal. Important: Be extra cautious not to allow the wrench to contact any metal parts of the vehicle while connected to the positive terminal, as this can cause a short circuit.
- Remove the Battery Hold-Down: The battery is secured in place by a hold-down, which may be a strap, clamp, or bracket. Locate and remove the hold-down using the appropriate wrench or socket. Note how it's installed so you can re-install it correctly.
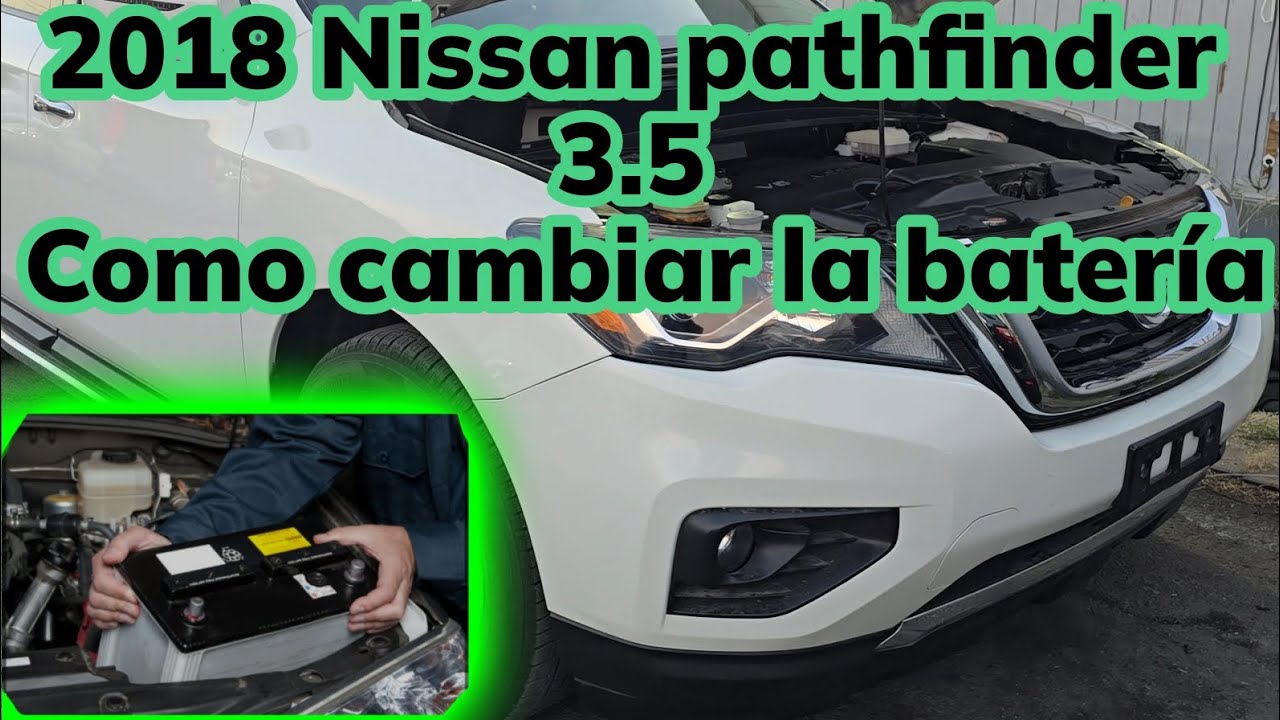
- Lift Out the Old Battery: Carefully lift the old battery straight up and out of the battery tray. Batteries are heavy, so use proper lifting techniques to avoid back injury.
- Clean the Battery Tray and Terminals: Use a brush and a solution of baking soda and water to clean any corrosion from the battery tray and terminals. Rinse with clean water and dry thoroughly. Use a battery terminal cleaner to clean the inside of the terminal clamps.
- Install the New Battery: Carefully lower the new battery into the battery tray, ensuring it is oriented correctly (positive and negative terminals in the correct position).
- Secure the Battery Hold-Down: Reinstall the battery hold-down, making sure the battery is securely fastened.
- Connect the Positive (+) Terminal: Attach the positive (+) battery terminal clamp to the positive (+) terminal. Tighten the nut securely. Use a torque wrench to tighten to the manufacturer's specified torque (if available, typically around 5-7 ft-lbs). Do not overtighten!
- Connect the Negative (-) Terminal: Attach the negative (-) battery terminal clamp to the negative (-) terminal. Tighten the nut securely, again using a torque wrench if possible, to the same specification as the positive terminal. Do not overtighten!
- Apply Battery Terminal Protector: Spray a thin coat of battery terminal protector on the terminals to prevent corrosion.
- Verify Proper Connection: Double-check that all connections are secure and that the battery hold-down is properly installed.
- Start the Vehicle: Start the engine to ensure the battery is properly connected and the charging system is functioning correctly.
- Reset Electronic Systems (If Necessary): If you did not use a memory saver, you may need to reset some electronic systems, such as the radio presets and the power windows. Refer to your owner's manual for instructions.
- Dispose of the Old Battery Properly: Take the old battery to an auto parts store or recycling center for proper disposal.
Troubleshooting
- Engine Won't Start: Double-check the battery connections to ensure they are clean and secure. Also, ensure the battery is fully charged. If the engine still won't start, there may be a problem with the starter motor or other starting system components.
- Battery Light Stays On: This indicates a problem with the charging system. Have the alternator and charging system checked by a qualified mechanic.
- Corrosion Reappears Quickly: Ensure the battery terminals are clean and protected with battery terminal protector. If corrosion persists, there may be an overcharging issue, indicating a problem with the alternator.
By following these steps and taking the necessary safety precautions, you can successfully replace the battery in your 2013 Nissan Pathfinder. Remember to consult your owner's manual for specific information about your vehicle. If you are uncomfortable performing this task, it is always best to seek the assistance of a qualified mechanic.