2013 Nissan Sentra Fuse Box Location
The 2013 Nissan Sentra, a reliable and fuel-efficient compact car, relies on a network of fuses to protect its electrical systems. When experiencing electrical issues, such as non-functioning lights, a dead radio, or a malfunctioning power outlet, checking the fuses is often the first and easiest troubleshooting step. This article will guide you through locating and understanding the fuse boxes in your 2013 Nissan Sentra.
Understanding Fuse Boxes: Your Sentra's Electrical Guardian
Before diving into the specific locations, it's important to understand the function of a fuse box. Think of it as your Sentra's central electrical control panel. It houses multiple fuses, each dedicated to protecting a specific circuit. A fuse is a safety device designed to break (or "blow") when the electrical current exceeds a safe level. This prevents damage to the wiring and components connected to that circuit. Replacing a blown fuse with the correct amperage rating is a simple and cost-effective way to restore functionality to a specific electrical system.
Why Check the Fuses?
Electrical problems are frustrating, but often the solution is a simple blown fuse. Checking the fuses before resorting to more complex diagnostics can save you time and money. If an electrical component suddenly stops working, consider these possibilities:
- A surge in electrical current caused by a faulty component.
- A short circuit in the wiring.
- Overloading a circuit by plugging too many devices into a power outlet.
Ignoring a blown fuse can lead to further problems, potentially damaging the wiring or other electrical components. That's why understanding the location and function of your Sentra's fuse boxes is crucial.
Locating the Fuse Boxes in Your 2013 Nissan Sentra
The 2013 Nissan Sentra has two primary fuse box locations:
- Inside the Vehicle (Driver's Side): This is the main fuse box and controls many of the vehicle's interior electrical systems.
- Engine Compartment (Near the Battery): This fuse box houses fuses related to the engine, starting system, and other critical components.
1. Interior Fuse Box Location and Access
The interior fuse box in the 2013 Sentra is typically located on the driver's side, underneath the dashboard. You'll likely need to crouch down and look up to find it. Here's a step-by-step guide to accessing it:
- Locate the Access Panel: Look for a small, rectangular access panel, often made of plastic, on the lower portion of the dashboard, close to the steering column.
- Open the Access Panel: The panel usually has a latch or a simple clip that you can release with your fingers or a small, flathead screwdriver. Carefully detach the panel to reveal the fuse box.
- Examine the Fuse Box Diagram: Once the panel is removed, you should see a diagram or label attached to the inside of the panel or on the fuse box itself. This diagram is crucial for identifying which fuse corresponds to which electrical component.
Important Tip: Before removing any fuses, make sure the ignition is turned off. This will prevent accidental short circuits and ensure your safety.
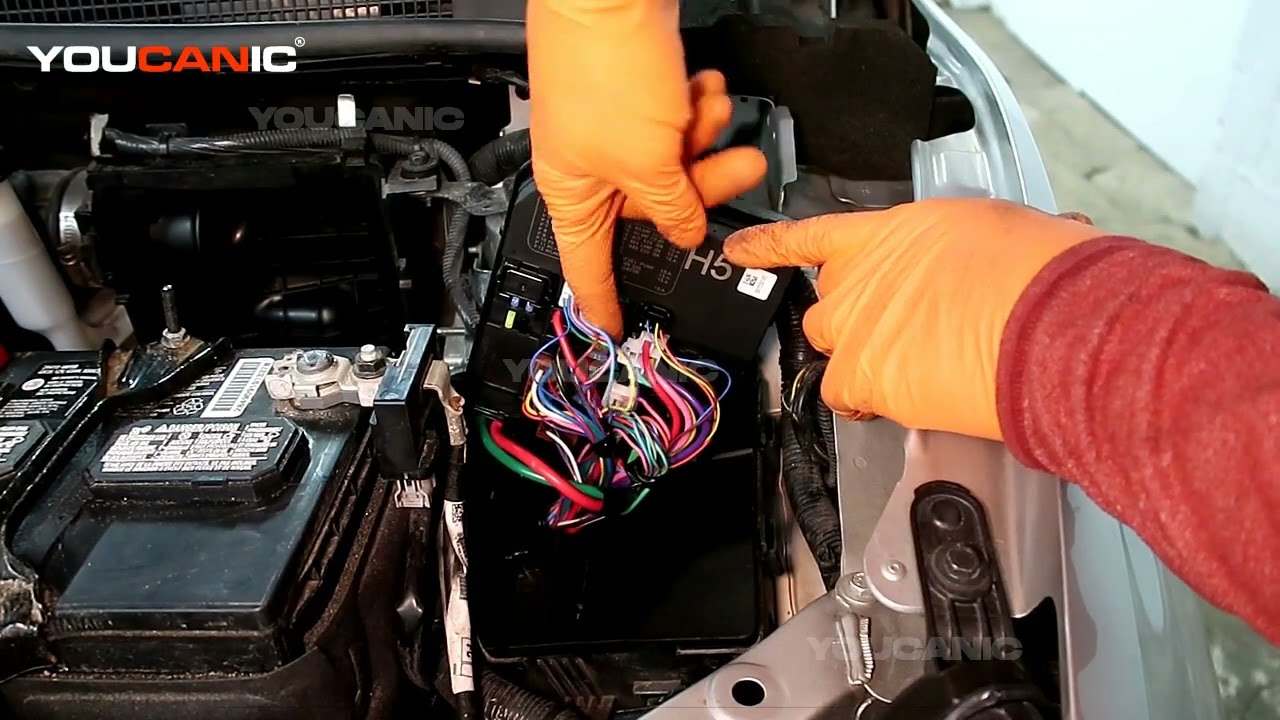
2. Engine Compartment Fuse Box Location and Access
The engine compartment fuse box is located within the engine bay, typically near the battery. Follow these steps to access it:
- Open the Hood: Securely open the hood of your 2013 Nissan Sentra.
- Locate the Fuse Box: Look for a black plastic box, usually labeled with a fuse symbol or a diagram. It's often situated near the battery or along the inner fender well.
- Open the Fuse Box Cover: The fuse box cover is typically secured with clips or latches. Release the clips to remove the cover and expose the fuses.
- Examine the Fuse Box Diagram: Similar to the interior fuse box, the engine compartment fuse box will have a diagram indicating the function of each fuse. This diagram may be located on the underside of the cover.
Safety First: When working in the engine compartment, ensure the engine is cool and the vehicle is parked on a level surface. If you're unsure about working with the battery or electrical systems, consult a qualified mechanic.
Identifying and Replacing Fuses
Once you've located the appropriate fuse box and diagram, you can begin identifying and replacing blown fuses. Here's a breakdown of the process:
- Consult the Fuse Diagram: Use the diagram to locate the fuse associated with the malfunctioning component. The diagram will show the fuse number, amperage rating (e.g., 10A, 15A), and the circuit it protects (e.g., "Radio," "Headlights," "Power Windows").
- Visually Inspect the Fuse: Carefully examine the fuse. A blown fuse will typically have a broken filament or a darkened or melted appearance. You may need a flashlight to see clearly.
- Use a Fuse Puller (Recommended): Most fuse boxes include a small plastic fuse puller tool. This tool helps you safely remove the fuse without damaging it or the surrounding components. If you don't have a fuse puller, you can use needle-nose pliers, but be extremely careful not to break the fuse or damage the fuse box.
- Replace with the Correct Amperage Fuse: This is crucial! Always replace a blown fuse with a new fuse of the exact same amperage rating. Using a fuse with a higher amperage rating can overload the circuit and cause serious damage, potentially leading to a fire. The amperage rating is printed on the fuse itself.
- Test the Circuit: After replacing the fuse, turn the ignition on and test the malfunctioning component to see if it's working again.
Understanding Fuse Amperage
Fuse amperage is measured in Amperes (A). The number printed on the fuse indicates the maximum current the fuse can handle before it blows. Common fuse amperages include 5A, 7.5A, 10A, 15A, 20A, 25A, and 30A. The fuse diagram will specify the correct amperage for each circuit.
Important Reminder: Never use a fuse with a higher amperage than specified. This can create a dangerous situation and potentially cause significant damage to your vehicle's electrical system.
Troubleshooting Tips
Here are some troubleshooting tips to keep in mind when dealing with fuses:
- If a fuse blows repeatedly: This indicates a larger problem in the circuit, such as a short circuit or a faulty component. Replacing the fuse repeatedly is only a temporary fix. You'll need to identify and repair the underlying cause. Consult a qualified mechanic for assistance.
- Keep spare fuses on hand: It's a good idea to keep a selection of spare fuses in your vehicle. You can purchase a fuse assortment kit at most auto parts stores.
- Consult your owner's manual: Your 2013 Nissan Sentra owner's manual contains valuable information about the fuse box locations, fuse diagrams, and troubleshooting tips specific to your vehicle.
- Take pictures: Before removing any fuses, take a picture of the fuse box with your phone. This will help you remember the correct location of each fuse in case you accidentally dislodge multiple fuses at once.
Disclaimer: This information is intended for general guidance only. Always consult your vehicle's owner's manual and exercise caution when working with electrical systems. If you're unsure about any aspect of fuse replacement or electrical troubleshooting, seek the assistance of a qualified mechanic.
When to Seek Professional Help
While replacing a blown fuse is often a straightforward process, there are times when it's best to seek professional help:
- You're not comfortable working with electrical systems.
- You can't locate the fuse box or diagram.
- A fuse blows repeatedly, indicating a more serious problem.
- You suspect a short circuit or other electrical fault.
A qualified mechanic has the expertise and tools to diagnose and repair complex electrical issues safely and effectively. Ignoring electrical problems can lead to further damage and potentially dangerous situations, so it's always best to err on the side of caution.
By understanding the location of the fuse boxes in your 2013 Nissan Sentra and how to identify and replace fuses, you can save time and money on minor electrical repairs. Remember to always prioritize safety and consult a professional when needed.