2013 Nissan Versa Blower Motor Location
If you're experiencing issues with the heating or air conditioning in your 2013 Nissan Versa, the problem might lie with the blower motor. A malfunctioning blower motor can result in weak airflow, no airflow at all, or unusual noises coming from the vents. Before taking your Versa to a mechanic, you might consider investigating the blower motor yourself. This article provides a comprehensive guide to locating the blower motor in a 2013 Nissan Versa, along with helpful tips and potential troubleshooting steps.
Understanding the Blower Motor's Role
The blower motor is a crucial component of your vehicle's HVAC (Heating, Ventilation, and Air Conditioning) system. Its primary function is to circulate air through the vents, providing either warm or cool air depending on the selected settings. When the blower motor fails, it directly impacts your comfort inside the car. Symptoms of a failing blower motor can include:
- No airflow from the vents: This is the most obvious sign. The motor isn't working, so no air is being pushed.
- Weak airflow: The motor might be struggling to operate at full speed.
- Intermittent airflow: The blower motor works sometimes and not others.
- Unusual noises: Squealing, grinding, or rattling sounds can indicate a worn-out motor or debris obstructing its movement.
- Burning smell: This is a serious symptom that suggests the motor is overheating and could pose a fire risk.
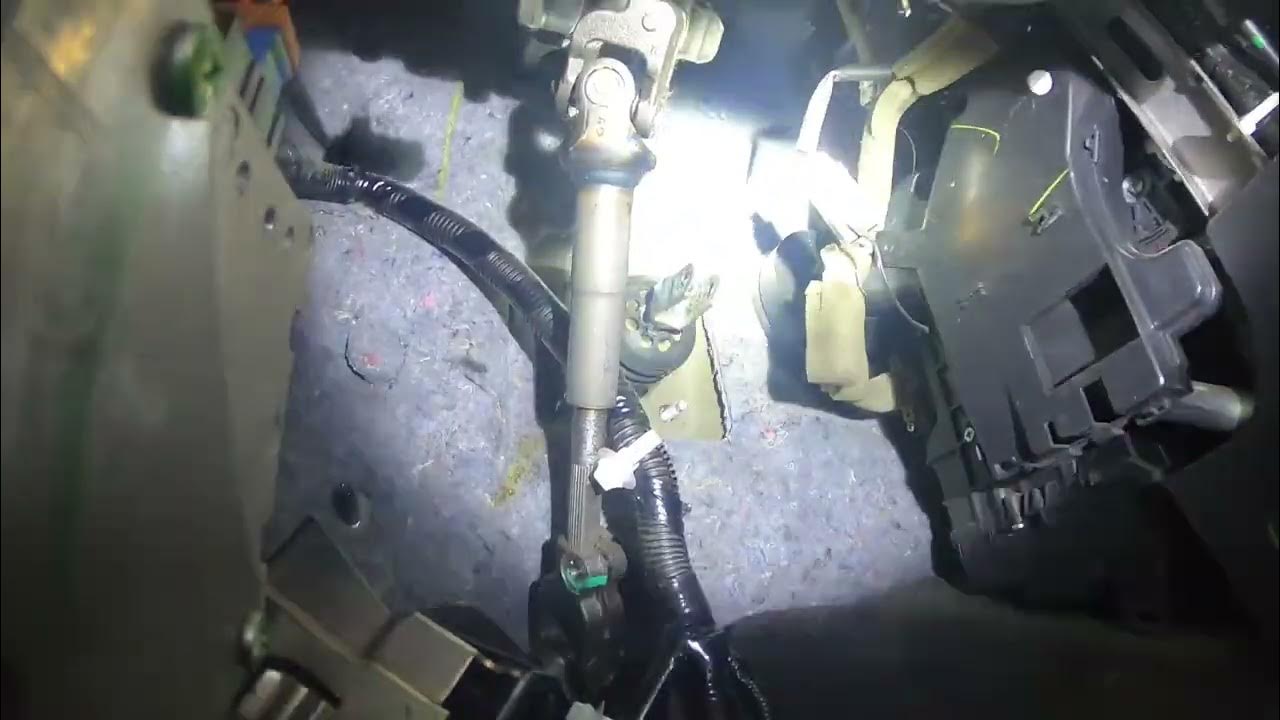
Locating the Blower Motor in a 2013 Nissan Versa
The blower motor in a 2013 Nissan Versa is typically located inside the passenger compartment, behind the glove box. While the exact placement can vary slightly depending on the model and trim level, this is the general area to begin your search. Accessing the blower motor usually requires removing the glove box or a panel underneath it. Here's a step-by-step guide:
Step 1: Prepare Your Vehicle
Before you begin any work on your vehicle, take these precautions:
- Park on a level surface: This ensures the car won't roll.
- Engage the parking brake: Further securing the vehicle.
- Turn off the engine: Safety first!
- Gather your tools: You'll likely need a screwdriver (Phillips and flathead), a socket set, and possibly a trim removal tool.
- Consider disconnecting the battery: While not always necessary for this specific task, disconnecting the negative terminal of the battery is a good safety measure to prevent electrical shocks. Remember to have your radio code handy if your radio requires it after power loss.
Step 2: Locate and Remove the Glove Box
The glove box is usually held in place by a combination of latches and hinges. Here's how to remove it:
- Empty the glove box: Remove all contents to make it lighter and easier to handle.
- Locate the glove box stops: These are small tabs or levers on either side of the glove box that prevent it from swinging down too far.
- Release the glove box stops: Depending on the design, you may need to push them inward, squeeze them together, or rotate them. Consult your owner's manual if you're unsure.
- Carefully lower the glove box: Once the stops are released, the glove box should swing down further than usual.
- Detach the glove box damper (if equipped): Some Versa models have a damper (a small gas strut or cable) that slows the descent of the glove box. Disconnect this from the glove box. It typically clips on or is held in place with a small fastener.
- Remove the glove box: With the stops and damper (if present) detached, you should be able to lift the glove box off its hinges. It might require a slight wiggle to free it completely.
Step 3: Identify the Blower Motor
With the glove box removed, you should now have a clearer view of the area behind it. Look for a cylindrical-shaped motor housing, usually made of black plastic. This is the blower motor. You should also see wiring connected to it.
Step 4: Inspect the Blower Motor Connector
Before proceeding further, examine the electrical connector plugged into the blower motor. Check for:
- Corrosion: Green or white powdery deposits can indicate corrosion.
- Loose connections: Make sure the connector is securely plugged in.
- Melted or damaged wires: This could be a sign of overheating or a short circuit.
If you find corrosion or loose connections, try cleaning the contacts with electrical contact cleaner and ensuring a secure connection. This might resolve the issue without requiring further disassembly.
Step 5: Accessing the Blower Motor (Further Disassembly May Be Required)
Depending on the specific model of your 2013 Nissan Versa, you may need to remove a plastic panel or cover to gain complete access to the blower motor. These panels are typically held in place by screws or clips. Use a screwdriver or trim removal tool to carefully remove them.
Step 6: Removing the Blower Motor
The blower motor is usually secured to the HVAC housing by screws or clips. Here's how to remove it:
- Locate the retaining screws or clips: These are usually visible around the perimeter of the blower motor housing.
- Remove the retaining screws or release the clips: Use the appropriate tools to loosen and remove the screws or release the clips.
- Carefully detach the blower motor: Once the fasteners are removed, the blower motor should come loose. Be gentle and avoid forcing it.
- Disconnect the electrical connector: Disconnect the wiring harness from the blower motor.
Troubleshooting and Next Steps
Once you've removed the blower motor, you can inspect it more closely. Check for:
- Physical damage: Look for cracks, breaks, or other signs of damage to the motor housing or fan blades.
- Obstructions: Debris such as leaves, dirt, or rodent nests can obstruct the fan blades and prevent the motor from spinning freely.
- Binding: Try spinning the fan blades by hand. They should rotate smoothly. If they feel stiff or bind, the motor bearings may be worn out.
If you suspect the blower motor is faulty, you can test it using a multimeter. However, this requires some electrical knowledge and safety precautions. If you're not comfortable with this, it's best to consult a qualified mechanic.
If the blower motor is indeed faulty, you'll need to replace it with a new one. Make sure to purchase a replacement motor that is compatible with your 2013 Nissan Versa. Installation is the reverse of removal. Ensure all connections are secure and that the blower motor is properly mounted before reassembling the glove box and other components.
Important Considerations
- Safety First: Always prioritize safety when working on your vehicle. Wear appropriate safety glasses and gloves.
- Consult Your Owner's Manual: Your owner's manual may contain specific instructions for your 2013 Nissan Versa model.
- Professional Help: If you're not comfortable performing these steps yourself, it's always best to seek professional assistance from a qualified mechanic.
- Blower Motor Resistor: Sometimes, the blower motor resistor is the cause of the problem, not the motor itself. The resistor controls the speed of the blower motor. If you only have one speed working (usually high), the resistor is a likely culprit. The resistor is often located near the blower motor and is also accessible after removing the glove box.
Conclusion
Locating and accessing the blower motor in your 2013 Nissan Versa is a relatively straightforward process that can save you money on repair costs. By following these steps and taking the necessary precautions, you can diagnose and potentially resolve issues with your vehicle's heating and air conditioning system. Remember to prioritize safety and consult a professional if you're unsure about any aspect of the process. Good luck!