2014 Nissan Altima Brake Pad Replacement
Alright, let's tackle a brake pad replacement on your 2014 Nissan Altima. This guide assumes you have some experience working on cars, understand basic safety precautions (like using jack stands!), and are comfortable with hand tools. We'll walk through the process step-by-step, focusing on the specifics of the Altima while explaining the reasoning behind each action. Brakes are critical for safety, so if you're at all unsure about your abilities, it's best to leave this to a professional. But, if you're ready to get your hands dirty, let's get started.
Tools and Materials You'll Need
Before diving in, gather everything you need. Having the right tools will save you a lot of frustration. Here's a comprehensive list:
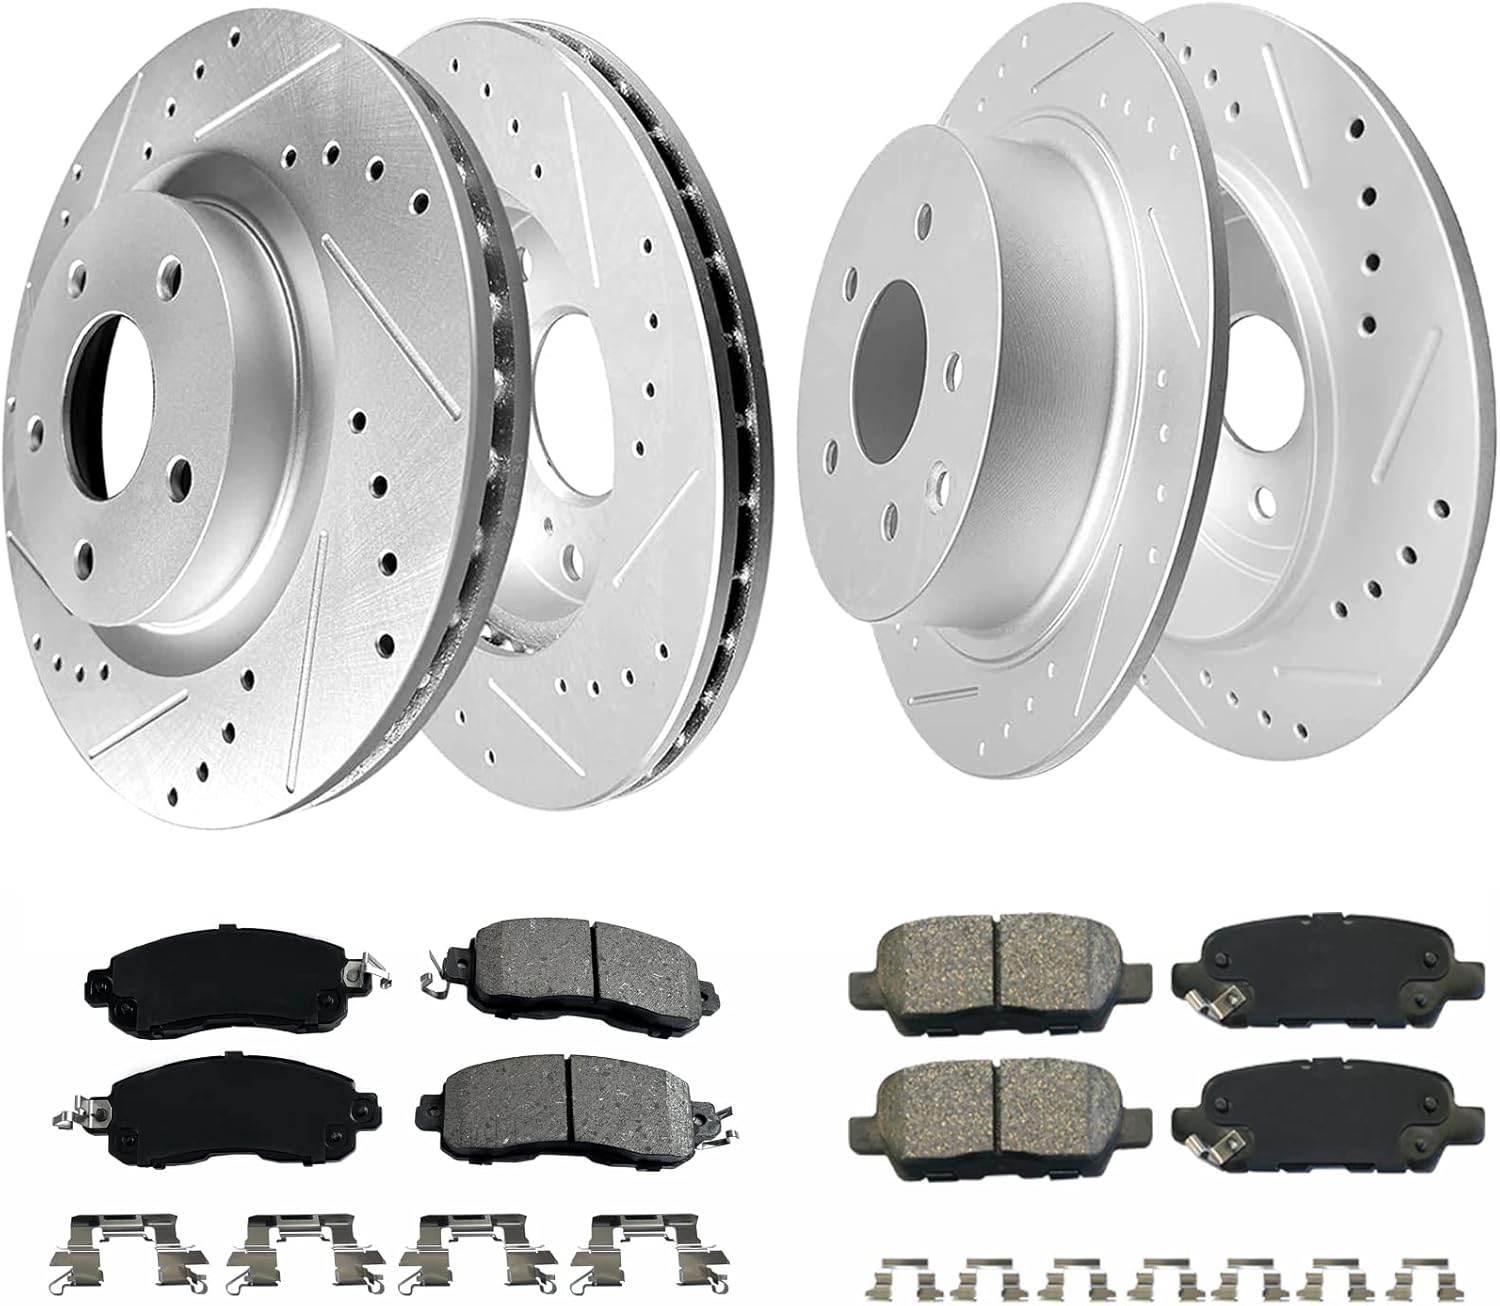
- New Brake Pads: Make sure you get the correct pads for your Altima's year, model, and trim. Check your owner's manual or a reputable auto parts store. There are different compounds available (ceramic, semi-metallic, organic), each with pros and cons regarding noise, dust, and stopping power. Choose wisely based on your driving style.
- New Brake Rotors (Optional but Recommended): Consider replacing the rotors if they're worn, scored, or below the minimum thickness. This is often the case after several pad replacements.
- Brake Caliper Piston Compression Tool: Absolutely essential for retracting the caliper piston. Don't try to force it with pliers; you'll likely damage it.
- Jack and Jack Stands: Never, ever work under a car supported only by a jack. Use sturdy jack stands rated for the weight of your vehicle.
- Wheel Chocks: For added safety, chock the wheels that aren't being worked on.
- Lug Wrench: To remove the wheel lug nuts.
- Socket Set: Metric sockets are needed for various bolts and nuts. A good set will include sockets of varying sizes.
- Wrench Set: Similar to the socket set, but for situations where sockets won't fit.
- Brake Cleaner: For cleaning the brake components. Use in a well-ventilated area.
- Brake Lubricant (Specifically Caliper Grease): Apply this to the caliper slide pins and the back of the brake pads (where they contact the caliper). This helps prevent noise and ensures smooth operation. Do NOT get grease on the brake rotors or pads' friction surfaces!
- Turkey Baster or Syringe: To remove excess brake fluid from the master cylinder.
- Gloves: To protect your hands from brake dust and chemicals.
- Safety Glasses: Always wear safety glasses when working on cars.
- Torque Wrench: To tighten the lug nuts and caliper bolts to the correct specifications. Check your service manual for the correct torque values.
- Penetrating Oil (e.g., PB Blaster): Can be helpful for loosening stubborn bolts.
- Wire Brush: For cleaning rust and debris from the caliper bracket.
- Old Rags or Paper Towels: For cleaning up spills and wiping down parts.
Step-by-Step Brake Pad Replacement
Okay, let's get to work. We'll focus on one wheel at a time. Remember to repeat these steps for the other side.
1. Preparation and Safety
Safety first! Ensure the car is parked on a level surface, engage the parking brake, and chock the rear wheels. Loosen the lug nuts on the wheel you'll be working on, but don't remove them completely yet.
2. Lifting the Vehicle
Position the jack under the vehicle's jacking point (refer to your owner's manual for the correct location). Jack up the car until the tire is off the ground. Securely place a jack stand under the frame near the jacking point. Never rely solely on the jack! Lower the car onto the jack stand.
3. Wheel Removal
Now, completely remove the lug nuts and carefully take off the wheel. Set it aside.
4. Caliper Inspection
With the wheel removed, you'll have a clear view of the brake caliper and rotor. Inspect the brake lines (the flexible hoses that connect to the caliper) for any cracks, leaks, or damage. If you find anything suspicious, replace them. Also, note the overall condition of the rotor. Are there deep grooves or excessive rust? Now is a good time to decide if you'll be replacing the rotors as well.
5. Removing the Caliper
Locate the caliper bolts. These are typically located on the back of the caliper. There are two common designs: some calipers have slide pins that are bolted directly to the caliper bracket, while others have bolts that thread into the caliper itself. Use the appropriate socket or wrench to remove these bolts. You might need to use penetrating oil if they're stuck. Once the bolts are removed, carefully slide the caliper off the rotor. Be careful not to damage the brake line. If the caliper is stuck, gently wiggle it back and forth.
Important: Once the caliper is off the rotor, don't let it hang by the brake line! Support it with a bungee cord or wire to prevent strain on the brake line.
6. Removing the Old Brake Pads
The brake pads are held in place by the caliper bracket. Depending on the design, they may simply slide out, or you may need to unclip them from the bracket. Examine how they're installed before removing them. Note their orientation, as you'll need to install the new pads the same way. Keep the old pads; you'll need to compare them to the new ones to ensure you have the correct parts.
7. Compressing the Caliper Piston
This is where the caliper piston compression tool comes in. The piston needs to be pushed back into the caliper body to make room for the new, thicker brake pads. Place the compression tool against the piston and slowly and evenly retract it. Some calipers (especially those on the rear) may require a special tool that also rotates the piston while retracting it (check your service manual for the specific requirements for your Altima). Be careful not to damage the piston or the inside of the caliper.
Important: As you retract the piston, the brake fluid level in the master cylinder will rise. Use a turkey baster or syringe to remove excess fluid to prevent it from overflowing.
8. Cleaning and Lubricating
Now, clean the caliper bracket with a wire brush to remove any rust or debris. Inspect the caliper slide pins (if applicable). Remove them, clean them thoroughly, and apply a thin coat of caliper grease. Make sure the pins move freely in their bores. This is critical for proper brake function and preventing uneven pad wear.
9. Installing the New Brake Pads
Install the new brake pads into the caliper bracket. Make sure they're properly seated and oriented correctly. Apply a small amount of brake lubricant to the back of the pads where they contact the caliper. This will help prevent brake squeal.
10. Reinstalling the Caliper
Carefully slide the caliper back over the rotor and onto the caliper bracket. Align the bolt holes and reinstall the caliper bolts. Tighten the bolts to the torque specification listed in your service manual. Using a torque wrench is crucial to prevent over-tightening or under-tightening the bolts.
11. Repeat for the Other Side
Repeat steps 4-10 for the other side of the axle (either both front wheels or both rear wheels). Always replace brake pads in pairs!
12. Wheel Reinstallation
Reinstall the wheels, tightening the lug nuts by hand. Lower the car back to the ground and remove the jack stands. Use the torque wrench to tighten the lug nuts to the correct specification (refer to your owner's manual). Tighten them in a star pattern to ensure even pressure.
13. Bedding In the Brakes
This is a critical step! Bedding in the brakes properly will ensure optimal performance and longevity. Consult your new brake pads' instructions, as the bedding-in procedure can vary. A typical procedure involves a series of moderate stops from a specific speed, followed by a cool-down period. This process transfers a thin layer of brake pad material onto the rotor surface, creating a better contact area and improving braking performance.
14. Final Checks
Before driving your Altima, pump the brake pedal several times to restore brake pressure. Check the brake fluid level in the master cylinder and add fluid if necessary. Double-check all your work to ensure everything is properly installed and tightened. Take the car for a short test drive in a safe area and listen for any unusual noises. If everything seems okay, you're good to go! However, be mindful that your new brake pads may not perform optimally until they're fully bedded in.
Important Considerations
- Brake Fluid: Brake fluid is hygroscopic, meaning it absorbs moisture from the air. Over time, this moisture can corrode brake components and reduce braking performance. It's recommended to flush the brake fluid every two years or 30,000 miles. Consider flushing the brake fluid while you're replacing the brake pads.
- Rotor Resurfacing vs. Replacement: If your rotors are in good condition (above the minimum thickness and without excessive scoring), you may be able to have them resurfaced. However, resurfacing removes material, which reduces the rotor's ability to dissipate heat. It's often more cost-effective to replace the rotors, especially if they're close to the minimum thickness.
- ABS (Anti-lock Braking System): The ABS system relies on sensors to detect wheel lockup. If you experience any ABS-related issues after replacing your brake pads, have the system diagnosed by a professional.
- Parking Brake: If you replaced the rear brake pads, make sure the parking brake is properly adjusted. Consult your service manual for the adjustment procedure.
Replacing brake pads on a 2014 Nissan Altima is a manageable DIY project for experienced car owners. By following these steps carefully and using the right tools, you can save money and gain a better understanding of your vehicle. However, remember that brakes are a critical safety component. If you're ever unsure about any aspect of the repair, don't hesitate to consult a professional mechanic. Good luck, and happy wrenching!