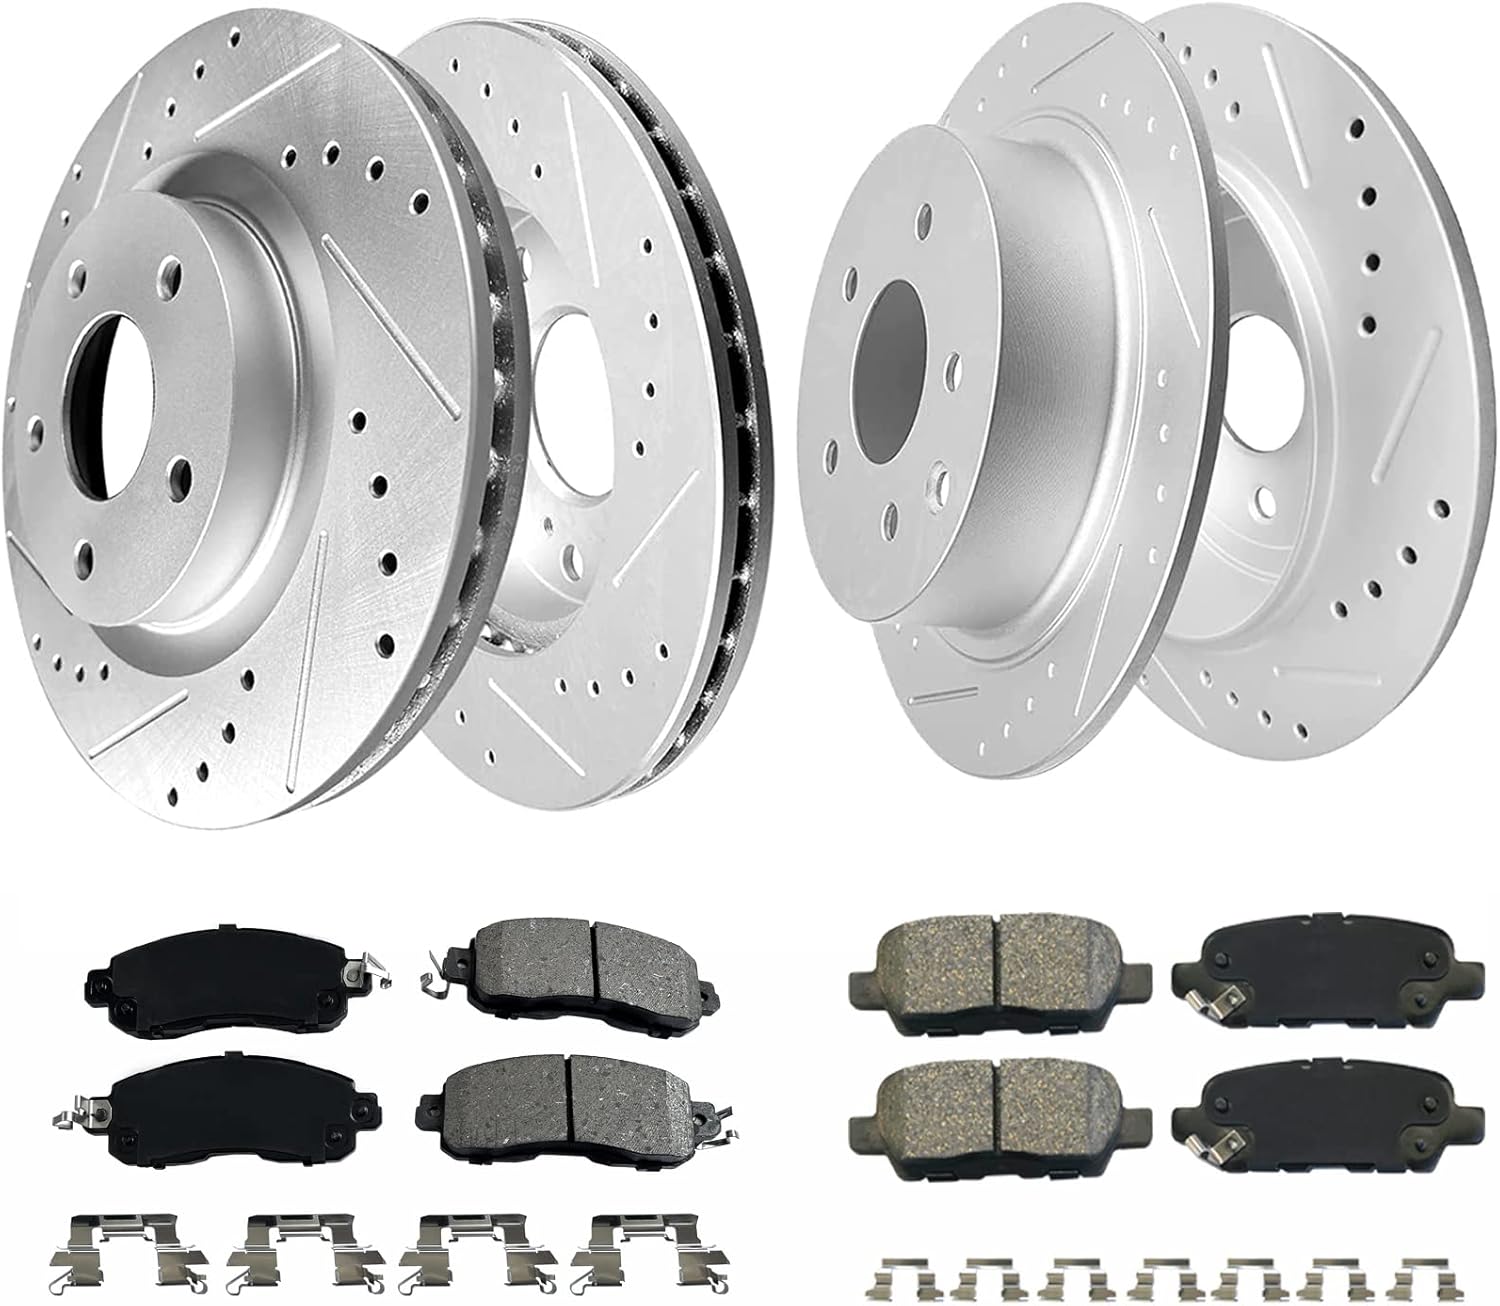
2014 Nissan Altima Brake Pads And Rotors
Is your 2014 Nissan Altima's braking performance not what it used to be? Are you hearing squealing, grinding, or feeling vibrations when you press the brake pedal? These are common signs that your brake pads and rotors might need replacing. Don't ignore these warning signs, as neglecting your brakes can compromise your safety and lead to more expensive repairs down the road. This article will guide you through common issues, potential solutions, and what to expect when dealing with 2014 Nissan Altima brake pad and rotor replacement.
Common Brake Problems with the 2014 Nissan Altima
Several factors can contribute to brake problems in your 2014 Altima. Understanding these issues can help you diagnose the problem and choose the appropriate solution.
Worn Brake Pads
This is the most frequent cause of brake issues. Brake pads are designed to wear down over time as they create friction against the rotors to stop your vehicle. The lifespan of brake pads depends on driving habits, road conditions, and the quality of the pads themselves. Typically, you can expect to replace brake pads every 30,000 to 70,000 miles. Signs of worn brake pads include:
- Squealing or screeching noises when braking: This is often caused by a wear indicator embedded in the brake pad that rubs against the rotor when the pad material is low.
- Grinding noises: This indicates that the brake pads are completely worn down, and the metal backing plate is rubbing directly against the rotor. This is a serious issue and requires immediate attention.
- Reduced braking performance: You may notice that it takes longer to stop, or the brake pedal feels softer or more spongy.
- Brake pad warning light: Some Altima models have a sensor that triggers a warning light on the dashboard when the brake pads are worn.
Damaged or Warped Rotors
Brake rotors are the discs that the brake pads clamp down on to stop the vehicle. Over time, rotors can become worn, warped, or damaged. Common causes include:
- Excessive heat: Repeated hard braking can cause the rotors to overheat and warp.
- Rust and corrosion: Exposure to moisture and road salt can cause rotors to rust and corrode, leading to uneven wear and reduced braking performance.
- Uneven wear: If the brake pads are worn unevenly, they can cause the rotors to wear unevenly as well.
Signs of damaged or warped rotors include:
- Vibrations or pulsations when braking: This is often felt in the steering wheel or brake pedal.
- Grooves or ridges on the rotor surface: These indicate uneven wear and can reduce braking effectiveness.
- Squealing or grinding noises: Although these are more commonly associated with worn brake pads, they can also be caused by damaged rotors.
Sticking Brake Calipers
Brake calipers house the brake pads and use hydraulic pressure to clamp them against the rotors. If a caliper is sticking, it can cause the brake pads to wear unevenly, overheat the rotors, and reduce braking performance.
Signs of a sticking brake caliper include:
- The vehicle pulls to one side when braking: This is because one brake is applying more force than the other.
- Uneven brake pad wear: One brake pad on a wheel may be significantly more worn than the other.
- Overheating brakes: The wheel with the sticking caliper may feel hotter than the other wheels after driving.
- Reduced fuel economy: A sticking caliper can cause the brake to drag, which reduces fuel efficiency.
Solutions: Brake Pad and Rotor Replacement
The most common solution for brake problems is to replace the worn brake pads and rotors. Here's a breakdown of the process:
When to Replace Brake Pads and Rotors
It's generally recommended to replace brake pads when they have less than 3mm of friction material remaining. As for rotors, if they are below the minimum thickness specified by Nissan (usually stamped on the rotor itself), or if they are significantly warped or damaged, they should be replaced. In many cases, it's best practice to replace both brake pads and rotors at the same time. This ensures optimal braking performance and prevents premature wear of the new pads due to a worn or damaged rotor.
DIY vs. Professional Repair
Replacing brake pads and rotors is a relatively straightforward procedure for experienced DIY mechanics. However, if you're not comfortable working on your car's brakes, it's best to leave the job to a qualified mechanic. Brakes are a critical safety system, and improper installation can have serious consequences.
Tools and Materials Needed (for DIY):
- New brake pads and rotors
- Brake caliper tool (for retracting the caliper piston)
- Socket set
- Wrench set
- Torque wrench
- Brake cleaner
- Brake fluid (DOT 3 or DOT 4, check your owner's manual)
- Gloves
- Safety glasses
- Jack and jack stands
- Wheel chocks
- Lug wrench
- Penetrating oil (for rusty bolts)
- Shop towels or rags
Step-by-Step Guide (Simplified):
- Safety First: Secure the vehicle with wheel chocks, loosen the lug nuts, jack up the car, and support it with jack stands. Never work under a vehicle supported only by a jack.
- Remove the Wheel: Completely remove the wheel and tire assembly.
- Inspect Brake Components: Visually inspect the brake pads, rotors, calipers, and brake lines for any signs of damage or wear.
- Remove the Caliper: Disconnect the brake line (be prepared to catch dripping brake fluid) and unbolt the caliper. Support the caliper so it doesn't hang by the brake line.
- Remove the Old Brake Pads: Slide the old brake pads out of the caliper bracket.
- Remove the Caliper Bracket: Unbolt the caliper bracket from the steering knuckle.
- Remove the Rotor: Remove the rotor. It may be held in place by a retaining screw or simply rusted on. Use penetrating oil and a rubber mallet if necessary.
- Clean and Inspect: Clean the hub surface where the new rotor will sit. Inspect the brake lines for cracks or leaks.
- Install the New Rotor: Install the new rotor onto the hub.
- Install the Caliper Bracket: Bolt the caliper bracket back onto the steering knuckle.
- Install the New Brake Pads: Install the new brake pads into the caliper bracket.
- Compress the Caliper Piston: Use a brake caliper tool to compress the caliper piston fully. This is necessary to create enough space for the new, thicker brake pads.
- Install the Caliper: Bolt the caliper back onto the caliper bracket. Reconnect the brake line and torque it to the specified specification.
- Repeat on the Other Side: Repeat the process on the other wheel.
- Bleed the Brakes: Bleed the brakes to remove any air from the brake lines. This is a critical step to ensure proper braking performance.
- Reinstall the Wheels: Reinstall the wheels and torque the lug nuts to the specified specification.
- Test Drive: Lower the vehicle and take it for a test drive. Gently apply the brakes several times to bed in the new brake pads and rotors. Listen for any unusual noises or vibrations.
Professional Repair Costs
If you choose to have a mechanic replace your brake pads and rotors, the cost will vary depending on the shop, the quality of the parts used, and the extent of the work required. Generally, you can expect to pay between $300 and $600 per axle (front or rear) for brake pad and rotor replacement at a reputable shop. This typically includes the cost of the parts (pads and rotors), labor, and a brake inspection.
Additional costs may apply if other brake components, such as the calipers or brake lines, need to be replaced. It's always a good idea to get a written estimate from several different shops before committing to any repairs.
Preventative Maintenance
To extend the life of your brakes and prevent problems, consider these preventative maintenance tips:
- Avoid hard braking: Smooth, gradual braking reduces heat buildup and wear on the brake pads and rotors.
- Don't ride the brakes: Resting your foot on the brake pedal while driving can cause unnecessary wear and tear.
- Have your brakes inspected regularly: A qualified mechanic can inspect your brakes for signs of wear or damage and recommend necessary repairs.
- Keep your tires properly inflated: Underinflated tires can increase braking distances and put extra stress on the brake system.
- Use high-quality brake pads and rotors: While they may cost more upfront, high-quality parts typically last longer and provide better braking performance.
By understanding the common brake problems that can affect your 2014 Nissan Altima and taking proactive steps to maintain your brakes, you can ensure your safety and extend the life of your vehicle.