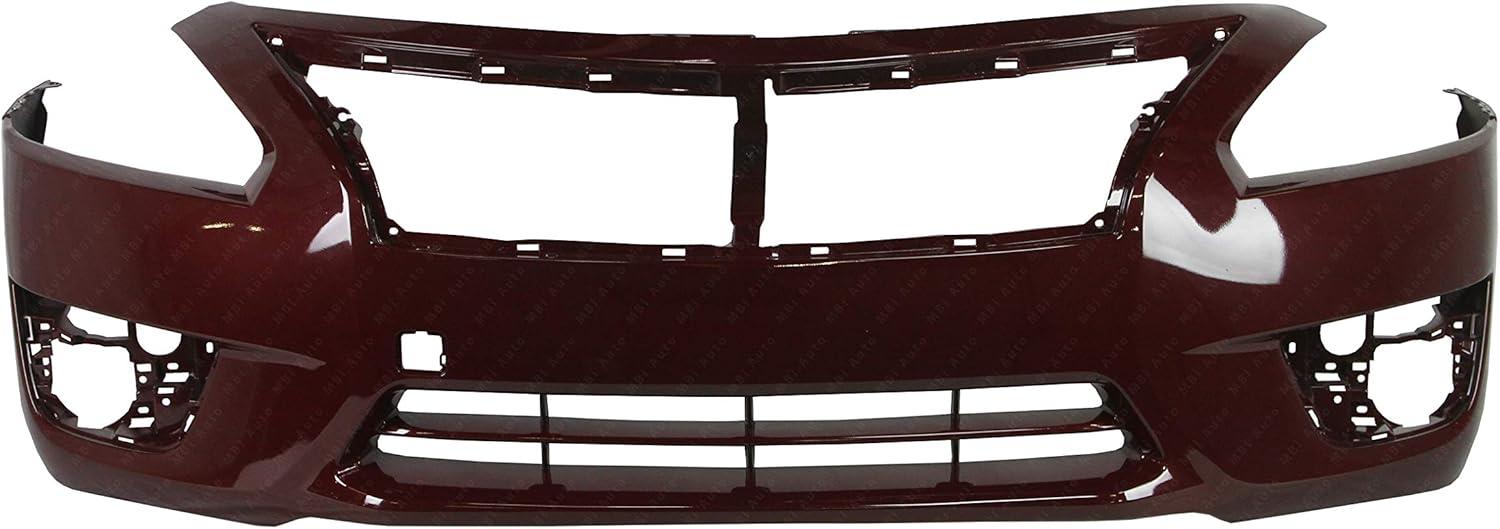
2014 Nissan Altima Front Bumper Painted
A Fresh Face for Your 2014 Nissan Altima: Front Bumper Paint Solutions
So, you're looking to refresh the front bumper of your 2014 Nissan Altima? Whether it's from minor scratches, a fender bender, or just general wear and tear, a damaged or faded bumper can really detract from the overall look of your car. Don't worry; you're not alone, and there are definitely solutions to get your Altima looking its best again. Let's break down the common problems and the most effective ways to address them.
Common Front Bumper Issues on the 2014 Altima
Before diving into the fixes, let's identify the culprits behind your bumper woes. Here are a few of the most frequently encountered problems:
- Scratches and Scuffs: These are the most common, often resulting from parking lot mishaps, road debris, or even just washing your car incorrectly.
- Cracks and Dents: More severe damage usually stems from collisions, even minor ones. These can weaken the bumper's structure and potentially affect its ability to protect your car.
- Faded or Peeling Paint: Exposure to the sun's UV rays, harsh weather conditions, and age can cause the paint to fade, peel, or even flake off.
- Discoloration: Sometimes, the paint can become discolored due to chemical exposure or simply uneven fading.
- Loose or Detached Bumper Cover: In some cases, the bumper cover might become partially detached due to broken clips or mounting points.
Solution 1: Minor Scratch and Scuff Repair (DIY Option)
If you're dealing with superficial scratches and scuffs, you might be able to tackle the repair yourself. This is a good option for minor imperfections that haven't penetrated the clear coat or paint layers significantly.
Tools & Materials Needed:
- Automotive Soap and Water
- Clean Microfiber Towels
- Rubbing Alcohol
- Fine-Grit Sandpaper (2000-3000 grit)
- Automotive Rubbing Compound
- Automotive Polishing Compound
- Clean Buffing Pads (for a power buffer, optional)
- Touch-Up Paint (matching your Altima's paint code - find this on the driver's side door jamb)
- Clear Coat Touch-Up
- Small Applicator Brush or Toothpick
Steps:
- Wash and Dry: Thoroughly clean the bumper area with soap and water, then dry it completely.
- Clean with Alcohol: Wipe the area with rubbing alcohol to remove any remaining wax, grease, or contaminants.
- Sand (Carefully!): Gently sand the scratched area with the fine-grit sandpaper, using light pressure and circular motions. Focus *only* on the affected area. The goal is to smooth out the edges of the scratch.
- Apply Rubbing Compound: Apply a small amount of rubbing compound to a clean buffing pad or microfiber towel and rub it into the sanded area using firm, circular motions. This helps remove the sanding marks.
- Apply Polishing Compound: Follow up with polishing compound, using a clean pad or towel. This will restore the shine and gloss to the paint.
- Touch-Up Paint (If Necessary): If the scratch went down to the primer or bare plastic, carefully apply touch-up paint to the scratch using a small applicator brush or toothpick. Apply thin layers, allowing each layer to dry completely before applying the next. Multiple thin coats are better than one thick coat.
- Clear Coat (If Necessary): Once the touch-up paint is completely dry, apply a thin layer of clear coat over the touched-up area.
- Final Polish: After the clear coat is dry, you can gently polish the area again with polishing compound to blend it seamlessly with the surrounding paint.
- Wax (Optional): Apply a coat of wax to protect the repaired area.
Important Considerations:
Caution: Sanding can easily damage the surrounding paint if you're not careful. Take your time and use light pressure. It's always best to start with the finest grit sandpaper and work your way up if needed. If you're unsure, practice on an inconspicuous area first.
Color Matching: Getting the correct touch-up paint color is crucial. Use your Altima's paint code to ensure a perfect match. Even with the correct code, slight variations can occur due to paint fading over time. Be prepared for a slight difference, especially if your car is several years old.
Estimated Cost: $20 - $50 (depending on the products you already own).
Solution 2: Professional Bumper Repair and Repainting
For more significant damage, such as cracks, dents, peeling paint, or large areas of discoloration, professional repair and repainting is the best option. This ensures a high-quality, durable finish that will last for years to come.
Why Choose Professional Repair?
- Expert Color Matching: Professionals have the tools and expertise to perfectly match the paint to your Altima's existing finish, even taking into account any fading that may have occurred.
- Proper Surface Preparation: They'll properly prepare the bumper surface by sanding, filling imperfections, and applying primer to ensure optimal paint adhesion.
- Professional-Grade Materials: They use high-quality automotive paints and clear coats that are more durable and resistant to chipping, fading, and scratching than over-the-counter products.
- Specialized Equipment: They have access to specialized equipment, such as spray booths, that ensure a clean, even, and professional-looking finish.
- Warranty: Many professional repair shops offer a warranty on their paintwork, giving you peace of mind.
The Repair Process (Typically):
- Damage Assessment: The repair shop will assess the damage to the bumper and provide you with a written estimate.
- Bumper Removal (If Necessary): In some cases, the bumper may need to be removed from the vehicle for easier access and repair.
- Repair of Dents and Cracks: Dents will be pulled or filled with body filler, and cracks will be repaired using plastic welding or epoxy resin.
- Sanding and Surface Preparation: The entire bumper surface will be sanded to create a smooth and uniform surface for the primer.
- Priming: A primer coat will be applied to the bumper to promote paint adhesion and provide a uniform base color.
- Painting: Multiple coats of automotive paint will be applied, carefully matching the color to your Altima's existing finish.
- Clear Coat Application: Several coats of clear coat will be applied to protect the paint and provide a glossy finish.
- Buffing and Polishing: The clear coat will be buffed and polished to remove any imperfections and create a smooth, flawless surface.
- Bumper Reinstallation (If Removed): The bumper will be carefully reinstalled on your vehicle.
Finding a Reputable Repair Shop:
Get Multiple Quotes: Obtain estimates from several different repair shops to compare prices and services. Don't automatically go with the cheapest option; consider the shop's reputation and warranty.
Check Online Reviews: Read online reviews to get an idea of other customers' experiences with the shop.
Ask for References: Ask the shop for references from previous customers.
Look for I-CAR Certification: I-CAR certification indicates that the shop's technicians have received training in the latest repair techniques.
Estimated Cost: $300 - $1000+ (depending on the extent of the damage and the shop's labor rates). Deeper damage and advanced paint (like multi-coat pearl colors) will increase the price.
Solution 3: Bumper Replacement
If the bumper is severely damaged, cracked beyond repair, or has significant structural issues, replacement might be the most cost-effective option. This ensures the safety and integrity of your vehicle.
New vs. Used Bumper Covers:
- New Bumper Cover: Guarantees a perfect fit and undamaged condition, but can be more expensive. It will need to be painted to match your car.
- Used Bumper Cover: A more affordable option, but the condition may vary. You might be able to find one in your Altima's color, but it's likely to have some minor imperfections. Thoroughly inspect any used bumper for cracks, dents, or other damage before purchasing.
Replacement Process:
- Bumper Removal: The old bumper cover is removed by detaching all the screws, bolts, and clips that hold it in place. This usually involves removing the fender liners partially.
- Transfer of Components: Any components attached to the old bumper cover, such as fog lights, parking sensors, or grilles, are carefully transferred to the new bumper cover.
- Bumper Installation: The new bumper cover is carefully aligned and attached to the vehicle using the original mounting points.
- Final Inspection: A final inspection is performed to ensure that the bumper cover is securely attached and properly aligned.
Considerations:
Professional Installation Recommended: While it *is* possible to replace a bumper cover yourself, it's often best left to a professional, especially if you're not familiar with automotive repair. Improper installation can lead to alignment issues and potential safety concerns.
Painting Costs: If you purchase a new bumper cover, you'll need to factor in the cost of painting it to match your Altima. This can add several hundred dollars to the overall cost.
Estimated Cost:
- New Unpainted Bumper Cover: $200 - $400
- Used Bumper Cover (Unpainted): $100 - $300
- Painting (if needed): $300 - $600
- Installation (if professionally done): $100 - $300
Making the Right Choice
Ultimately, the best solution for your 2014 Nissan Altima's front bumper depends on the severity of the damage and your budget. Minor scratches and scuffs can often be repaired DIY, while more significant damage requires professional attention. Carefully consider your options and choose the solution that best meets your needs and restores your Altima to its former glory.