2014 Nissan Pathfinder Cv Axle Replacement
The 2014 Nissan Pathfinder, a popular choice for families and adventurers alike, relies on constant-velocity (CV) axles to efficiently transfer power from the transmission to the wheels. These axles are crucial for maintaining smooth power delivery, especially during turning maneuvers. Over time, however, CV axles can wear out due to factors like age, exposure to the elements, and general wear and tear. Symptoms of a failing CV axle often include clicking or popping noises during turns, vibrations at certain speeds, and grease leaking from the CV boots. Replacing a CV axle is a task that, while requiring patience and some mechanical skill, can be tackled by the reasonably competent DIY enthusiast. This guide provides an in-depth look at the process, focusing on the 2014 Nissan Pathfinder, but the underlying principles apply to many front-wheel and all-wheel drive vehicles.
Understanding the CV Axle Assembly
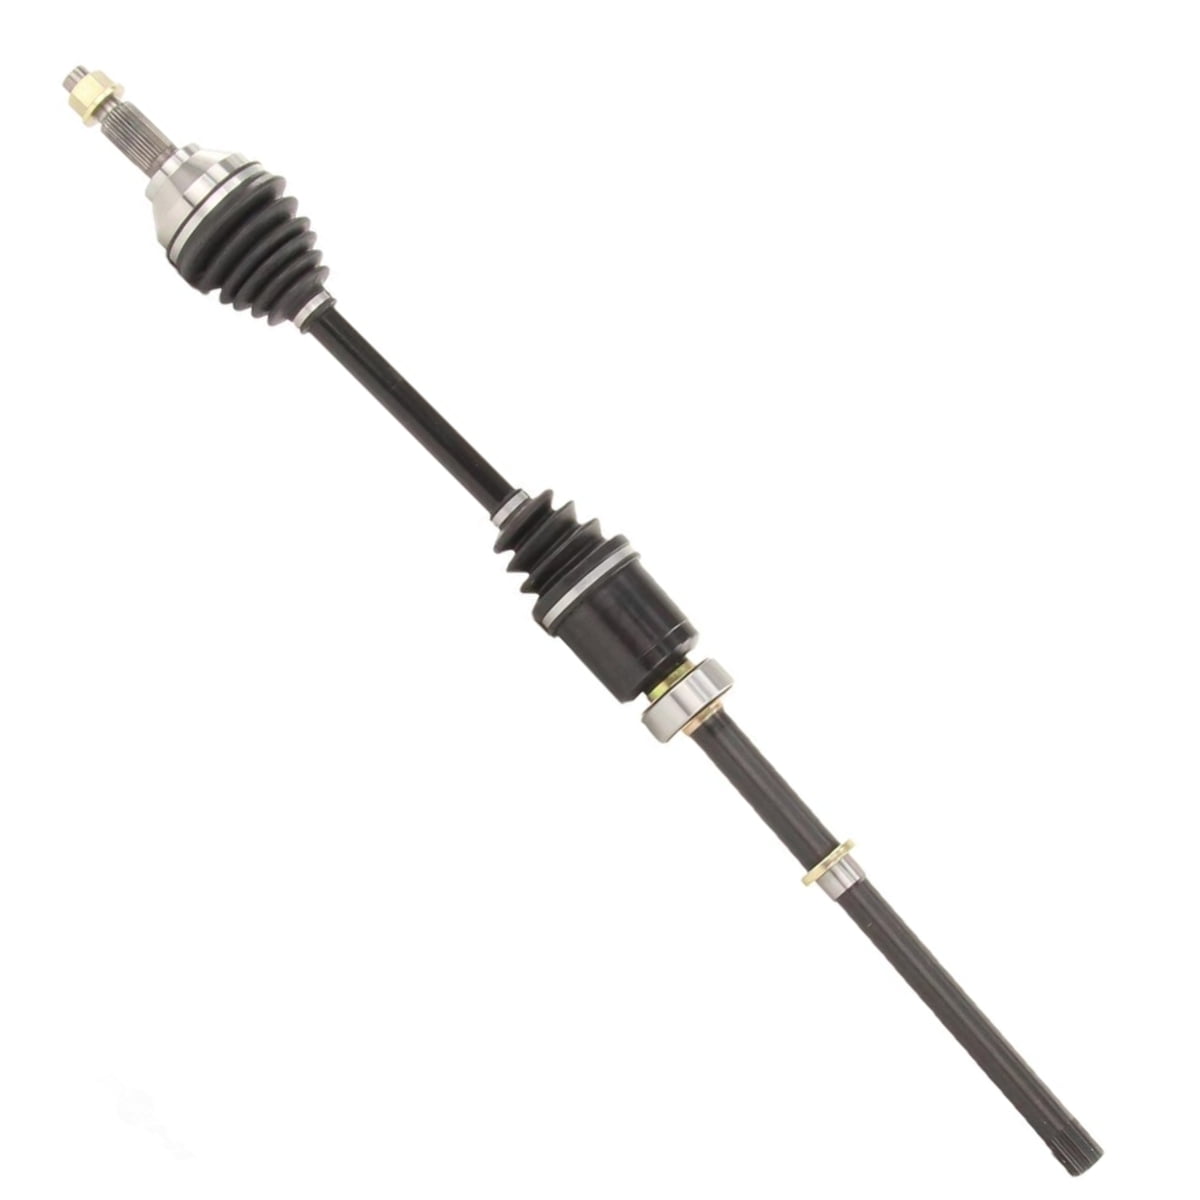
Before diving into the replacement procedure, it's essential to understand the components of a CV axle assembly. The CV axle, at its core, is a shaft connecting the transaxle (or differential in the case of rear axles on an all-wheel drive model) to the wheel hub. At each end of the shaft are CV joints. These joints are designed to allow the axle to articulate and transmit power smoothly even at large angles. The inner CV joint typically connects to the transmission or differential, while the outer CV joint connects to the wheel hub.
Each CV joint is protected by a rubber boot, filled with grease. This grease lubricates the internal components of the joint, ensuring smooth operation and preventing wear. A torn or cracked CV boot is a common cause of CV axle failure, as it allows dirt and debris to enter the joint, accelerating wear and eventually leading to joint failure. A seemingly small tear in the boot can quickly escalate into a costly repair if left unattended.
Tools and Materials Required
Proper preparation is paramount for a successful CV axle replacement. Gathering the necessary tools and materials beforehand will save you time and frustration. Here's a comprehensive list:
- New CV Axle Assembly: Ensure you purchase the correct axle for your specific vehicle (year, make, model, engine, and drivetrain). Pay attention to the side (driver or passenger) and ensure it matches.
- Socket Set: Including metric sockets to fit various bolts and nuts. Specifically, sockets to remove the axle nut and suspension components. A 1/2" drive set is recommended for the higher torque applications.
- Wrench Set: Metric wrenches for various suspension components.
- Torque Wrench: Crucial for tightening bolts to the manufacturer's specified torque.
- Breaker Bar: For loosening stubborn bolts, especially the axle nut.
- Hammer: For gently tapping components into place.
- Punch or Chisel: For removing stubborn bolts or marking positions.
- Pry Bar: For separating components.
- CV Axle Puller (Optional but Recommended): Makes removing the axle from the hub significantly easier.
- Ball Joint Separator (Pickle Fork or Ball Joint Press): For separating the ball joint from the steering knuckle.
- Wheel Chocks: For securing the vehicle.
- Jack and Jack Stands: Absolutely essential for safely lifting and supporting the vehicle. Never work under a vehicle supported only by a jack.
- Gloves: To protect your hands.
- Safety Glasses: To protect your eyes.
- Penetrating Oil: For loosening rusted or corroded bolts.
- Grease: For lubricating the new CV axle splines.
- Shop Rags: For cleaning.
- Drain Pan: To catch any fluid spillage.
- Brake Cleaner: For cleaning brake components.
Step-by-Step Replacement Procedure
Now, let's proceed with the actual CV axle replacement. Remember to work safely and methodically, consulting the vehicle's repair manual for specific torque specifications and procedures.
1. Preparation and Safety
Begin by parking the vehicle on a level surface and engaging the parking brake. Place wheel chocks behind the rear wheels to prevent the vehicle from rolling. Loosen the lug nuts on the wheel of the side you're working on. Don't remove them completely, just break them loose. Use the appropriate jack to lift the vehicle and securely support it with jack stands placed under the frame rails. Ensure the jack stands are properly positioned and rated to support the vehicle's weight. Remove the wheel.
2. Disconnecting Suspension Components
This is where patience and careful observation are key. You'll need to disconnect several suspension components to create enough space to remove the CV axle. Start by disconnecting the brake caliper. Remove the bolts securing the caliper to the steering knuckle. Be careful not to damage the brake line. Hang the caliper from the suspension spring using a wire or bungee cord to prevent strain on the brake line. Do not let it dangle freely.
Next, disconnect the ABS wheel speed sensor if present. Carefully unplug the sensor and detach its wiring from the suspension components. Now, the hub needs to be separated from at least one part of the suspension. Typically you would disconnect the sway bar link and lower ball joint. Loosen the nut on the sway bar link and remove it. For the ball joint, you can use a ball joint separator (pickle fork or ball joint press) to separate the ball joint from the steering knuckle. A pickle fork can damage the ball joint boot so a press style separator is preferrable if you plan on reusing the ball joint. Some people prefer to unbolt the entire strut assembly, but this is more work, and risks damaging the brake lines.
3. Removing the Axle Nut
The axle nut secures the CV axle to the wheel hub. This nut is often very tight, so a breaker bar is highly recommended. With the wheel removed, access the axle nut in the center of the hub. You may need to remove a cotter pin or locking cap first. If the axle spins, have a helper apply the brakes. Use the breaker bar and appropriate socket to loosen the axle nut. Once loosened, remove the nut completely.
4. Removing the CV Axle
With the suspension components disconnected and the axle nut removed, you can now remove the CV axle. Using a CV axle puller is the easiest method. Attach the puller to the wheel hub and use its forcing screw to push the axle out of the hub. If you don't have a puller, you can try gently tapping the end of the axle with a hammer, using a brass punch to protect the axle threads. Be careful not to damage the hub or the axle threads.
Once the axle is free from the hub, carefully maneuver the outer CV joint out of the hub assembly. Next, focus on the inner CV joint where it connects to the transaxle or differential. The inner CV joint is typically held in place by a snap ring. Carefully pry the axle out of the transaxle. Be prepared for some transmission fluid to spill, so have a drain pan ready.
5. Installing the New CV Axle
Before installing the new CV axle, inspect the area where the axle connects to the transaxle for any damage or debris. Clean the area thoroughly. Apply a small amount of grease to the splines of the new CV axle. Carefully insert the inner CV joint into the transaxle, ensuring the snap ring engages properly. You should feel a slight "click" when it's fully seated. Next, maneuver the outer CV joint into the wheel hub. Align the splines and push the axle through the hub until it is seated.
6. Reassembly
Reinstall the axle nut and torque it to the manufacturer's specified torque. Secure the axle nut with a new cotter pin or locking cap. Reconnect all the suspension components in the reverse order of disassembly. Ensure all bolts are tightened to the correct torque specifications. Reinstall the brake caliper and ABS wheel speed sensor. Reinstall the wheel and tighten the lug nuts to the specified torque. Lower the vehicle and remove the jack stands.
7. Final Checks
After completing the installation, double-check all connections and ensure that all bolts are properly tightened. Take the vehicle for a test drive and listen for any unusual noises or vibrations. If everything sounds and feels normal, you've successfully replaced the CV axle.
Important Considerations
- Torque Specifications: Always refer to the vehicle's repair manual for the correct torque specifications for all bolts and nuts. Overtightening can damage components, while undertightening can lead to loosening and failure.
- Snap Ring: Be extremely careful when working with the snap ring on the inner CV joint. If it's damaged, the axle may not stay securely in place.
- Rust and Corrosion: If you live in an area with harsh winters and salted roads, expect to encounter rust and corrosion. Penetrating oil is your friend. Be prepared to spend extra time loosening stubborn bolts.
- Professional Assistance: If you're not comfortable with any part of this procedure, or if you encounter any unexpected problems, don't hesitate to seek professional assistance from a qualified mechanic.
Replacing a CV axle on a 2014 Nissan Pathfinder, or any vehicle for that matter, is a manageable task for the DIY enthusiast with the right tools, knowledge, and a commitment to safety. By following these steps carefully and adhering to proper torque specifications, you can save money and gain a valuable understanding of your vehicle's mechanics.