2014 Nissan Rogue Blower Motor Relay
Alright, let's dive into the 2014 Nissan Rogue's blower motor relay. This little component is crucial for keeping your cabin comfortable, especially during those sweltering summers and frigid winters. A malfunctioning blower motor relay can lead to no air conditioning, no heat, or intermittent blower function. I'm going to walk you through how it works, how to diagnose problems, and how to replace it if necessary. This guide is aimed at those of you who are already comfortable tackling some DIY car repairs, so I'll assume you're familiar with basic tools and safety precautions.
Understanding the Blower Motor System
Before we get into the relay itself, it's essential to understand the broader system. The blower motor is responsible for circulating air through your car's heating, ventilation, and air conditioning (HVAC) system. It's essentially a fan powered by an electric motor. The speed of this fan is controlled by a combination of the blower motor resistor (or control module in some cases) and, crucially, the blower motor relay.
Here's a simplified breakdown:
- HVAC Control Panel: You select your desired fan speed and temperature.
- HVAC Control Module (or BCM): This module receives your input and sends signals to various components, including the relay and resistor.
- Blower Motor Relay: This acts as an electrical switch, allowing or disallowing high current to flow to the blower motor. It's a high-current switch because the blower motor requires a significant amount of amperage to operate.
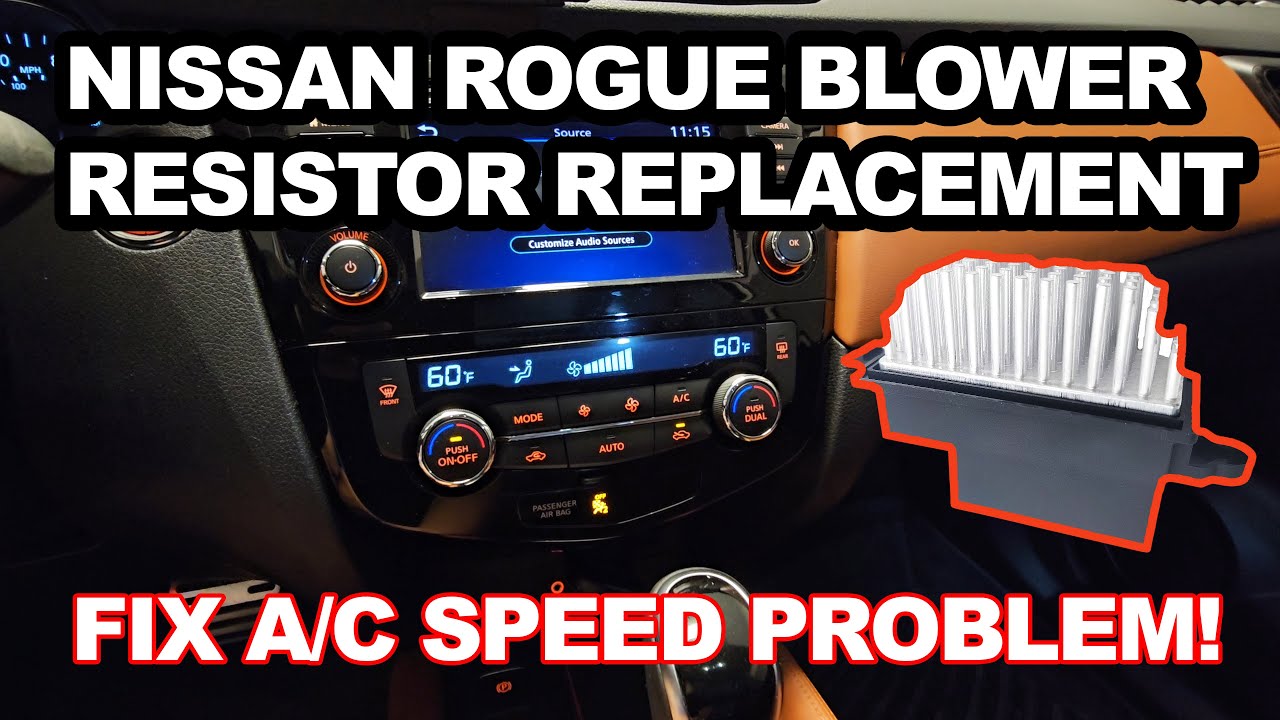
- Blower Motor Resistor (or Control Module): This regulates the voltage supplied to the blower motor, allowing for different fan speeds. In systems with a blower motor control module, this module handles the speed control electronically, often using a pulse-width modulated (PWM) signal.
- Blower Motor: The motor spins the fan, forcing air through the HVAC system and into the cabin.
The blower motor relay is the primary switch that enables the entire system. Without it, the blower motor simply won't receive power.
The Role of the Blower Motor Relay
Think of the relay as a gatekeeper. It's an electromagnetic switch. It has a low-current control circuit and a high-current load circuit. Here's how it works:
- Control Signal: When you turn on your HVAC system, the HVAC control module sends a small electrical signal (usually 12V) to the control circuit of the relay.
- Electromagnet Activation: This signal energizes an electromagnet inside the relay.
- Switch Closure: The electromagnet pulls a metallic contact (the switch) closed, completing the high-current circuit.
- Power to Blower Motor: With the switch closed, high-current power can now flow from the battery, through the relay, and on to the blower motor.
- Blower Motor Operation: The blower motor spins, and you get airflow.
When you turn off the HVAC system, the control signal is removed, the electromagnet de-energizes, the switch opens, and the blower motor stops. Relays are used because the control signal from the HVAC control module typically can't handle the high current required by the blower motor. The relay acts as an amplifier, using a small signal to control a large amount of power.
Locating the Blower Motor Relay in a 2014 Nissan Rogue
The blower motor relay in a 2014 Nissan Rogue is typically found in one of two locations:
- Inside the Engine Compartment Fuse Box: This is the most common location. Open the fuse box (usually near the battery or on the inner fender well). Refer to the fuse box diagram (usually printed on the inside of the lid) to identify the blower motor relay. The diagram will show a symbol representing the relay and its function.
- Inside the Interior Fuse Box: In some cases, the relay may be located inside the fuse box under the dashboard, typically on the driver's side. Again, consult the fuse box diagram.
It's absolutely crucial to consult your 2014 Nissan Rogue's owner's manual or a reliable online resource to confirm the exact location and identification of the blower motor relay. Relays can look similar, and you don't want to accidentally pull the wrong one.
Diagnosing a Faulty Blower Motor Relay
Here are the common symptoms of a failing blower motor relay:
- No Blower Motor Operation: This is the most obvious symptom. The blower motor simply doesn't turn on at any speed.
- Intermittent Blower Motor Operation: The blower motor works sometimes, and sometimes it doesn't. This can be caused by a relay that's starting to fail internally, with corroded contacts or a weak electromagnet.
- Blower Motor Works Only on High Speed: This is *usually* a symptom of a faulty blower motor resistor (or control module), but it *could* be related to a relay issue, especially if the relay is partially shorted internally. It's less common but worth investigating after ruling out the resistor.
Here's a step-by-step diagnostic process:
- Check the Blower Motor Fuse: Before you even think about the relay, check the fuse that protects the blower motor circuit. A blown fuse is a much simpler (and cheaper) fix. The fuse location will also be indicated in your owner's manual or fuse box diagram. Replace the fuse with one of the same amperage rating.
- Swap the Relay with an Identical Relay: This is a quick and easy test. Locate another relay in the fuse box that is *identical* to the blower motor relay and is used for a non-critical function (e.g., the rear window defogger relay). Swap the two relays. If the blower motor now works, and the system controlled by the swapped relay now malfunctions, you've confirmed that the blower motor relay is faulty. Be absolutely certain that the relays are identical in terms of pin configuration and amperage rating before swapping them!
- Test the Relay with a Multimeter: This requires a bit more technical skill. You can test the relay using a multimeter to check for continuity in both the control circuit and the load circuit. Here's a simplified explanation:
- Control Circuit Test: Disconnect the relay. Apply 12V to the control circuit pins (typically marked on the relay housing). You should hear a click as the electromagnet activates. Use the multimeter to check for continuity across the load circuit pins. With 12V applied to the control circuit, there should be continuity. With no voltage applied, there should be no continuity.
- Load Circuit Test: With no voltage applied to the control circuit, check for continuity across the load circuit pins. There should be no continuity.
- Check Voltage at the Blower Motor Connector: Using a multimeter, check for voltage at the blower motor connector when the HVAC system is turned on. If you have 12V at the connector but the blower motor isn't running, the blower motor itself is likely the problem.
Replacing the Blower Motor Relay
Replacing the blower motor relay is a straightforward process:
- Disconnect the Negative Battery Terminal: This is a crucial safety step to prevent electrical shorts.
- Locate the Blower Motor Relay: Refer to your owner's manual or fuse box diagram.
- Remove the Old Relay: Gently pull the old relay out of the fuse box. It may be a tight fit, but avoid using excessive force. A relay puller tool can be helpful.
- Install the New Relay: Align the pins of the new relay with the corresponding slots in the fuse box. Push the new relay firmly into place.
- Reconnect the Negative Battery Terminal:
- Test the System: Turn on the HVAC system and verify that the blower motor is working properly at all speeds.
Important Considerations:
- Use the Correct Relay: Make sure you're using a relay that is specifically designed for the 2014 Nissan Rogue and has the correct amperage rating. Using the wrong relay can damage your electrical system.
- Inspect the Fuse Box: Before installing the new relay, inspect the fuse box terminals for any signs of corrosion or damage. Clean any corrosion with a wire brush and electrical contact cleaner.
- Consider a New Blower Motor Resistor: If the relay failed, it's a good idea to inspect the blower motor resistor (or control module) as well. A failing resistor can put excessive strain on the relay, causing it to fail prematurely.
Final Thoughts
Diagnosing and replacing a blower motor relay is a task that most experienced DIYers can handle. By understanding how the system works, following a logical diagnostic process, and taking proper safety precautions, you can save yourself a significant amount of money and keep your 2014 Nissan Rogue's HVAC system running smoothly. Remember, if you're ever unsure about any aspect of the repair, it's always best to consult with a qualified mechanic.