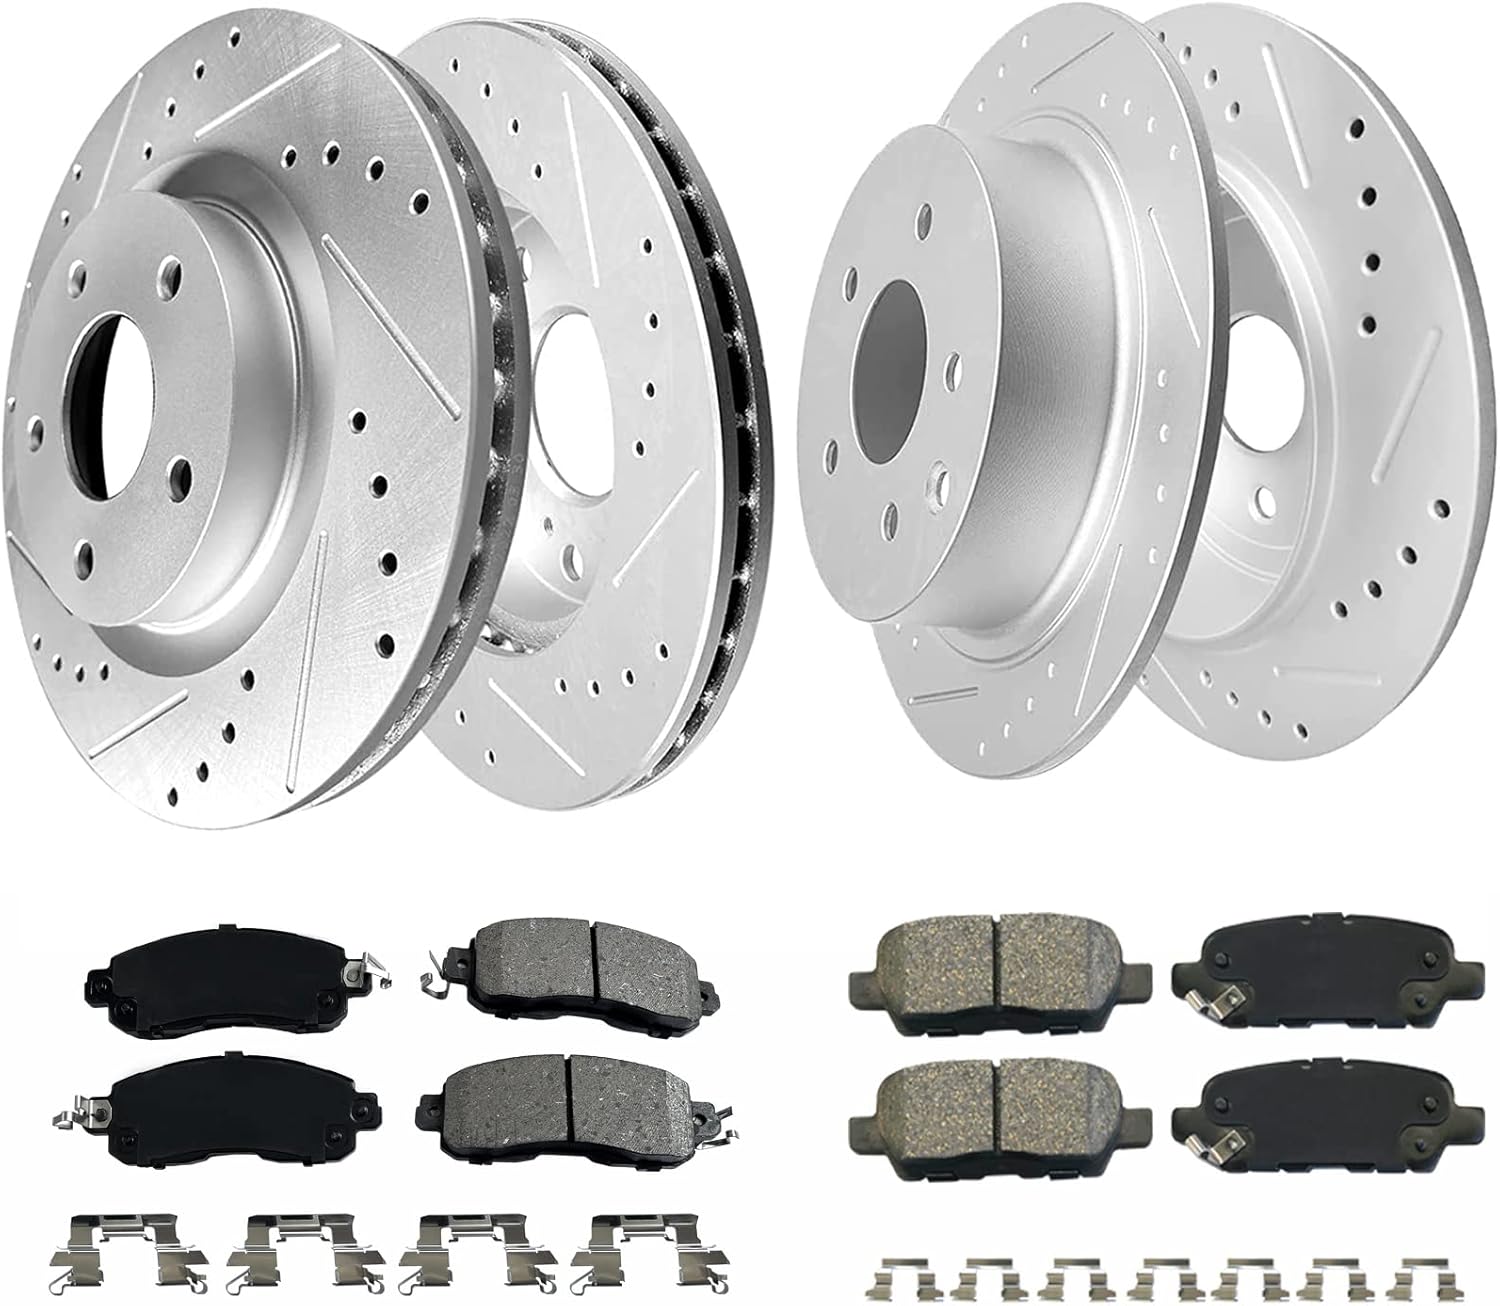
2015 Nissan Altima Brake Pads And Rotors
Let's talk about brake pad and rotor replacement on a 2015 Nissan Altima. This isn't the most complicated job you'll tackle on your car, but it's critical for safety. Messing around with your brakes is not something to take lightly. If you're not completely comfortable with the process, consider taking your Altima to a professional. However, if you've tackled similar jobs before and have a solid understanding of automotive basics, this guide will walk you through the process.
Understanding the Brake System
Before we dive in, let's review the basic components of your braking system. On your Altima, you'll find a hydraulic braking system. When you press the brake pedal, you're activating the master cylinder. This pumps brake fluid through brake lines to the calipers at each wheel. The calipers then squeeze the brake pads against the rotors, creating friction that slows down the wheel's rotation.
The brake pads are consumable items made of a friction material bonded to a metal backing plate. Over time, this friction material wears down from repeated use. The rotors (also called discs) are the smooth, round metal surfaces that the brake pads clamp against. While much more durable than brake pads, rotors also wear over time and can become scored, warped, or excessively thin.
Knowing when to replace your brake pads and rotors is crucial. Common signs of worn brakes include:
- Squealing or grinding noises when braking (often caused by wear indicators on the pads).
- Vibration or pulsation in the brake pedal.
- Longer stopping distances.
- Visually inspecting the brake pads and seeing minimal friction material remaining. Generally, anything less than 3mm of pad thickness is a good indicator it's time for replacement.
- A brake warning light on your dashboard (though this usually indicates a problem with the brake fluid level or system pressure).
Tools and Materials Needed
Gather your tools and materials *before* you start the job. This will save you time and frustration. Here's a list of what you'll need:
- New brake pads (front or rear, depending on which you're replacing). Ensure they are compatible with your 2015 Altima's trim level (S, SV, SL, etc.).
- New brake rotors (matching the pads). Again, check compatibility.
- Jack and jack stands. Safety first! Never work under a vehicle supported only by a jack.
- Wheel chocks (to prevent the car from rolling).
- Lug wrench or socket wrench with appropriate socket for your lug nuts.
- Caliper piston compression tool (or a large C-clamp).
- Socket set and wrench set (metric).
- Torque wrench.
- Brake cleaner.
- Brake fluid (DOT 3 or DOT 4, check your owner's manual).
- Turkey baster or similar (for removing old brake fluid from the master cylinder reservoir).
- Penetrating oil (like WD-40 or PB Blaster).
- Wire brush.
- Gloves.
- Safety glasses.
- Shop towels or rags.
- Optional: Anti-seize compound (for the caliper bolts).
- Optional: Brake grease (for the caliper slide pins and backing plates).
Step-by-Step Procedure: Front Brakes
This procedure applies to the front brakes of a 2015 Nissan Altima. The rear brakes are similar, but there may be slight variations. If you're doing the rear brakes, be sure to consult a repair manual specific to your vehicle.
- Safety First: Park your Altima on a level surface, engage the parking brake, and chock the rear wheels. Loosen the lug nuts on the wheel you'll be working on *before* jacking up the car.
- Lift and Support: Use your jack to raise the vehicle and place it securely on jack stands. Never work under a vehicle supported only by a jack!
- Remove the Wheel: Finish removing the lug nuts and take off the wheel.
- Inspect the Brake Components: Take a good look at the brake pads, rotor, and caliper. Note how everything is assembled. This is a good time to take pictures for reference.
- Prepare the Caliper: Locate the two caliper bolts on the back of the caliper. These are usually 14mm or 17mm. Spray them with penetrating oil and let it soak for a few minutes.
- Remove the Caliper: Carefully remove the caliper bolts. Sometimes these can be stubborn, so be patient. Once the bolts are out, you should be able to slide the caliper off the rotor. If it's stuck, gently tap it with a rubber mallet. Do not let the caliper hang by the brake hose. Support it with a bungee cord or wire to the suspension.
- Remove the Old Brake Pads: The brake pads should simply slide out of the caliper bracket. Note their orientation for reinstallation.
- Remove the Caliper Bracket: The caliper bracket is bolted to the steering knuckle. Remove these bolts. They are usually larger than the caliper bolts and may require more force to remove.
- Remove the Rotor: The rotor may be held in place by rust. Spray it with penetrating oil and try tapping it with a rubber mallet. If it's really stuck, you may need to use a specialized rotor puller. Some rotors have threaded holes where you can insert bolts to help push the rotor off.
- Clean the Hub Surface: Use a wire brush to clean the hub surface where the rotor mounts. This ensures proper rotor seating and prevents brake pulsation.
- Install the New Rotor: Carefully install the new rotor onto the hub. Make sure it sits flush. You may need to use a lug nut to temporarily hold it in place.
- Install the Caliper Bracket: Reinstall the caliper bracket and torque the bolts to the manufacturer's specifications. You can find these specs in a repair manual or online.
- Prepare the New Brake Pads: Apply a small amount of brake grease to the backing plates of the new brake pads where they contact the caliper and caliper bracket. This helps to prevent squealing.
- Install the New Brake Pads: Slide the new brake pads into the caliper bracket, ensuring they are oriented correctly.
- Compress the Caliper Piston: The caliper piston needs to be compressed to make room for the new, thicker brake pads. Use a caliper piston compression tool or a large C-clamp to gently push the piston back into the caliper. Be careful not to damage the piston or the caliper. Keep an eye on the brake fluid level in the master cylinder reservoir. As you compress the piston, the fluid level will rise. If it gets too high, use a turkey baster to remove some fluid.
- Reinstall the Caliper: Carefully slide the caliper over the new brake pads and rotor. Reinstall the caliper bolts and torque them to the manufacturer's specifications.
- Repeat on the Other Side: Repeat the entire procedure on the other front wheel.
- Reinstall the Wheels: Reinstall the wheels and tighten the lug nuts hand-tight.
- Lower the Vehicle: Lower the vehicle to the ground and fully tighten the lug nuts using a torque wrench to the manufacturer's specifications.
- Pump the Brakes: Before driving, pump the brake pedal several times to ensure the brake pads are properly seated against the rotors. The pedal should feel firm.
- Bed-In the Brakes: Bedding-in the brakes involves performing a series of controlled stops to transfer a layer of brake pad material onto the rotor surface. This helps to optimize braking performance and prevent noise. Consult the brake pad manufacturer's instructions for specific bedding-in procedures. A common method involves doing several medium stops from around 30-40 mph, followed by several harder stops from around 50-60 mph, allowing the brakes to cool between each stop. Avoid coming to a complete stop during the bedding-in process.
- Check Brake Fluid Level: Check the brake fluid level in the master cylinder reservoir and top it off if necessary.
Important Considerations & Bleeding the Brakes
Here are a few extra points to keep in mind:
- Brake Fluid: Brake fluid is hygroscopic, meaning it absorbs moisture from the air. This moisture can cause corrosion and reduce the boiling point of the fluid, leading to brake fade. It's recommended to replace your brake fluid every 2-3 years.
- Caliper Slide Pins: These pins allow the caliper to move freely. Clean and lubricate them with brake grease during reassembly. Sticking slide pins can cause uneven brake wear.
- Torque Specifications: Always use a torque wrench and torque fasteners to the manufacturer's specifications. Over-tightening can damage components, while under-tightening can lead to loose parts and brake failure.
- One Side at a Time: Never disassemble both sides of the brakes simultaneously. This prevents you from accidentally mixing up parts or forgetting how something goes back together.
Bleeding the Brakes
Whenever you open the brake system, like when compressing the caliper pistons, it's a good idea to bleed the brakes. This removes any air that may have entered the lines. Air in the brake lines can cause a spongy brake pedal and reduced braking performance.
While a complete brake fluid flush is recommended periodically, a simple bleed after pad replacement can improve pedal feel. Here's a basic overview:
- Locate the Bleeder Screws: Each caliper has a bleeder screw. Remove the rubber cap covering it.
- Attach a Bleeding Hose: Attach a clear hose to the bleeder screw and place the other end in a container filled with a small amount of brake fluid. This prevents air from being sucked back into the system.
- Open the Bleeder Screw: Have a helper slowly pump the brake pedal several times and hold it down. While the pedal is held down, open the bleeder screw slightly (usually with an 8mm or 10mm wrench).
- Close the Bleeder Screw: Close the bleeder screw *before* your helper releases the brake pedal.
- Repeat: Repeat steps 3 and 4 until you see clear brake fluid flowing out of the hose without any air bubbles.
- Tighten and Cap: Tighten the bleeder screw to the specified torque and replace the rubber cap.
- Repeat on All Wheels: Repeat the bleeding process on all four wheels, starting with the wheel farthest from the master cylinder (usually the rear passenger side).
- Check Fluid Level: Check and top off the brake fluid level in the master cylinder reservoir after bleeding each wheel.
Important: If your brake pedal feels spongy after bleeding, you may need to repeat the process or have a professional bleed the brakes. A pressure bleeder can be very effective in removing stubborn air bubbles.
Conclusion
Replacing the brake pads and rotors on your 2015 Nissan Altima is a manageable DIY project for experienced car owners. By following these steps carefully and taking the necessary precautions, you can save money and ensure your Altima's braking system is in top condition. Remember, if you're ever unsure about any aspect of the job, it's always best to consult a qualified mechanic. Safe driving!