2015 Nissan Altima Front Bumper And Grill
So, you're having some trouble with your 2015 Nissan Altima's front bumper and grill. Don't worry, you're not alone! It's a pretty common area to see damage, whether it's from a minor fender bender, road debris, or just general wear and tear. Let's break down some of the common problems and, more importantly, how you can fix them. I'll walk you through the most likely scenarios and offer some solutions, whether you're a seasoned DIYer or prefer to leave it to the professionals.
Common 2015 Altima Front Bumper and Grill Issues
First, let's identify what might be going on. Here are some of the most frequent issues I see in the shop:
- Cracked or Broken Bumper Cover: This is probably the most common. Impacts, even at low speeds, can cause cracks, dents, or even complete breaks in the plastic bumper cover.
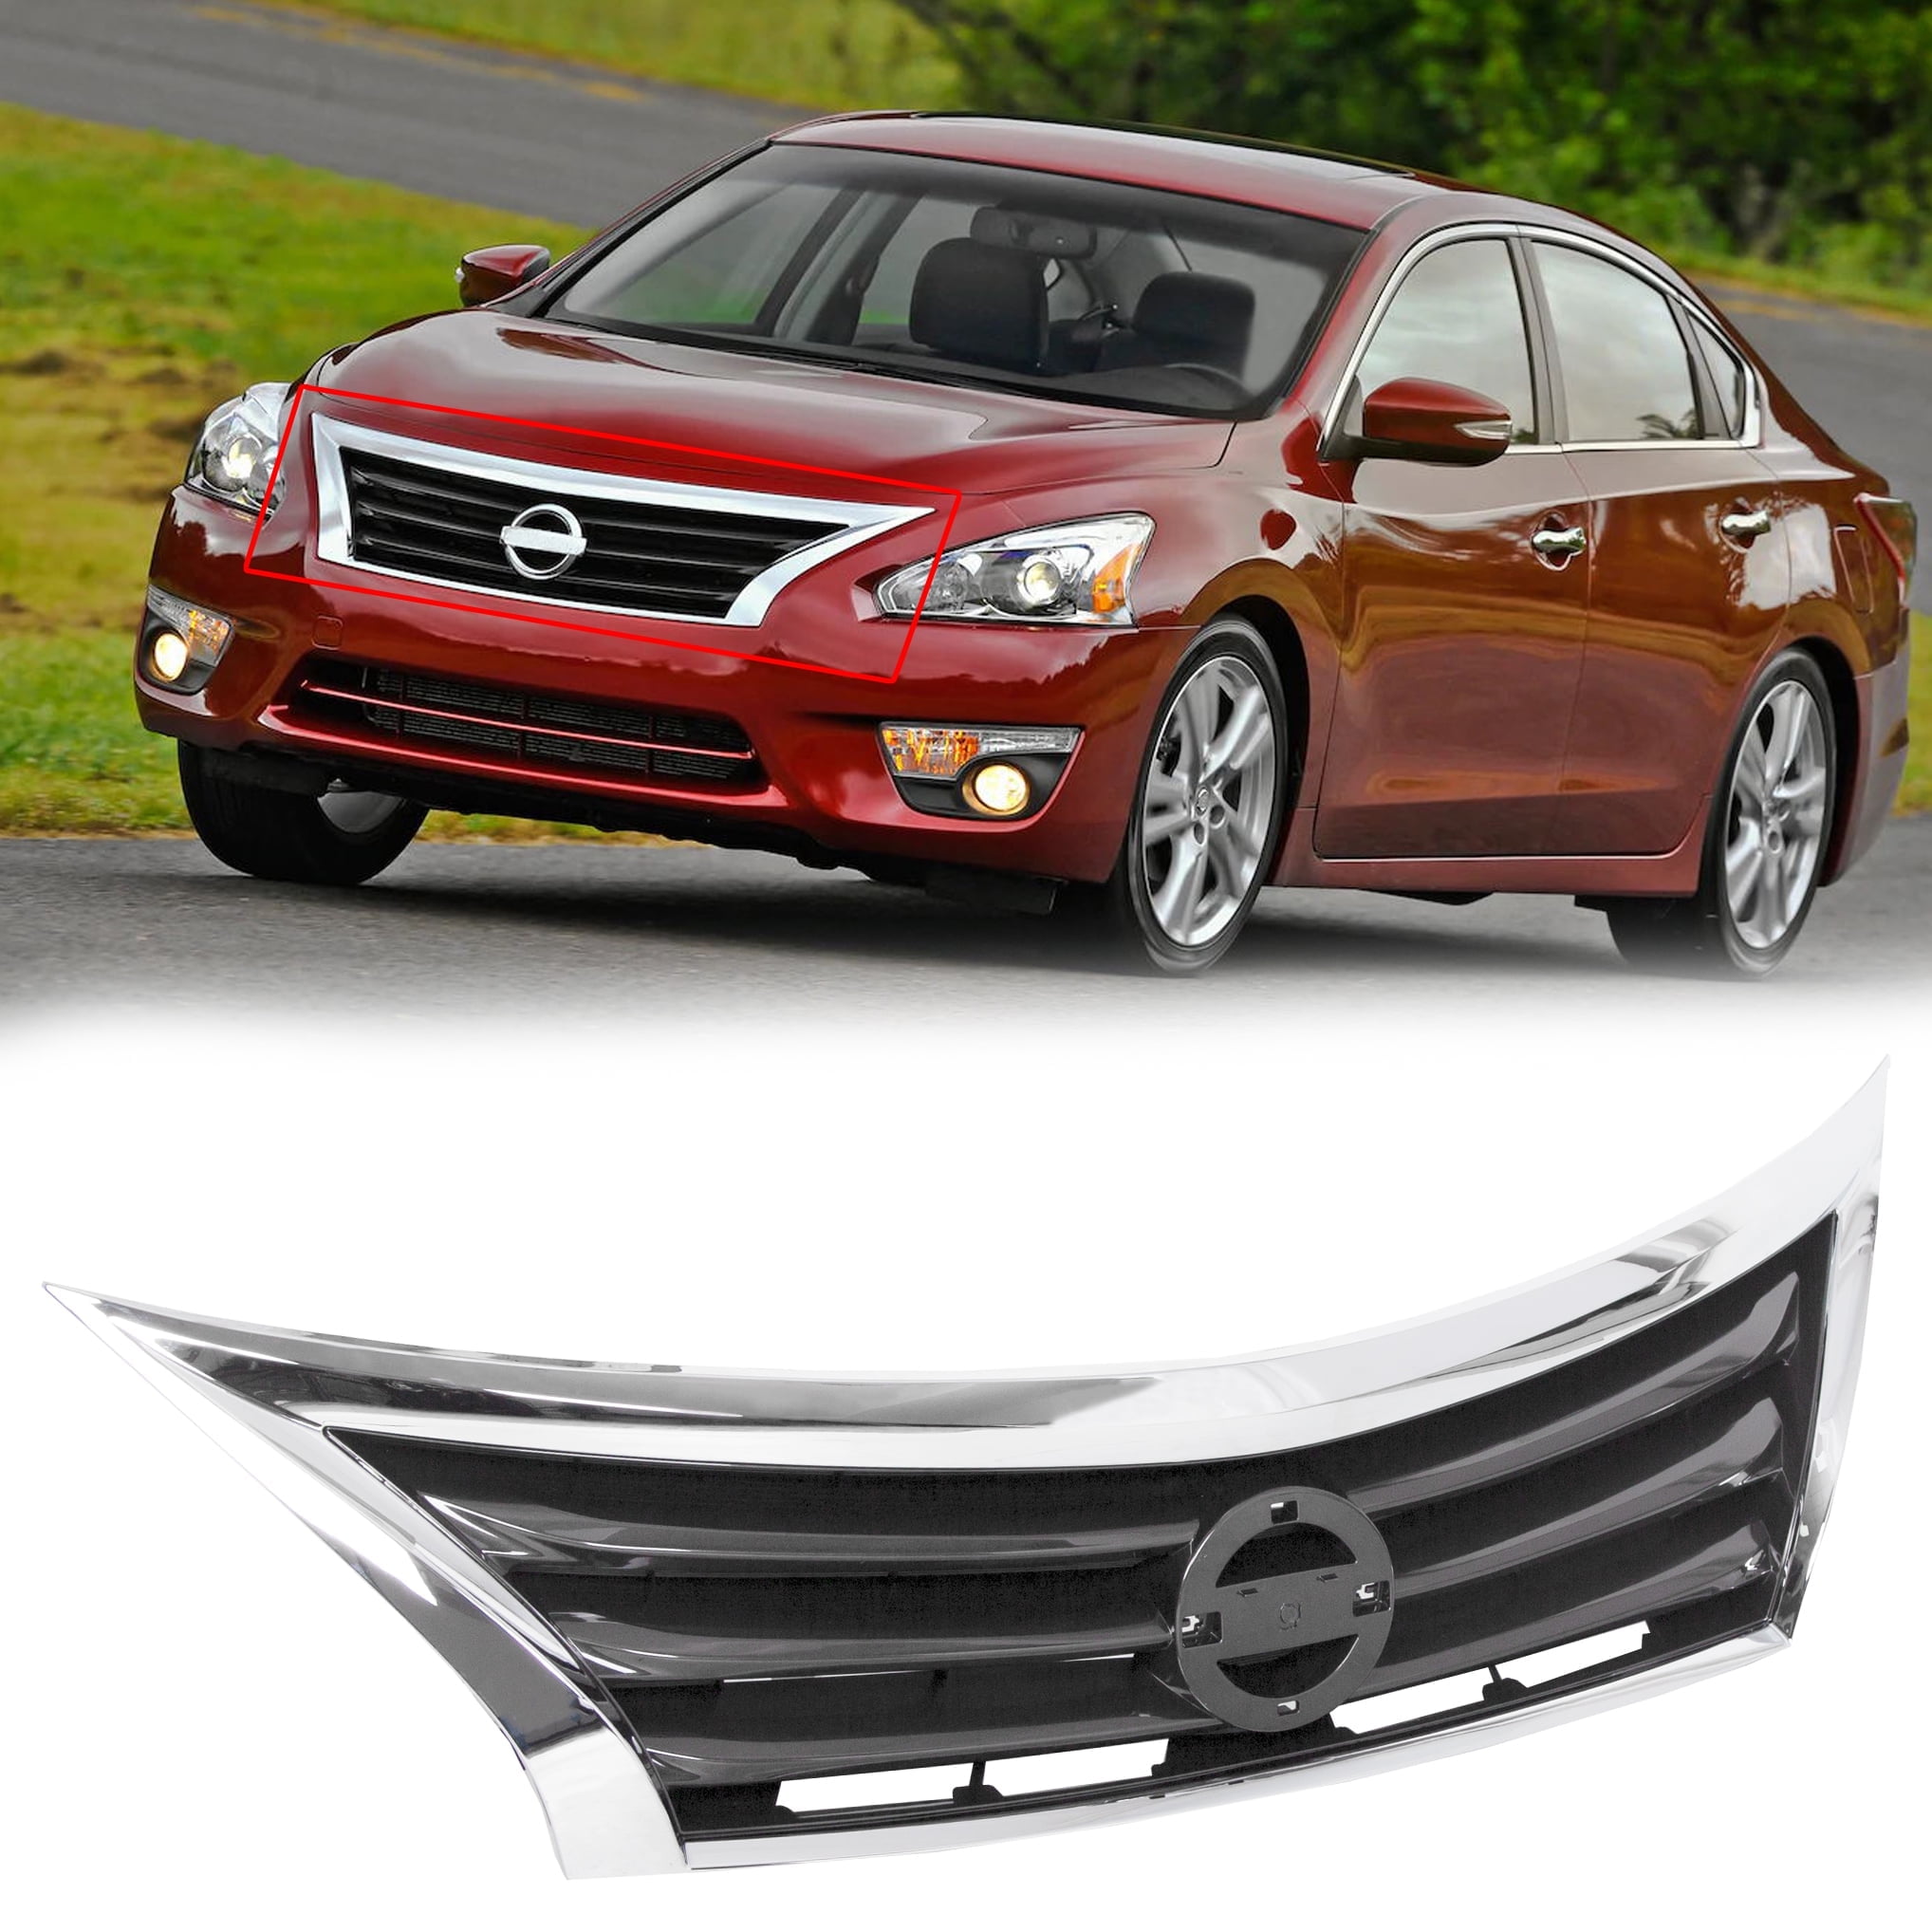
- Grill Damage: The grill, being right up front, is susceptible to rocks, debris, and even small animals. Cracked or missing grill pieces are common.
- Loose or Detached Bumper: Sometimes, the bumper doesn't crack, but the mounting points break, causing it to sag or become loose. This can be due to an impact or simply age and brittle plastic.
- Fog Light Damage: Many 2015 Altimas have fog lights integrated into the bumper. These are vulnerable to damage as well.
- Paint Scratches and Scuffs: Even minor contact can leave unsightly scratches and scuffs on the bumper.
Diagnosing the Problem
Before jumping into a repair, take a good look at the damage. Ask yourself these questions:
- How severe is the damage? Is it a small crack, a large break, or just cosmetic?
- Are any mounting points broken or damaged?
- Are there any other parts affected, such as headlights, fender liners, or the radiator support?
- Is the damage affecting the vehicle's safety or functionality (e.g., are sharp edges exposed, or is something hanging down)?
Once you've assessed the damage, you can start considering your options.
Solutions and Repair Options
Now, let's look at how to address these problems. Here are a few approaches, depending on the severity of the damage and your comfort level with DIY repairs:
Minor Scratches and Scuffs
For light scratches and scuffs, you might be able to get away with a simple DIY fix.
- Cleaning: Start by thoroughly cleaning the affected area with soap and water.
- Scratch Removal: Use a scratch removal compound specifically designed for automotive paint. Follow the product instructions carefully. Microfiber cloths are your best friend here to avoid adding more scratches.
- Polishing: After using the scratch removal compound, polish the area to restore the paint's shine.
- Waxing: Finally, apply a coat of wax to protect the paint and enhance the finish.
Tools Needed: Soap and water, microfiber cloths, scratch removal compound, polishing compound, wax, applicator pads.
Approximate Cost: $20 - $50 for materials.
Small Cracks and Dents
Small cracks and dents can sometimes be repaired with a plastic repair kit. These kits typically include a bonding agent and filler material.
- Cleaning: Clean the area around the crack or dent thoroughly.
- Sanding: Lightly sand the area to create a rough surface for the bonding agent to adhere to.
- Applying the Bonding Agent: Apply the bonding agent according to the kit's instructions.
- Applying the Filler: Fill the crack or dent with the filler material.
- Sanding and Shaping: Once the filler has dried, sand it down to match the surrounding surface. Take your time here!
- Painting: Prime and paint the repaired area to match the rest of the bumper. Color matching is crucial. You can get your paint code from a sticker usually found on the driver's side door jamb.
Tools Needed: Plastic repair kit, sandpaper (various grits), cleaning supplies, primer, paint (matched to your car's color code), masking tape.
Approximate Cost: $50 - $150 for materials.
Broken Mounting Points or Large Cracks
If the mounting points are broken, or if the crack is too large to repair effectively, you'll likely need to replace the bumper cover. This is also the best option if you want a guaranteed perfect finish.
- Removing the Old Bumper: This involves removing screws, bolts, and clips that hold the bumper in place. Pay close attention to the order in which you remove them, as you'll need to reassemble it in reverse. A plastic trim removal tool is invaluable for popping out clips without damaging them. You'll likely need a socket set and a screwdriver as well.
- Transferring Components: Transfer any components from the old bumper to the new one, such as fog lights, grill inserts, and sensors.
- Installing the New Bumper: Install the new bumper in the reverse order of removal. Make sure all the mounting points are secure.
Tools Needed: Socket set, screwdriver, plastic trim removal tool, potentially a drill for removing stubborn rivets.
Approximate Cost: $200 - $500 for a new aftermarket bumper cover (unpainted). Painting can add another $200 - $500, depending on the shop. OEM bumper covers will generally be more expensive.
Grill Replacement
Replacing the grill is usually a straightforward process. Most grills are held in place with clips and screws.
- Removing the Old Grill: Carefully remove the screws and clips that hold the grill in place. Again, a plastic trim removal tool is your friend.
- Installing the New Grill: Align the new grill and secure it with the screws and clips.
Tools Needed: Screwdriver, plastic trim removal tool.
Approximate Cost: $50 - $200 for a new grill, depending on the style and whether it's OEM or aftermarket.
Fog Light Replacement
Replacing a fog light usually involves removing the fog light bezel (the trim around the fog light) and then disconnecting the electrical connector.
- Removing the Bezel: Carefully pry off the fog light bezel.
- Disconnecting the Connector: Disconnect the electrical connector from the fog light bulb.
- Removing the Old Fog Light: Remove the screws or clips that hold the fog light in place.
- Installing the New Fog Light: Install the new fog light in the reverse order of removal.
Tools Needed: Screwdriver, plastic trim removal tool.
Approximate Cost: $50 - $150 for a new fog light.
Important Considerations
- Paint Matching: If you're painting any parts, color matching is essential. Use your car's paint code (usually located on the driver's side door jamb) to ensure an accurate match. A professional paint shop can help with this.
- Aftermarket vs. OEM: Aftermarket parts are generally less expensive than OEM (Original Equipment Manufacturer) parts. However, the fit and finish of aftermarket parts may not be as good as OEM. Consider this when making your decision.
- Safety: If the damage is affecting the vehicle's safety, it's crucial to have it repaired properly. Don't cut corners on safety.
- Professional Help: If you're not comfortable performing these repairs yourself, don't hesitate to take your car to a qualified mechanic or body shop. A professional can ensure the repairs are done correctly and safely.
Approximate Labor Costs (If Hiring a Professional)
Keep in mind these are rough estimates and can vary depending on your location and the shop's hourly rate:
- Bumper Cover Replacement: $200 - $500 (plus the cost of the bumper cover). This includes removing the old bumper and installing the new one. Painting, if required, will be extra.
- Grill Replacement: $50 - $150.
- Fog Light Replacement: $50 - $100.
Preventative Measures
While accidents happen, here are a few things you can do to minimize the risk of bumper and grill damage:
- Drive Defensively: Be aware of your surroundings and avoid tailgating.
- Maintain a Safe Following Distance: This gives you more time to react to hazards.
- Avoid Road Debris: If possible, steer clear of potholes and other debris in the road.
- Park Carefully: Be mindful of parking barriers and other vehicles when parking.
Repairing your 2015 Nissan Altima's front bumper and grill can range from a simple DIY project to a more involved professional repair. By understanding the common problems, assessing the damage, and considering your options, you can make the best decision for your vehicle and your budget. Remember, safety is paramount, so don't hesitate to seek professional help if needed. Good luck!