2015 Nissan Pathfinder A/c Compressor
Alright, let's dive into the A/C compressor on your 2015 Nissan Pathfinder. This article is aimed at those of you who've turned a wrench or two before and aren't afraid to get your hands dirty. We'll cover the common issues, troubleshooting, and replacement procedures, all while keeping things clear and practical.
Understanding the Pathfinder's A/C System
Before we get specific about the compressor, let's quickly review the basic components of the Pathfinder's air conditioning system. This helps to understand how the compressor fits into the bigger picture.
- Compressor: The heart of the system. It pressurizes the refrigerant, turning it into a hot, high-pressure gas.
- Condenser: Located in front of the radiator, the condenser cools the high-pressure refrigerant gas, turning it into a high-pressure liquid. Think of it like a small radiator for your A/C system.
- Expansion Valve/Orifice Tube: This component meters the high-pressure liquid refrigerant into the evaporator as a low-pressure liquid. The orifice tube is a fixed size, while the expansion valve adjusts the refrigerant flow based on demand. The Pathfinder typically uses an expansion valve.
- Evaporator: Situated inside the dashboard, the evaporator allows the low-pressure liquid refrigerant to boil and absorb heat from the cabin air, creating cold air.
- Receiver/Drier (or Accumulator): This acts as a filter and reservoir for the refrigerant, removing moisture and debris from the system. It also stores excess refrigerant. The Pathfinder uses a receiver/drier.
The refrigerant, usually R-134a in a 2015 Pathfinder, cycles through these components in a closed loop. Understanding this cycle is crucial for diagnosing A/C problems.
Common A/C Compressor Problems in the 2015 Pathfinder
The A/C compressor is a complex mechanical device subject to wear and tear. Here are some common issues you might encounter:
- Compressor Clutch Failure: The clutch is responsible for engaging and disengaging the compressor pulley from the compressor shaft. A faulty clutch will prevent the compressor from turning, leading to no cold air. You might hear a clicking sound or nothing at all when you engage the A/C. A worn clutch, burnt out coil, or a large air gap can cause this.
- Internal Compressor Failure: The compressor itself can fail internally due to worn pistons, valves, or seals. This often results in reduced cooling capacity, unusual noises (grinding, squealing), and potentially metal shavings circulating throughout the A/C system.
- Refrigerant Leaks: Leaks can occur at the compressor seals, hoses, or other components. Low refrigerant levels will reduce cooling performance and can eventually damage the compressor. You may need a UV dye and a UV light to accurately identify the source of the leak.
- Electrical Issues: Problems with the wiring, relays, or control module can prevent the compressor from receiving power or engaging properly.
Diagnosing Compressor Problems
Before condemning the compressor, it's important to perform thorough diagnostics. Here's a step-by-step approach:
- Check the Fuses and Relays: Start with the basics. Consult your owner's manual to locate the A/C compressor fuse and relay. Test the fuse with a multimeter. Swap the relay with a known good relay of the same type to see if that resolves the issue.
- Check Refrigerant Level: Use A/C manifold gauges to check the high and low side pressures. Low refrigerant is a very common cause of A/C problems, and the system is designed to prevent the compressor from engaging when pressures are too low to protect it.
- Inspect the Compressor Clutch: With the engine running and the A/C turned on, observe the compressor clutch.
- Is the clutch engaging? If not, check for power at the compressor clutch connector using a multimeter. If there's no power, the problem lies upstream (wiring, relay, control module).
- If there is power, but the clutch isn't engaging, the clutch itself is likely faulty. You can try to manually engage the clutch (carefully!) by jumping power and ground directly to the clutch connector to see if it engages. Be extremely cautious doing this as you can damage components.
- If the clutch engages, but the compressor is noisy or the cooling performance is poor, the compressor may have internal damage.
- Listen for Unusual Noises: Start the engine and turn on the A/C. Listen carefully for any grinding, squealing, or rattling noises coming from the compressor area. These sounds often indicate internal compressor damage.
- Visual Inspection: Inspect the compressor for any signs of leaks, damage, or corrosion. Also, check the condition of the A/C hoses and connections.
- Check for Error Codes: Use an OBD-II scanner capable of reading A/C system codes. This can provide valuable clues about the nature of the problem.
Replacing the A/C Compressor: Step-by-Step Guide
Disclaimer: Working on A/C systems requires specialized knowledge and equipment. If you're not comfortable with the following procedures, it's best to consult a qualified mechanic. Improper handling of refrigerant can be harmful to the environment and dangerous to your health.
Here's a general guide to replacing the A/C compressor on a 2015 Nissan Pathfinder. Always consult your vehicle's specific repair manual for detailed instructions and torque specifications.
- Gather Your Supplies:
- New A/C compressor (ensure it's the correct part for your vehicle)
- New receiver/drier (highly recommended)
- New expansion valve (optional, but recommended if the system is heavily contaminated)
- A/C manifold gauge set
- Vacuum pump
- Refrigerant (R-134a)
- Refrigerant oil (compatible with R-134a and specified for your compressor)
- Socket set, wrenches, screwdrivers
- Torque wrench
- Safety glasses and gloves
- Drain pan
- Recovery machine (for safely recovering refrigerant - required by law in many areas. A professional is recommended for this step)
- Recover the Refrigerant: This is the most critical step and must be done by a certified technician using a recovery machine to avoid environmental damage. Do NOT vent refrigerant into the atmosphere.
- Disconnect the Battery: Disconnect the negative battery cable to prevent electrical shorts during the repair.
- Remove the Old Compressor:
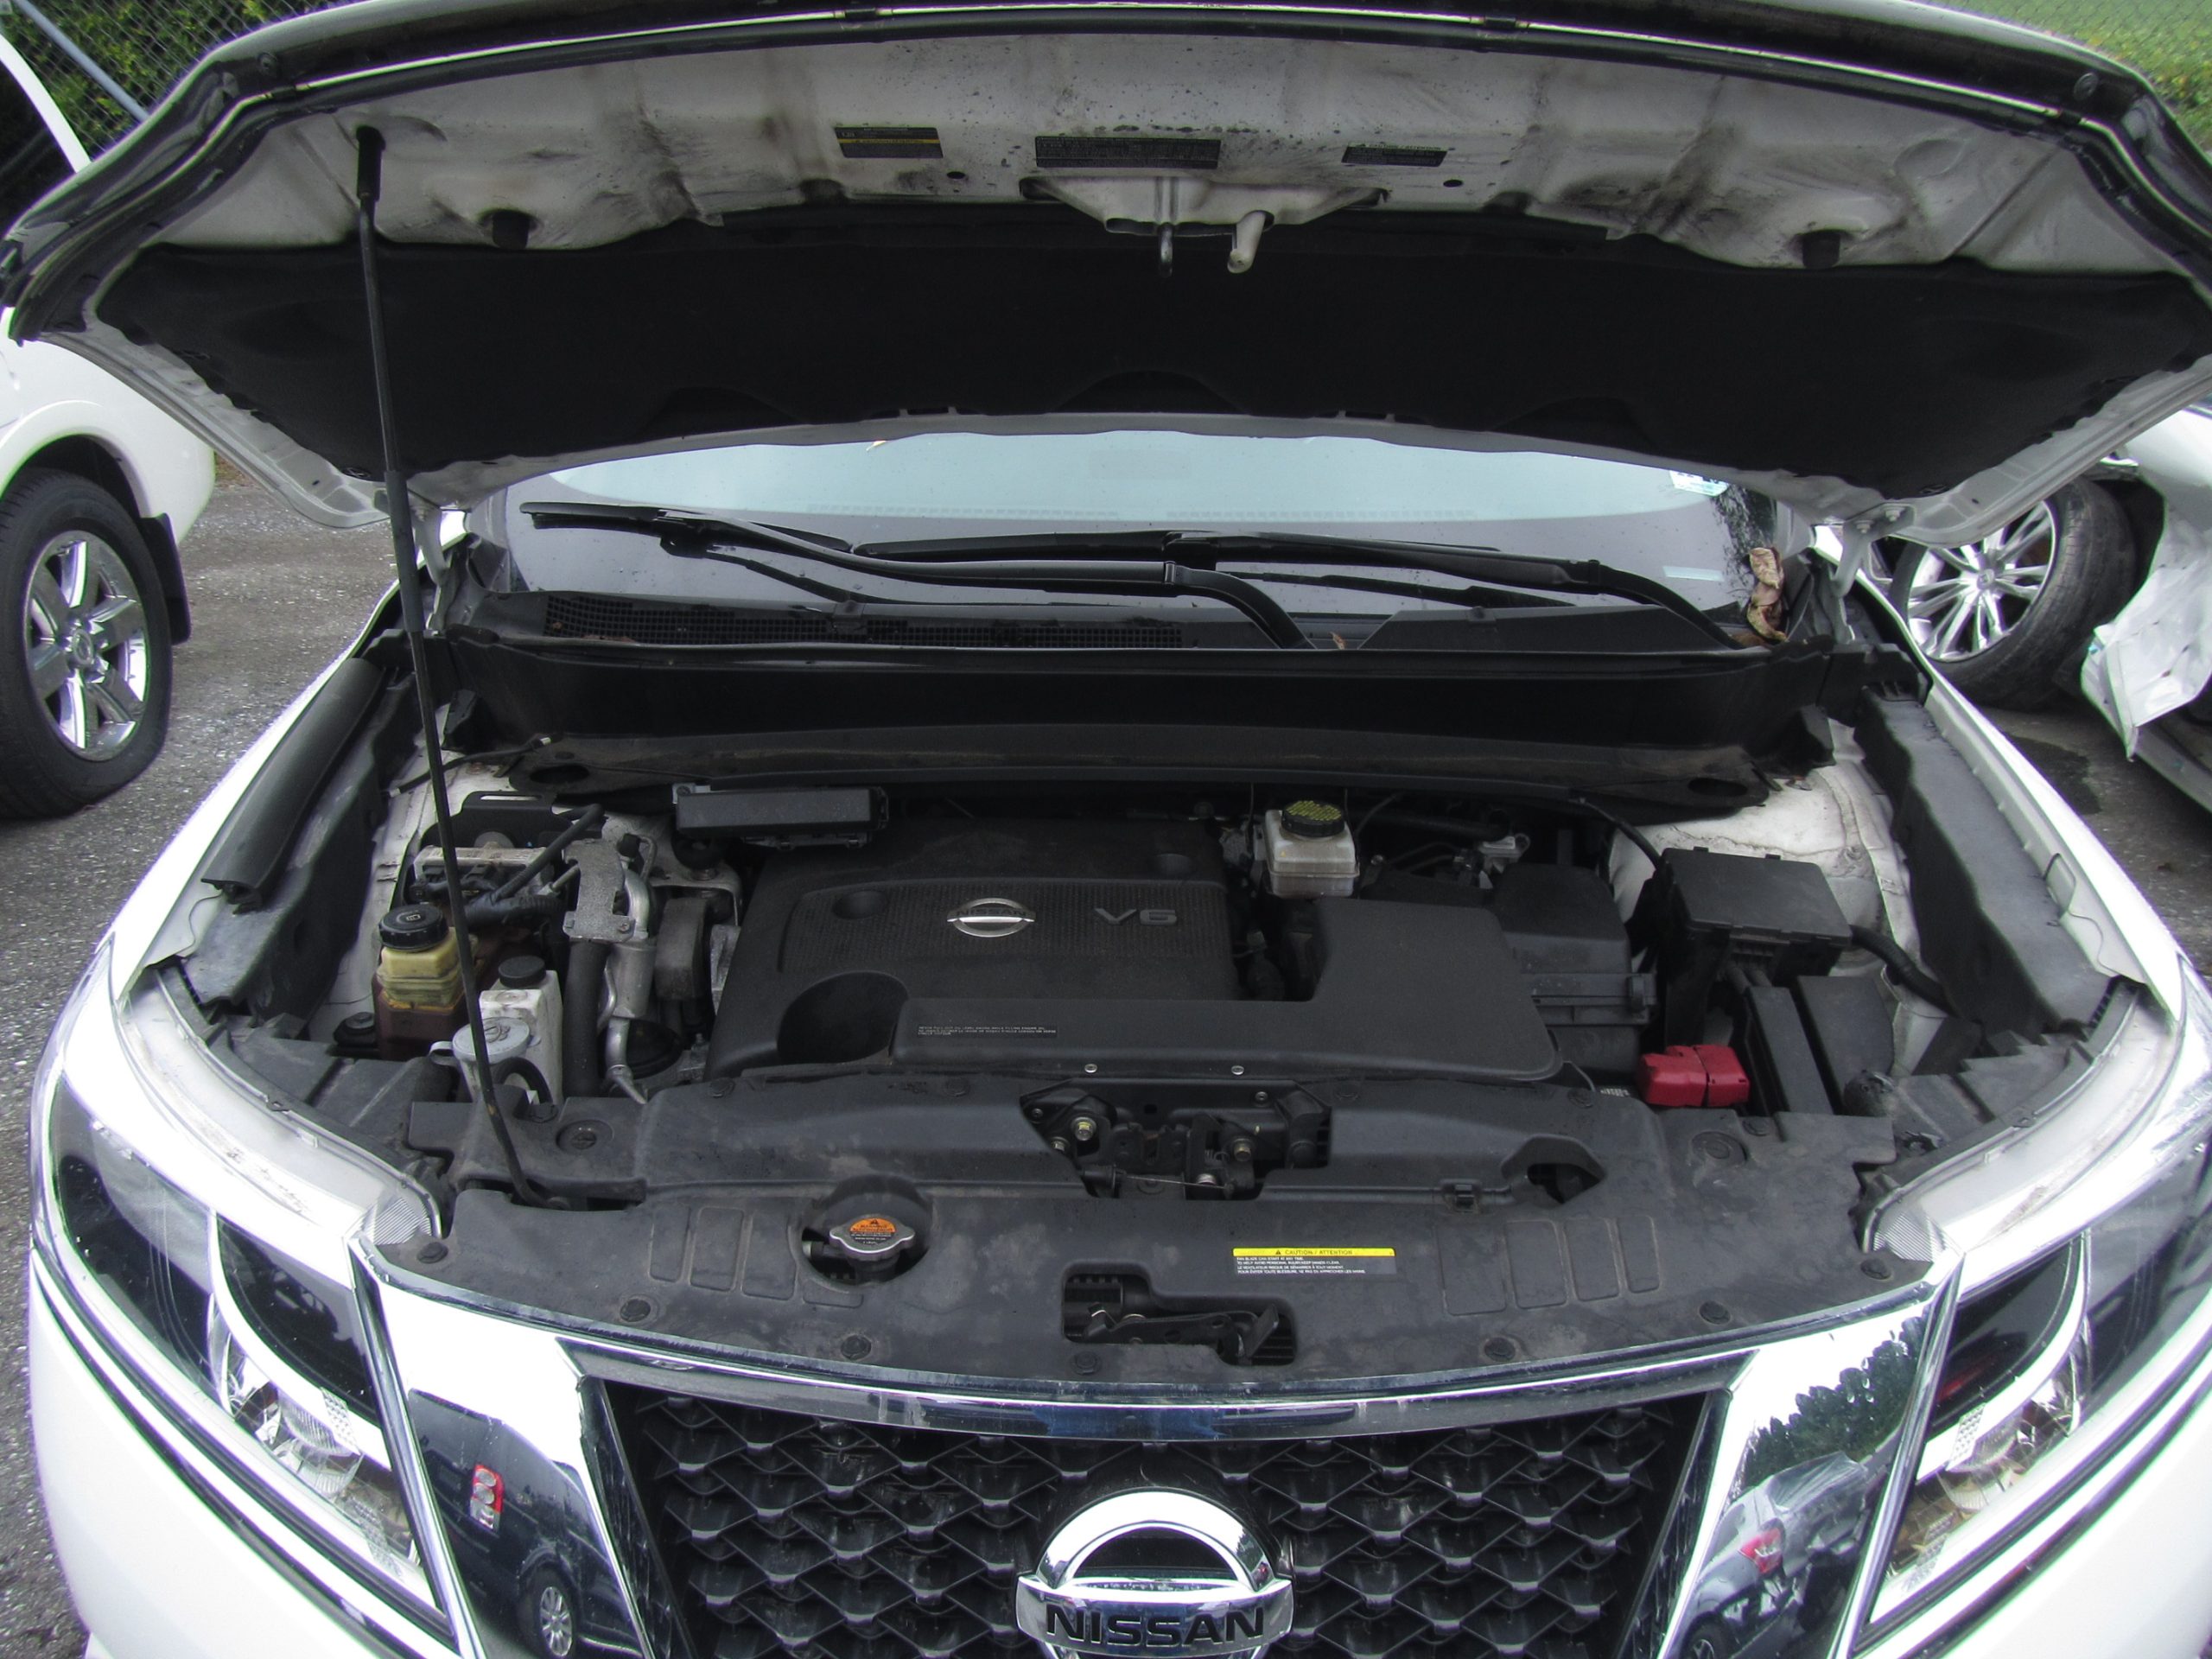
- Locate the A/C compressor (usually on the front of the engine).
- Disconnect the electrical connector to the compressor clutch.
- Disconnect the refrigerant lines from the compressor. Be prepared for a small amount of oil to leak out. Plug the lines immediately to prevent contamination.
- Remove the compressor mounting bolts.
- Carefully remove the old compressor.
- Install the New Compressor:
- Add the correct amount and type of refrigerant oil to the new compressor. This information should be provided with the new compressor or in your vehicle's repair manual. Incorrect oil type or amount can damage the compressor.
- Install the new compressor in the reverse order of removal.
- Torque the mounting bolts to the manufacturer's specifications.
- Connect the refrigerant lines to the new compressor, using new O-rings (lubricated with refrigerant oil) to ensure a proper seal.
- Connect the electrical connector to the compressor clutch.
- Replace the Receiver/Drier (and Expansion Valve if applicable):
- The receiver/drier should always be replaced when the A/C system is opened. It acts as a filter, and prolonged exposure to air contaminates the desiccant material inside.
- Locate the receiver/drier (usually near the condenser).
- Disconnect the refrigerant lines and remove the old receiver/drier.
- Install the new receiver/drier, using new O-rings.
- If replacing the expansion valve, it's typically located near the evaporator core inside the dashboard. This is a more involved process and may require removing dashboard components. Follow your vehicle's repair manual carefully.
- Evacuate the System:
- Connect the A/C manifold gauge set to the service ports.
- Connect a vacuum pump to the gauge set.
- Evacuate the system for at least 30-45 minutes to remove air and moisture. A good vacuum is critical for proper A/C system performance.
- Close the gauge valves and turn off the vacuum pump. Observe the gauges for at least 15 minutes to ensure the system holds a vacuum. If the vacuum drops, there's likely a leak that needs to be addressed.
- Recharge the System:
- Consult your vehicle's repair manual or the sticker under the hood for the correct refrigerant charge amount.
- Connect the refrigerant tank to the gauge set.
- Carefully charge the system with the specified amount of refrigerant. Follow the instructions on your gauge set and refrigerant tank.
- Test the System:
- Start the engine and turn on the A/C.
- Check the vent temperature. It should be significantly colder than the ambient temperature.
- Monitor the high and low side pressures on the A/C manifold gauges. They should be within the normal operating range.
- Listen for any unusual noises from the compressor.
Important Considerations
- Flushing the System: If the old compressor failed internally, it's crucial to flush the A/C system to remove any debris or metal shavings. This can prevent damage to the new compressor and other components. A/C flush kits are available, but professional flushing is often recommended.
- Oil Type and Amount: Using the correct type and amount of refrigerant oil is critical for compressor longevity. Consult your vehicle's repair manual or the new compressor's instructions for specific recommendations.
- O-Rings: Always use new O-rings when connecting refrigerant lines. Lubricate the O-rings with refrigerant oil before installation.
- Safety: Refrigerant can cause frostbite and is harmful if inhaled. Wear safety glasses and gloves when working with A/C systems.
Replacing the A/C compressor on a 2015 Nissan Pathfinder can be a challenging but rewarding DIY project. By following these steps carefully and consulting your vehicle's repair manual, you can save money and gain a better understanding of your vehicle's A/C system. Remember to prioritize safety and seek professional help if you're unsure about any aspect of the repair.