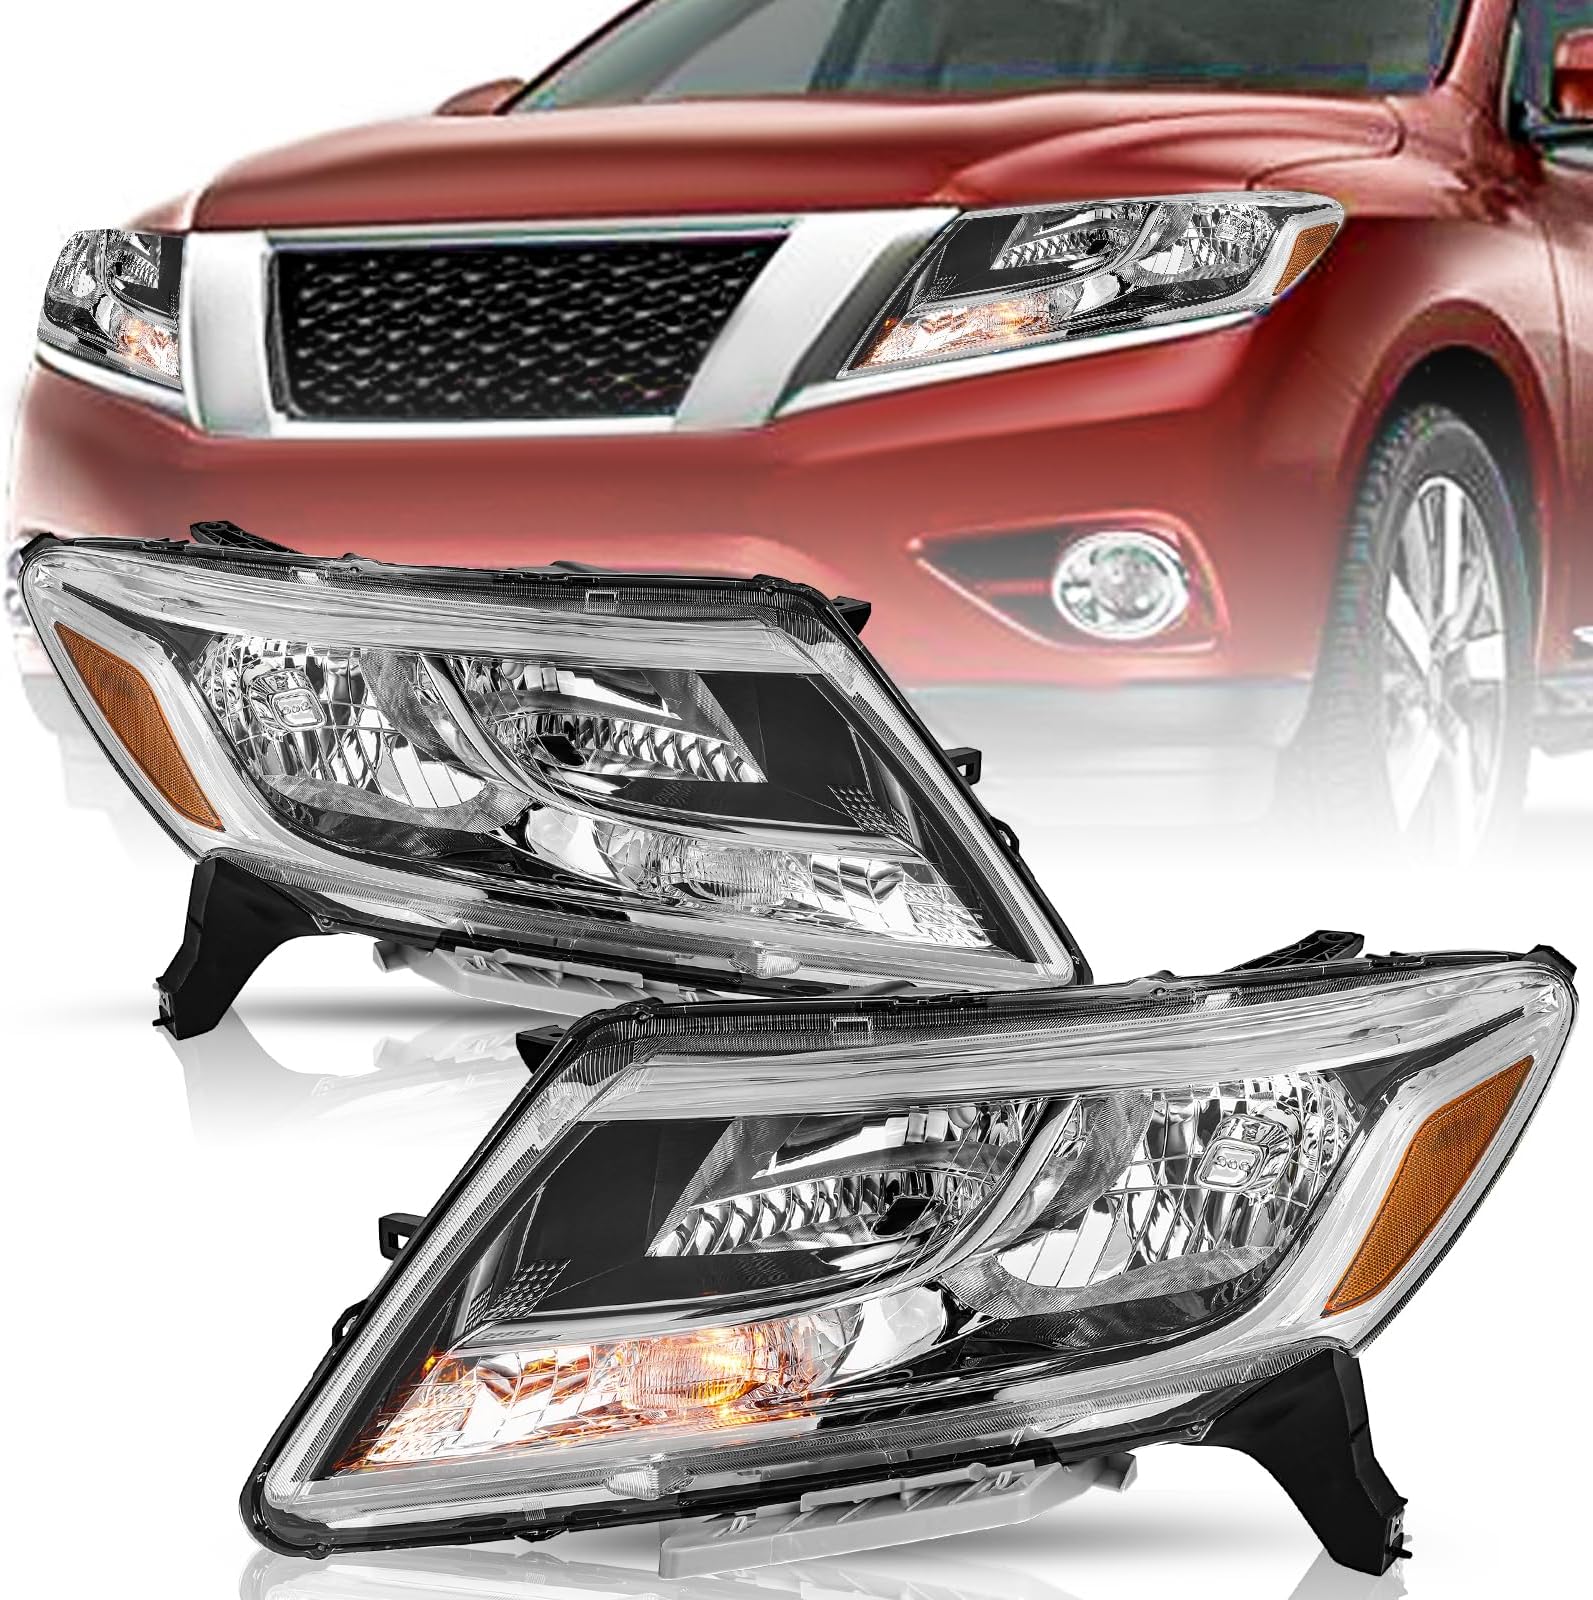
2015 Nissan Pathfinder Headlight Assembly
So, you're having trouble with the headlight assembly on your 2015 Nissan Pathfinder? Don't worry, it's a fairly common issue and often fixable without breaking the bank. This article will walk you through some of the typical problems, their causes, and how to troubleshoot and potentially resolve them. Think of me as your friendly, experienced service advisor, guiding you through the process.
Common 2015 Pathfinder Headlight Assembly Problems
Let's start by identifying what might be going wrong with your Pathfinder's headlights. Here are a few of the most frequently encountered issues:
- Cloudy or Yellowed Headlights: This is probably the most prevalent issue, and it's caused by oxidation from UV exposure and road debris. Over time, the plastic lens becomes hazy, significantly reducing light output and visibility, especially at night.
- Cracked or Damaged Headlight Housing: Accidents, impacts from road debris, or even extreme weather can lead to cracks or breaks in the headlight housing. This can compromise the headlight's structural integrity and allow moisture and debris to enter.
- Burned-Out Bulbs: This is a simple one, but often overlooked. Headlight bulbs have a finite lifespan and will eventually burn out. It could be a simple bulb replacement that is needed.
- Moisture Inside the Headlight Assembly: Condensation or water intrusion inside the headlight housing can cause electrical problems, damage the bulbs, and further cloud the lens. This is often a result of damaged seals or cracks in the housing.
- Headlight Aiming Issues: Misaligned headlights can cause poor visibility and even blind oncoming drivers. If your headlights seem to be pointing too high, too low, or off to one side, they may need adjustment.
- Electrical Problems: Wiring issues, faulty relays, or problems with the headlight switch can all cause headlight malfunctions.
Troubleshooting Your Pathfinder's Headlights
Before you start replacing parts, let's do some troubleshooting. This will help you pinpoint the exact cause of the problem and avoid unnecessary expenses.
Step 1: Visual Inspection
Begin with a thorough visual inspection of the headlight assemblies. Look for:
- Cracks or damage to the housing: Pay close attention to seams and areas prone to impact.
- Cloudiness or yellowing of the lens: Note the severity of the oxidation.
- Moisture inside the assembly: Look for condensation or water droplets.
- The condition of the bulb: If possible, visually inspect the bulb for a broken filament. (Although often, burned-out bulbs look fine).
Step 2: Bulb Check
Even if the bulb *looks* okay, it might still be the culprit. Here's how to test it:
- Turn on your headlights: Do both headlights work on both low and high beams? If not, proceed to the next step.
- Swap bulbs: If one headlight isn't working, try swapping the bulb with the working side. If the problem moves to the other side, the bulb is the issue.
Step 3: Electrical System Check
If the bulbs are good, the problem might be electrical. Here's what to check:
- Check the fuses: Locate the headlight fuse(s) in your Pathfinder's fuse box (refer to your owner's manual for location). Use a fuse tester or simply visually inspect the fuse for a broken filament. Replace any blown fuses with the correct amperage.
- Check the relays: Headlights often use relays. Again, consult your owner's manual for the location of the headlight relay. You can try swapping the relay with a known good relay (like the horn relay) to see if that resolves the issue. Be sure the relays are the same type and amperage.
- Inspect the wiring: Look for damaged, frayed, or corroded wires around the headlight assembly and the wiring harness. Use a multimeter to check for voltage at the headlight connector.
Step 4: Headlight Aim Adjustment
If your headlights are simply misaligned, you can adjust them yourself. Here's a basic procedure:
- Park your Pathfinder on a level surface, facing a wall.
- Measure the distance from the ground to the center of your headlights.
- Mark the same height on the wall with tape.
- Turn on your low beams.
- Locate the adjustment screws on the headlight assembly. There are usually two: one for vertical adjustment and one for horizontal adjustment.
- Use a screwdriver to adjust the screws until the headlight beams are aligned with the tape marks on the wall. Refer to your owner's manual for specific aiming procedures and specifications.
Solutions and Repair Options
Now that you've identified the problem, let's look at some potential solutions:
1. Headlight Restoration (Cloudy/Yellowed Lenses)
For cloudy or yellowed headlights, you have a couple of options:
- DIY Restoration Kits: These kits typically include sandpaper, polishing compounds, and UV sealant. They can be effective for mild oxidation, but require some elbow grease and attention to detail. Expect to spend around $20-$50 for a good kit.
- Professional Headlight Restoration: A professional detailer can restore your headlights to like-new condition using specialized equipment and techniques. This is a more expensive option but often yields better results. Professional restoration can cost anywhere from $75-$150 per headlight.
2. Headlight Assembly Replacement (Cracked/Damaged Housing, Moisture Intrusion)
If your headlight housing is cracked, damaged, or experiencing significant moisture intrusion, replacement is usually the best option. You can purchase a new or used headlight assembly online or from an auto parts store.
- Aftermarket Headlight Assemblies: These are typically less expensive than OEM (Original Equipment Manufacturer) parts and are readily available. Expect to pay around $100-$300 per assembly, depending on the brand and features (e.g., LED headlights).
- OEM Headlight Assemblies: These are the same parts that came with your Pathfinder from the factory. They are generally more expensive but offer the best fit and quality. OEM assemblies can cost $300-$600 or more per assembly.
- Used Headlight Assemblies: You can often find used headlight assemblies at salvage yards or online. This is the most affordable option, but be sure to inspect the assembly carefully for damage or cloudiness before purchasing.
Replacing the headlight assembly is a relatively straightforward DIY project for those with basic mechanical skills. Here's a general outline of the process:
- Disconnect the negative battery cable.
- Remove any trim pieces or fasteners that are holding the headlight assembly in place.
- Disconnect the electrical connectors from the headlight assembly.
- Remove the old headlight assembly.
- Install the new headlight assembly, connecting the electrical connectors and securing it with the fasteners.
- Reconnect the negative battery cable.
- Test the headlights.
- Adjust the headlight aim, if necessary.
Tools Needed for Headlight Assembly Replacement:
- Socket set
- Screwdriver set
- Pliers
- Trim removal tool (optional)
3. Bulb Replacement (Burned-Out Bulbs)
Replacing a burned-out headlight bulb is a quick and easy fix. Consult your owner's manual for the correct bulb type.
- Halogen Bulbs: These are the standard type of bulb that comes with most 2015 Pathfinders. They typically cost $10-$30 per bulb.
- LED Bulbs: LED bulbs are brighter, longer-lasting, and more energy-efficient than halogen bulbs. However, they can be more expensive and may require modifications to the headlight assembly.
- HID Bulbs: Some Pathfinder trims may have come with HID (High-Intensity Discharge) bulbs. These are very bright but also require a ballast. If you have HID headlights, be sure to replace the bulb with the correct HID type.
Replacing a headlight bulb is usually a simple process:
- Disconnect the electrical connector from the bulb.
- Remove the bulb from the headlight assembly (usually by twisting or unclipping it).
- Install the new bulb, making sure it's properly seated.
- Reconnect the electrical connector.
- Test the headlights.
4. Electrical Repair (Wiring Issues, Faulty Relays)
Diagnosing and repairing electrical problems can be more complex. If you're not comfortable working with electrical systems, it's best to take your Pathfinder to a qualified mechanic. Electrical repairs can range from $50 to several hundred dollars, depending on the severity of the problem.
Preventative Maintenance
To help prevent headlight problems, consider these tips:
- Regularly clean your headlight lenses: This will help remove dirt and debris that can contribute to oxidation.
- Apply a UV sealant to your headlight lenses: This will protect the plastic from sun damage.
- Check your headlight bulbs regularly: Replace bulbs as soon as they start to dim.
- Avoid driving in harsh weather conditions: Extreme temperatures and road salt can damage your headlights.
Conclusion
Dealing with headlight issues on your 2015 Nissan Pathfinder can be frustrating, but hopefully, this guide has provided you with the information you need to troubleshoot and resolve the problem. Remember to prioritize safety and consult a qualified mechanic if you're not comfortable performing any of these repairs yourself. With a little effort, you can keep your headlights shining brightly and ensure safe driving for years to come.