2015 Nissan Rogue Headlight Assembly Replacement
So, you're having trouble with your 2015 Nissan Rogue's headlights? Don't worry, you're not alone. Headlight assemblies can become cloudy, damaged, or just plain fail over time. The good news is, replacing the entire headlight assembly on a 2015 Rogue is a job you can often tackle yourself with a bit of patience and the right tools. This article will guide you through the process, helping you diagnose the problem and understand the steps involved in a successful replacement.
Identifying the Problem
Before you start tearing things apart, let's be sure replacing the assembly is actually the right fix. Here are some common headlight issues and whether a replacement is needed:
- Cloudy or Yellowed Headlights: This is a very common problem. While headlight restoration kits can sometimes improve clarity, if the damage is severe or internal, a replacement might be the best long-term solution.
- Cracked or Broken Lens: This is a clear case for replacement. Cracks allow moisture to enter, damaging the bulb and reflector, and can also be a safety hazard.
- Water Condensation Inside the Assembly: This often indicates a broken seal, and replacing the assembly is typically the most effective solution. You might be able to reseal it, but that's often a temporary fix.
- Flickering or Non-Working Headlight: While a burnt-out bulb is the most likely culprit, if you've already replaced the bulb and the problem persists, it could indicate an issue with the wiring or the headlight assembly itself. Check the wiring harness connector for corrosion or damage before assuming the whole assembly is bad.
- Physical Damage to the Mounting Points: If the headlight assembly is loose or can't be properly adjusted due to broken mounting points, replacement is necessary.
Important Note: Always check your headlight bulbs first before assuming the entire assembly needs replacing. It's the easiest and cheapest thing to rule out!
Gathering Your Supplies and Tools
Before you begin, make sure you have everything you need. This will save you time and frustration.
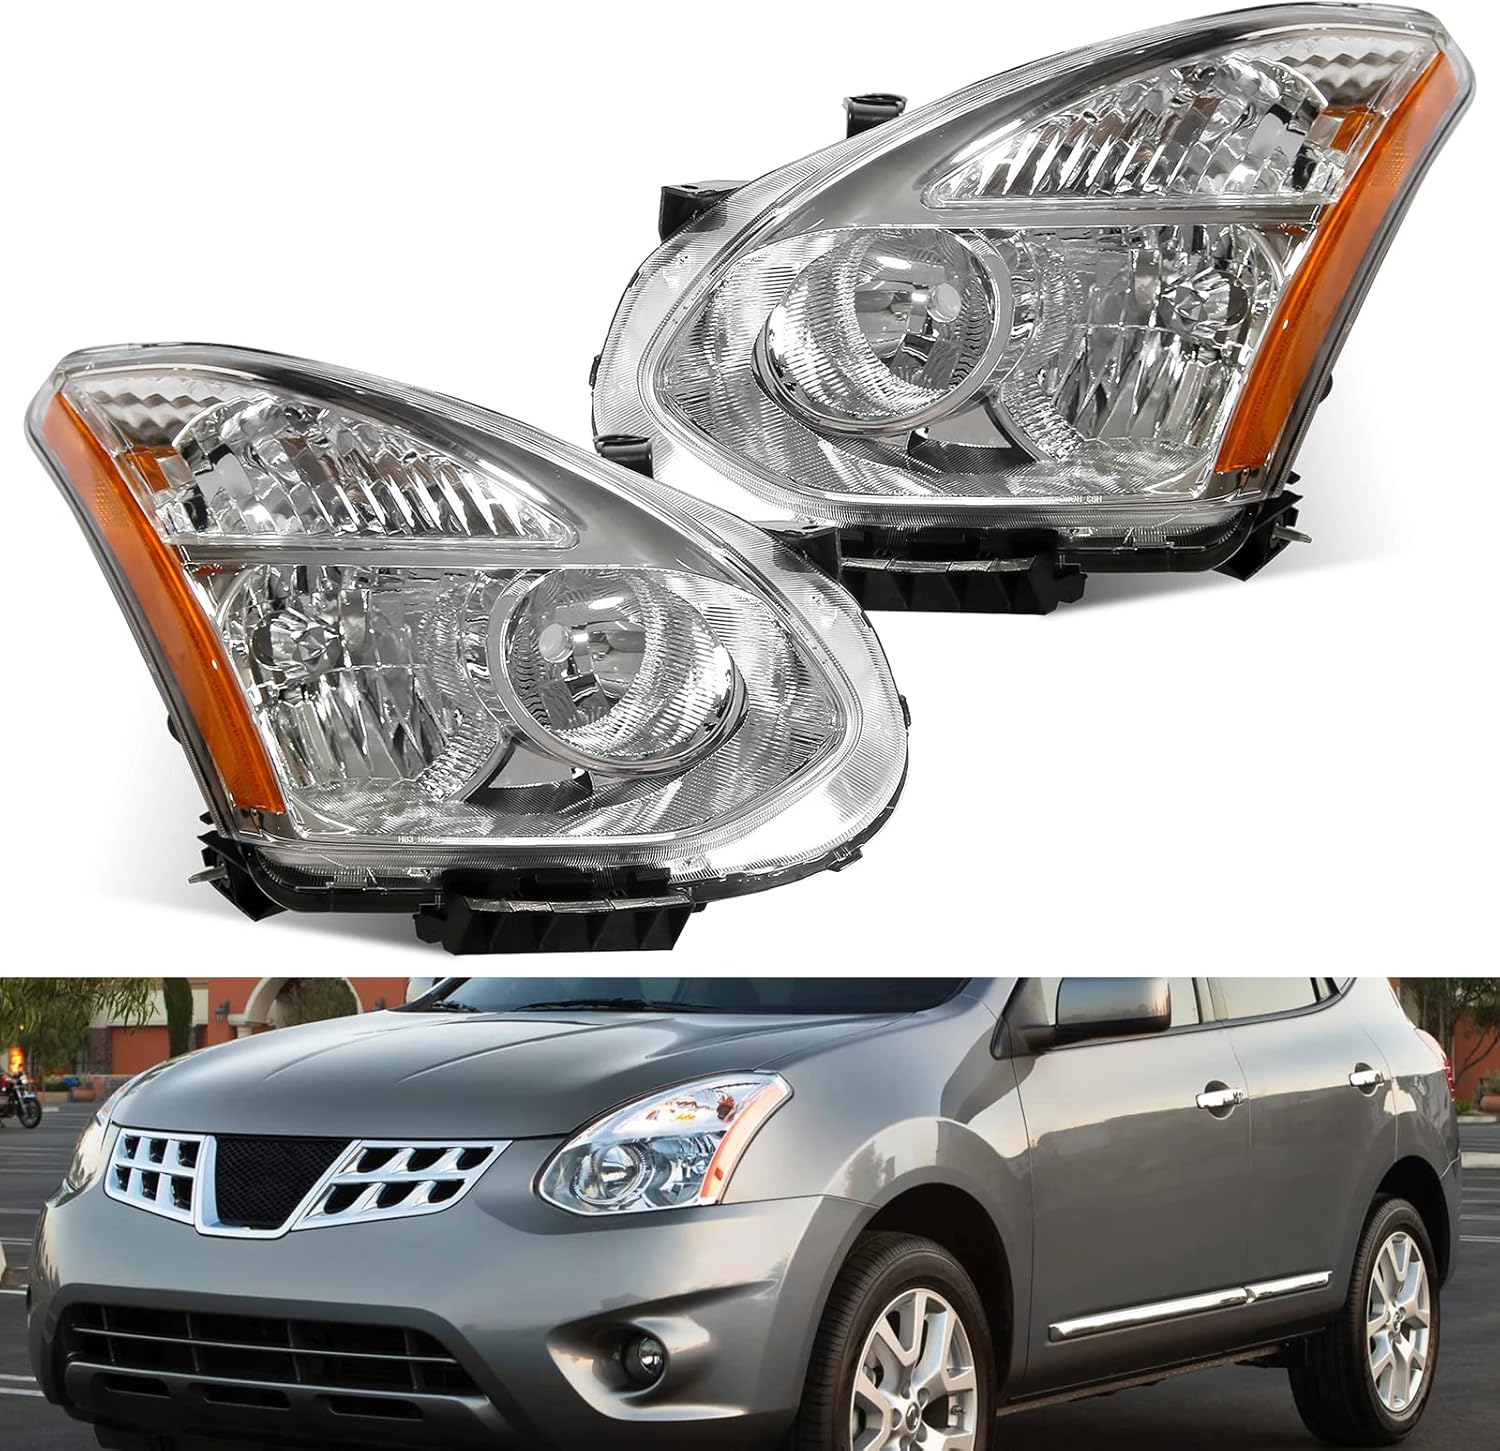
- New Headlight Assembly: Purchase a replacement headlight assembly specifically designed for the 2015 Nissan Rogue. Ensure it matches the side (driver or passenger) you're replacing. You can find these at auto parts stores, online retailers, or even from Nissan directly. Consider if you want to upgrade to a different style assembly as well.
- Socket Set: A standard socket set with metric sizes will be essential. 8mm, 10mm, and 12mm sockets are commonly used.
- Wrench Set: Similar to the socket set, a wrench set with metric sizes will come in handy.
- Screwdrivers: A Phillips head and a flathead screwdriver will be needed for removing screws and potentially prying clips.
- Trim Removal Tool (Optional): These plastic tools are designed to gently remove trim pieces without damaging them. A flathead screwdriver can work, but use caution.
- Pliers: Needle-nose pliers can be useful for disconnecting wiring connectors.
- Gloves: To protect your hands.
- Safety Glasses: To protect your eyes from debris.
- Work Light: Good lighting is essential, especially if you're working in a garage.
- Painter's Tape (Optional): To protect the surrounding paint from scratches.
Approximate Cost of Parts: A replacement headlight assembly for a 2015 Nissan Rogue can range from $80 to $250, depending on the brand and features (e.g., halogen vs. LED). Labor at a shop will likely add another $100-$200.
Step-by-Step Headlight Assembly Replacement
Now, let's get down to the nitty-gritty. This guide assumes you are replacing the entire headlight assembly. Always disconnect the negative terminal of the battery to prevent electrical shorts. You don't want to accidentally trigger the airbag system or damage any electrical components.
- Disconnect the Battery: Use a wrench to loosen the nut on the negative terminal of the battery and carefully disconnect the cable. Secure it away from the terminal to prevent accidental contact.
- Remove the Grille (May Be Necessary): Some 2015 Rogue models require you to remove the grille to access the headlight assembly mounting bolts. Check your specific model. If required, you'll likely need to remove screws or clips along the top and bottom of the grille. Use a trim removal tool or a flathead screwdriver carefully to pry the clips loose.
- Locate and Remove Mounting Bolts/Screws: Carefully examine the headlight assembly. You'll find several bolts or screws holding it in place. These are usually located around the perimeter of the assembly. Commonly, there will be bolts on top, on the side near the fender, and potentially one or two underneath the assembly. Use the appropriate sockets or wrenches to remove these. Pay attention to the location of each bolt/screw as you remove it – this will help you when reinstalling the new assembly.
- Disconnect Wiring Harness: Once the mounting hardware is removed, gently pull the headlight assembly forward. You'll encounter a wiring harness connected to the back of the assembly. Most connectors have a locking tab that needs to be pressed or squeezed before you can disconnect the connector. Use your pliers or fingers to gently release the tab and pull the connector straight out. Do not pull on the wires themselves!
- Remove the Old Headlight Assembly: With the wiring harness disconnected and all mounting hardware removed, you should be able to completely remove the old headlight assembly.
- Install the New Headlight Assembly: Now it's time to install the new headlight assembly. First, connect the wiring harness to the back of the new assembly. Make sure the connector clicks into place to ensure a secure connection.
- Align and Secure the New Assembly: Carefully align the new headlight assembly with the mounting points. Reinstall the mounting bolts/screws in the reverse order you removed them. Don't overtighten them – just snug them up.
- Reinstall the Grille (If Removed): If you removed the grille, carefully align it and reattach it using the screws or clips you removed earlier.
- Reconnect the Battery: Reattach the negative battery cable and tighten the nut.
- Test the Headlights: Turn on your headlights to ensure they are working correctly. Check both low beams and high beams. Also, check the turn signal and parking lights in the assembly.
- Adjust the Headlights (If Necessary): After installation, you might need to adjust the headlight beam to ensure proper alignment. Most headlight assemblies have adjustment screws that allow you to adjust the vertical and horizontal aim. Refer to your owner's manual or search online for instructions on how to properly aim your headlights. Improperly aimed headlights can be dangerous and illegal.
Troubleshooting Tips
Sometimes things don't go exactly as planned. Here are some common issues you might encounter and how to deal with them:
- Difficulty Removing Mounting Bolts: If the bolts are rusted or seized, try using a penetrating oil like WD-40 to loosen them. Let it soak for a few minutes before attempting to remove them again.
- Broken Wiring Connector: If the wiring connector is brittle or breaks, you might need to purchase a new connector. You can find these at auto parts stores or online. You'll need to splice the new connector into the existing wiring harness.
- Headlight Doesn't Work After Installation: Double-check the wiring connections. Make sure the connector is fully seated and the locking tab is engaged. Also, check the fuses related to the headlights in the fuse box. A blown fuse could be the problem.
- Headlight Assembly Doesn't Fit Properly: Make sure you purchased the correct headlight assembly for your 2015 Nissan Rogue. Double-check the part number to ensure compatibility. Also, make sure there are no obstructions preventing the assembly from seating properly.
When to Seek Professional Help
While replacing a headlight assembly is often a DIY project, there are times when it's best to seek professional help:
- You're Not Comfortable Working on Your Car: If you're not mechanically inclined or don't feel comfortable working on your car's electrical system, it's best to leave it to a professional.
- You Encounter Significant Difficulties: If you run into unexpected problems or are unable to remove the old headlight assembly, don't force it. You could damage other components.
- You Need Headlight Aiming: If you're not comfortable aiming your headlights yourself, a mechanic can do it for you properly.
Replacing your 2015 Nissan Rogue's headlight assembly is a manageable task with the right tools and information. By following these steps and taking your time, you can save yourself some money and gain a sense of accomplishment. However, always prioritize safety and don't hesitate to seek professional help if needed. Good luck!