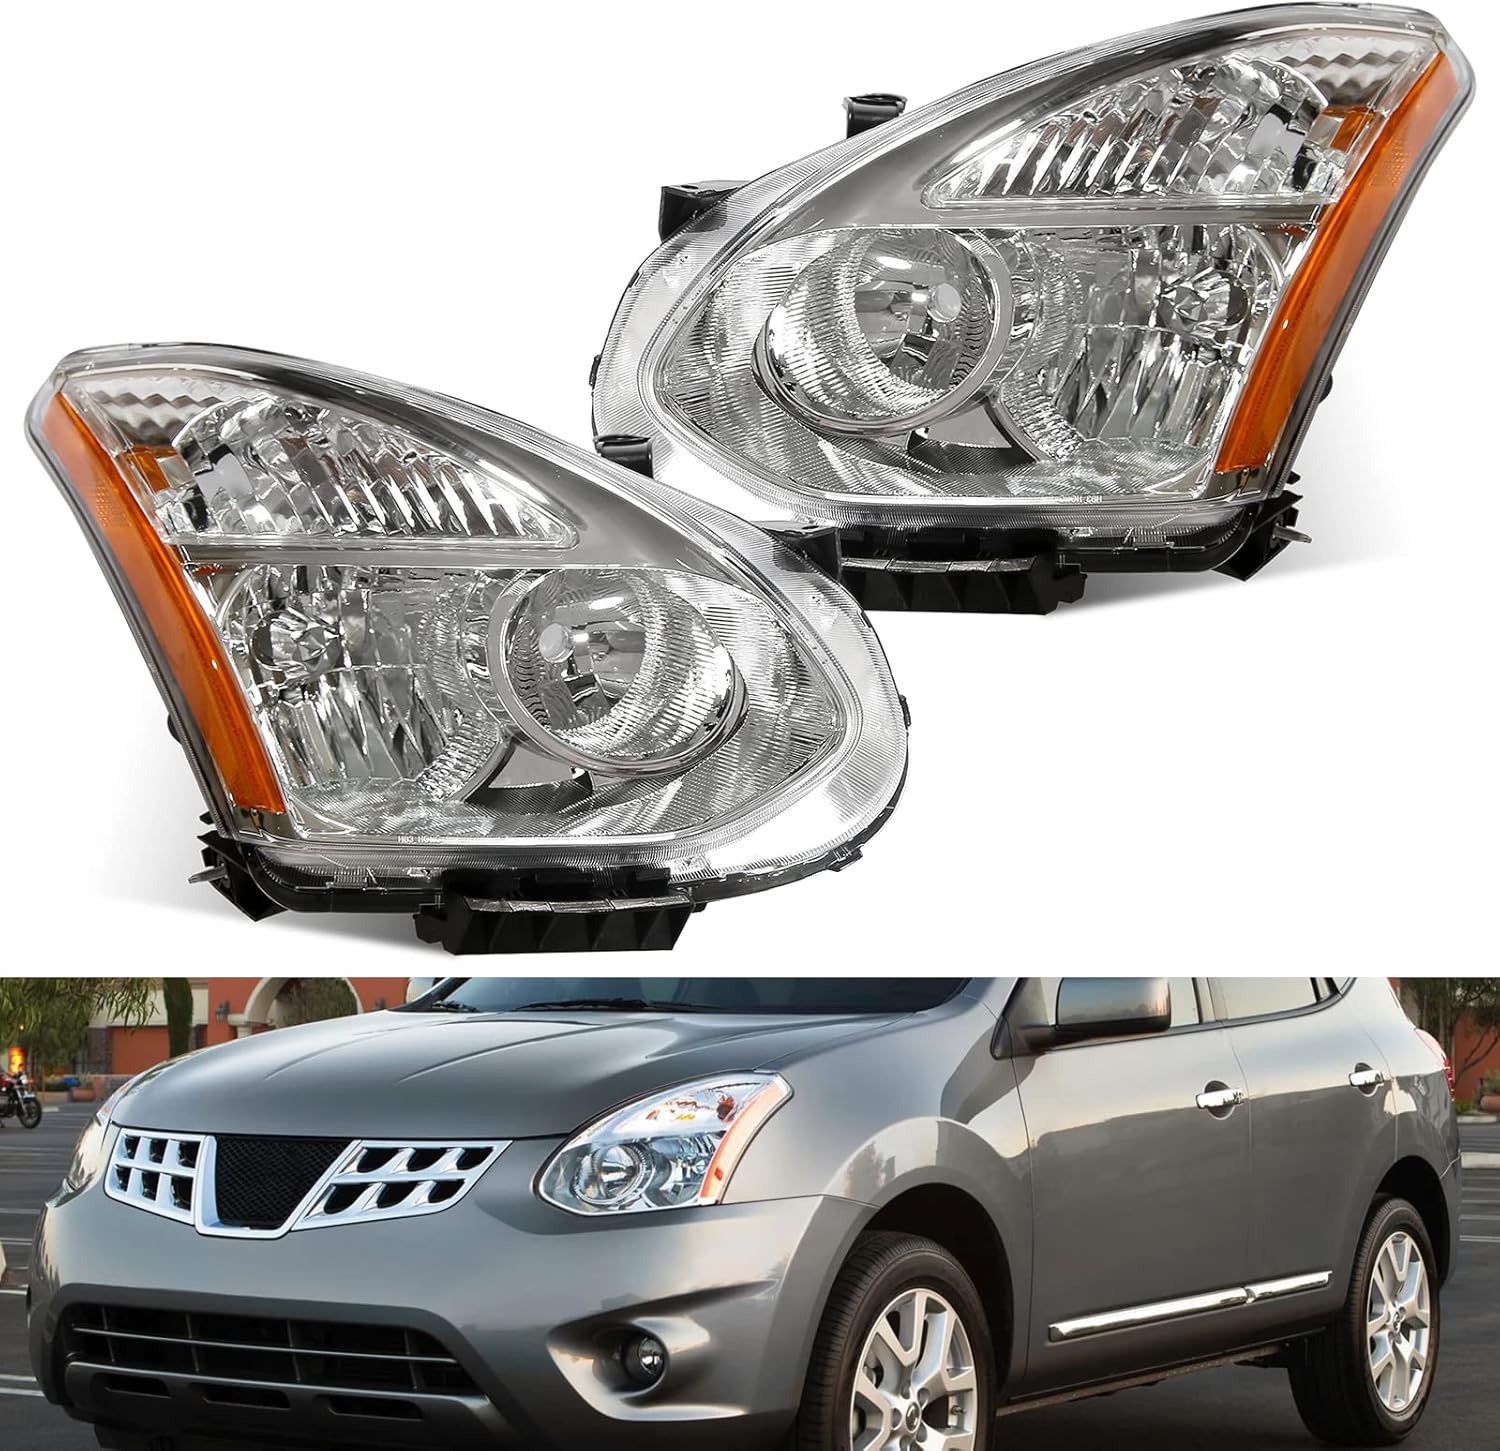
2015 Nissan Rogue Select Headlight Bulb
So, your 2015 Nissan Rogue Select has a headlight out? Don't worry, it happens! A burnt-out headlight is a common issue on just about any vehicle, and the Rogue Select is no exception. While it might seem daunting, replacing a headlight bulb is often a repair you can tackle yourself with the right information and a little patience. This guide will walk you through troubleshooting the problem and, if it is the bulb, how to replace it safely and effectively. We'll also touch on some potential causes and alternatives if replacing the bulb doesn't solve the issue.
Troubleshooting Your 2015 Rogue Select Headlight
Before diving into a bulb replacement, let's make sure that's actually the problem. Here's a simple checklist to help you diagnose the headlight issue:
- Verify the Bulb is Truly Burnt Out: Sounds obvious, but sometimes it's easy to miss. Try turning on your headlights (both low and high beams) to confirm.
- Check the Other Headlight: Is *both* headlights are out simultaneously? If so, you might be dealing with a fuse or a larger electrical issue, and not just a single burnt-out bulb.
- Inspect the Bulb Visually: If you can access the headlight bulb without removing it, take a look. A burnt-out bulb often has a dark, blackened, or broken filament inside. *However, don't assume it's good just because it looks okay!* Filaments can break without obvious visual cues.
- Check the Headlight Fuse: Locate your Rogue Select's fuse box (usually under the hood or inside the cabin). Consult your owner's manual to identify the headlight fuse(s). Use a fuse tester or visually inspect the fuse to see if it's blown. A blown fuse will have a broken wire inside. If it's blown, replace it with a fuse of the *same amperage*.
- Consider the Headlight Relay: While less common than a blown fuse or burnt-out bulb, a faulty headlight relay can also prevent your headlights from working. Relays are small, cube-shaped components in the fuse box. Again, your owner's manual will identify the headlight relay. Swapping it with an identical relay from another system (like the horn) can help you diagnose if the relay is the problem. If the headlights work after the swap and the horn doesn’t, you've found your culprit!
Gathering Your Tools and Parts
Assuming you've determined the headlight bulb is the likely culprit, here's what you'll need for the replacement:
- Replacement Headlight Bulb: This is the most important part! For your 2015 Nissan Rogue Select, you'll typically need an H11 bulb for the low beam. _Double-check your owner's manual or a parts store catalog to confirm the correct bulb type._ While you're at it, consider replacing both headlight bulbs at the same time. This ensures even brightness and prevents you from having to repeat the process shortly after.
- Gloves: This is critical! The oils on your skin can damage the new bulb and shorten its lifespan. Use latex or nitrile gloves.
- Socket Wrench or Nut Driver: You *might* need this to remove a retaining bracket or cover, though often it is clip based. The specific size will depend on the bracket, but a standard metric set is a good start.
- Screwdriver (Phillips or Flathead): Again, may be needed to remove retaining clips or screws.
- Pliers (Optional): Sometimes helpful for maneuvering tight clips or connectors.
- Flashlight or Headlamp: Essential for seeing what you're doing, especially if you're working in a dimly lit area.
- Owner's Manual: A valuable resource for locating fuses, relays, and specific instructions for your vehicle.
Step-by-Step Headlight Bulb Replacement
Now, let's get to the actual replacement. Always work on a cool engine to avoid burns.
- Disconnect the Negative Battery Terminal (Recommended): This adds an extra layer of safety by preventing any accidental electrical shorts during the process. Use a wrench to loosen the nut on the negative terminal and carefully remove the cable. Tuck it away so it doesn't accidentally reconnect.
- Access the Headlight Assembly: Open the hood of your Rogue Select. Locate the headlight assembly on the side where the burnt-out bulb is. The access panel for the headlight bulb is usually on the back of the headlight housing. It might be covered by a plastic cover or held in place by clips or screws.
- Remove the Dust Cover or Access Panel: Depending on your vehicle, you'll either need to unscrew the cover or unclip it. Be careful not to break any plastic clips.
- Disconnect the Electrical Connector: The bulb will have an electrical connector attached to its back. Gently squeeze the connector and pull it straight off the bulb. Do *not* pull on the wires themselves.
- Remove the Old Headlight Bulb: The bulb is usually held in place by a retaining clip or a bayonet-style fitting.
- Retaining Clip: If there's a clip, gently press and unhook it. The clip may pivot or slide to release the bulb. Note how the clip is oriented before removing the bulb so you can reinstall it correctly.
- Bayonet Fitting: If it's a bayonet fitting, twist the bulb counterclockwise to release it.
- Install the New Headlight Bulb: Handle the new bulb with gloves only! Avoid touching the glass portion of the bulb. Insert the new bulb into the headlight assembly, aligning it correctly with the socket.
- Secure the Bulb: Secure the bulb using the retaining clip (if applicable) or by twisting it clockwise if it's a bayonet fitting. Ensure it's firmly in place.
- Reconnect the Electrical Connector: Plug the electrical connector back onto the bulb until it clicks into place.
- Replace the Dust Cover or Access Panel: Reinstall the dust cover or access panel, ensuring it's securely fastened. This is crucial for protecting the bulb from moisture and debris.
- Reconnect the Negative Battery Terminal (If Disconnected): Reattach the negative battery cable and tighten the nut.
- Test the Headlight: Turn on your headlights to ensure the new bulb is working correctly. Also, check both low and high beams.
- Repeat for the Other Side (Optional): If you haven't already, consider replacing the bulb on the other side to ensure even brightness and avoid future issues.
Potential Issues and Solutions
Sometimes, even after replacing the bulb, you might still have problems. Here are some common scenarios and how to address them:
- New Bulb Doesn't Work:
- Check the Fuse Again: It's possible the new bulb blew the fuse as well.
- Ensure Proper Connection: Double-check that the electrical connector is securely attached to the bulb.
- Verify Bulb Type: Make absolutely sure you're using the correct bulb type for your Rogue Select.
- Faulty New Bulb: It's rare, but occasionally, a brand-new bulb can be defective. Try a different bulb from a reputable brand.
- Headlight is Dim:
- Oxidation on Connectors: Check for corrosion or oxidation on the electrical connectors. Clean them with a wire brush or electrical contact cleaner.
- Grounding Issue: A poor ground connection can reduce headlight brightness. Check the ground wire near the headlight assembly for corrosion or looseness.
- Headlight Flickers:
- Loose Connection: Make sure all connections are tight and secure.
- Voltage Fluctuations: A faulty alternator or voltage regulator could be causing voltage fluctuations. This is best diagnosed by a qualified mechanic.
Cost Considerations
The cost of replacing a headlight bulb on your 2015 Nissan Rogue Select can vary depending on several factors:
- Bulb Type: Standard halogen bulbs are the least expensive, while LED or HID bulbs are more costly. Expect to pay anywhere from $10 to $50+ per bulb, depending on the type and brand.
- DIY vs. Professional Installation: Doing it yourself will save you on labor costs, which can range from $50 to $150 at a shop.
Approximate DIY Cost: $10 - $50 (for the bulb(s)).
Approximate Professional Cost: $60 - $200 (including bulb and labor).
When to Seek Professional Help
While replacing a headlight bulb is often a straightforward DIY project, there are times when it's best to seek professional assistance:
- You're Uncomfortable Working on Your Car: If you're not confident in your ability to perform the repair safely and correctly, it's always best to leave it to a professional.
- You Encounter Difficulties: If you're having trouble accessing the headlight assembly, removing the bulb, or connecting the electrical connector, don't force anything. You could damage the headlight assembly or other components.
- You Suspect a More Serious Electrical Problem: If replacing the bulb and checking the fuse doesn't solve the issue, there might be a more complex electrical problem that requires specialized diagnostic equipment.
- Headlight Assembly Damage: If the headlight housing is cracked or damaged, it's best to have it professionally repaired or replaced. Trying to replace just the bulb in a damaged assembly could lead to further problems.
By following these steps, you should be able to confidently diagnose and address most headlight bulb issues on your 2015 Nissan Rogue Select. Remember to always prioritize safety and consult your owner's manual for specific instructions related to your vehicle. Good luck!