2016 Nissan Altima Brake Pads Replacement
Replacing the brake pads on a 2016 Nissan Altima is a common maintenance task that can save you money and increase your understanding of your vehicle's mechanics. This guide provides a detailed, step-by-step walkthrough of the process, combined with an explanation of the principles at play. We'll focus on the front brakes, as they typically wear out faster than the rear brakes. This project requires a moderate level of mechanical aptitude and should only be attempted if you are comfortable working on your vehicle. If you are at all unsure, consult a qualified mechanic.
Understanding the Braking System
Before diving into the replacement procedure, it's beneficial to understand the fundamentals of how your Altima's braking system operates. When you press the brake pedal, you're activating a hydraulic system. The master cylinder, located under the hood, receives the force and converts it into hydraulic pressure. This pressure is transmitted through brake lines to the calipers located at each wheel. The calipers, in turn, squeeze the brake pads against the rotors, creating friction that slows and eventually stops the vehicle.
The brake pads are consumable components made of friction material bonded to a metal backing plate. Over time, this friction material wears down, reducing the braking effectiveness. The rotors, also known as brake discs, are the rotating surfaces against which the brake pads are pressed. They are typically made of cast iron. Calipers are the assemblies that house the brake pads and the pistons that push them against the rotor. They are crucial for the brake system to work effectively. Regular inspection and maintenance of all these components are essential for safe driving.
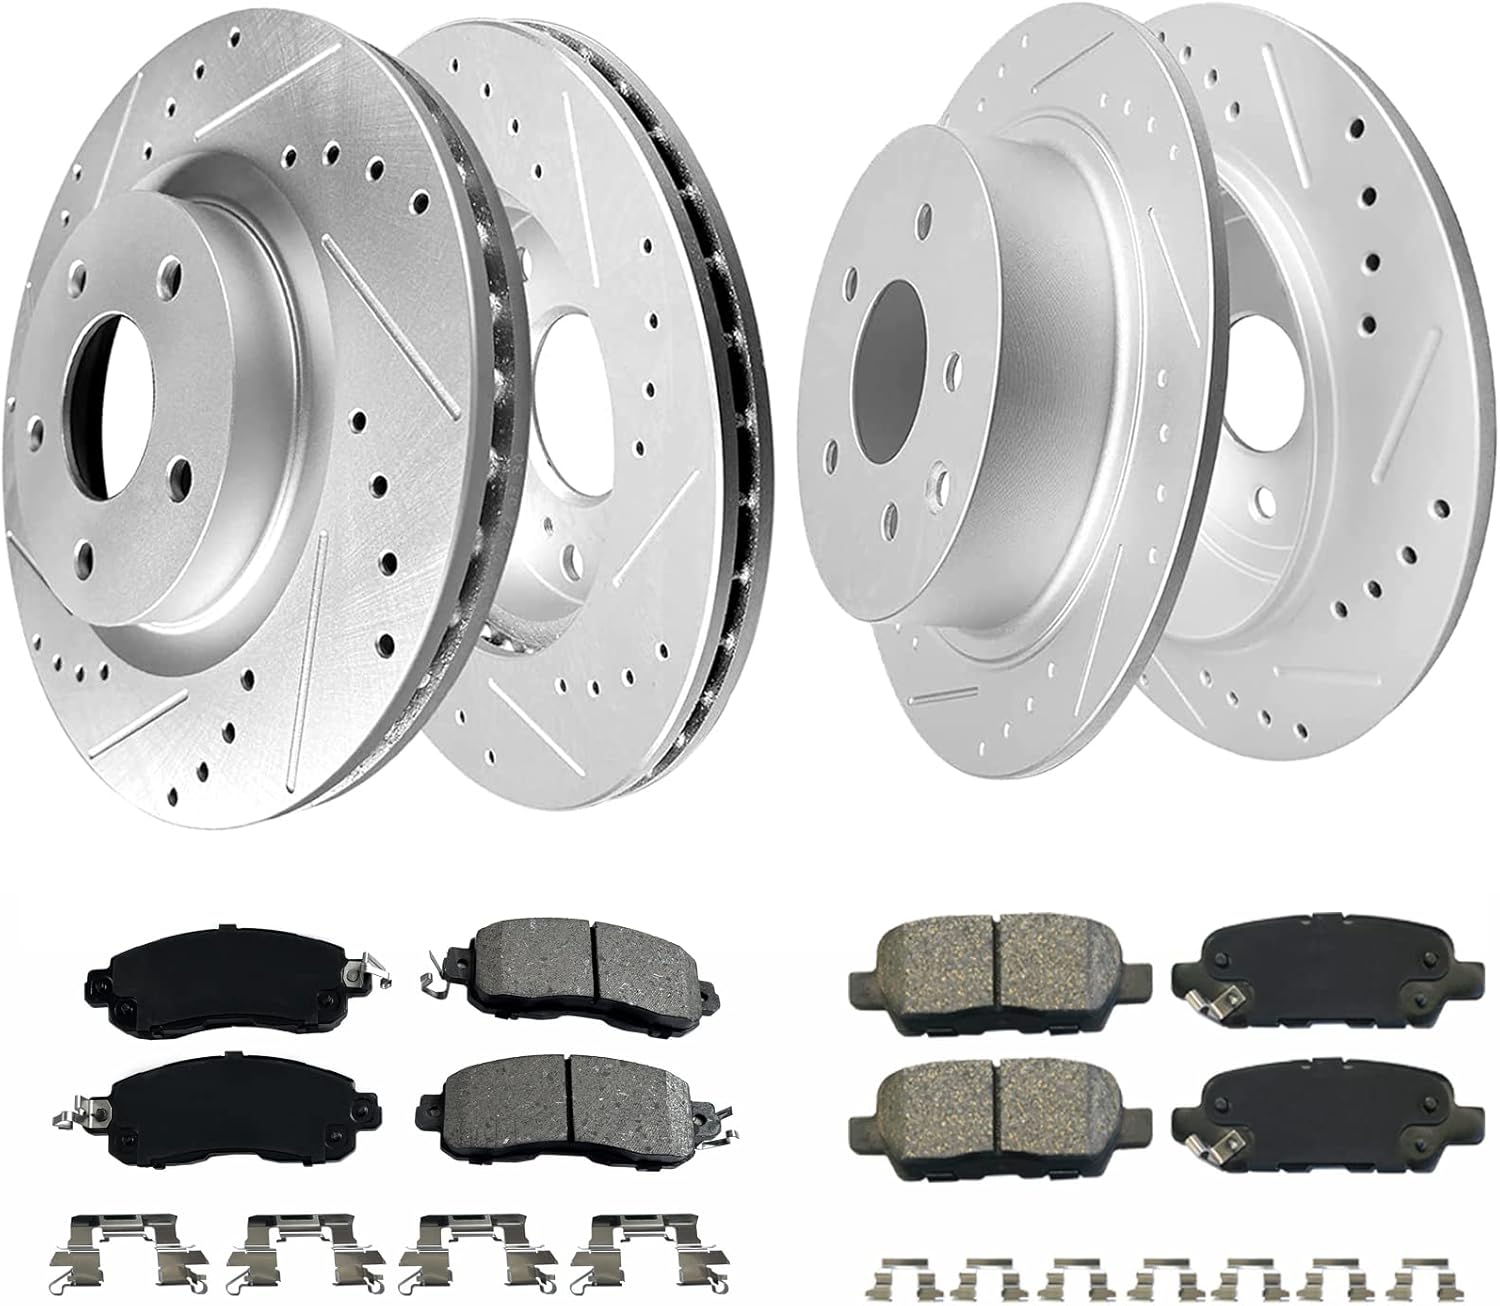
Tools and Materials Required
Gathering the necessary tools and materials is the first step in any successful automotive repair. For a 2016 Nissan Altima brake pad replacement, you'll need the following:
- New brake pads (specific to your Altima's year and model)
- New brake rotors (optional, but recommended if the existing rotors are worn or damaged)
- Brake cleaner spray
- Caliper piston compressor tool
- Wrench set (metric, typically 14mm and 17mm)
- Socket set (metric, including a socket for the lug nuts)
- Torque wrench
- Screwdriver (flathead and Phillips head)
- Jack and jack stands
- Wheel chocks
- Gloves
- Safety glasses
- Brake fluid (DOT 3 or DOT 4, check your owner's manual)
- Turkey baster or syringe (for removing brake fluid from the master cylinder)
- Penetrating oil (e.g., WD-40)
- Copper anti-seize lubricant (for the back of the brake pads and caliper bolts)
Safety Precautions
Safety should always be your top priority when working on your vehicle. Before starting any work, observe the following precautions:
- Park the vehicle on a level surface.
- Engage the parking brake firmly.
- Place wheel chocks behind the rear wheels to prevent rolling.
- Wear safety glasses to protect your eyes from debris.
- Wear gloves to protect your hands from brake dust and chemicals.
- Never work under a vehicle supported only by a jack. Always use jack stands.
- Work in a well-ventilated area.
- Dispose of used brake pads and brake fluid properly. Brake fluid is hazardous waste.
Step-by-Step Brake Pad Replacement
1. Loosening the Lug Nuts
Before lifting the vehicle, use the appropriate socket to loosen the lug nuts on the wheel you'll be working on. Don't remove them completely at this stage; just break them loose.
2. Lifting the Vehicle
Consult your owner's manual for the correct jacking points on your Altima. Position the jack under the designated jacking point and lift the vehicle until the tire is off the ground. Place a jack stand under the vehicle's frame near the jacking point. Lower the vehicle onto the jack stand. This is a critical safety step. Remove the lug nuts completely and carefully remove the wheel.
3. Inspecting the Brake System
With the wheel removed, you have a clear view of the brake assembly. Inspect the rotor for signs of wear, such as deep grooves, scoring, or excessive rust. Also, check the brake lines for any cracks or leaks. If the rotor is severely worn, consider replacing it along with the brake pads. Replace the brake hose if there is any cracks or leaks. Now, check the brake pad thickness.
4. Preparing the Caliper
Locate the caliper bolts on the back of the caliper. These bolts secure the caliper to the caliper bracket. Apply penetrating oil to these bolts if they appear rusty or corroded. Remove the lower caliper bolt. Use a wrench to hold the caliper bolt in place while using a wrench or socket on the nut. Then, loosen and remove the upper caliper bolt.
5. Removing the Caliper
With both caliper bolts removed, carefully slide the caliper upwards and off the rotor. Be cautious not to damage the brake lines. Do not let the caliper hang by the brake line. Instead, support it with a bungee cord or wire, attaching it to the suspension. This prevents stress on the brake line. Also, note the arrangement of the old pads. The order of the shims is very important. Make sure you know the order. A picture helps!
6. Removing the Old Brake Pads
The brake pads should now be easily accessible. Slide them out of the caliper bracket. Inspect the caliper bracket for any signs of damage or corrosion. Clean the bracket with a wire brush. Apply some brake parts cleaner. Make sure to clean any rust to enable the new pads to slide into the brake pad holder.
7. Compressing the Caliper Piston
Before installing the new brake pads, you need to compress the caliper piston back into the caliper. This creates enough space for the new, thicker brake pads. Use a caliper piston compressor tool for this task. Place the tool against the piston and slowly compress it until it is fully retracted. Be careful not to damage the piston boot. Before compressing the piston, check the fluid level in the brake master cylinder. As you compress the piston, brake fluid will be forced back into the master cylinder. If the reservoir is full, some fluid may overflow. Use a turkey baster or syringe to remove excess brake fluid to prevent this.
8. Installing the New Brake Pads
Apply a thin layer of copper anti-seize lubricant to the back of the new brake pads. This helps to prevent squealing. Slide the new brake pads into the caliper bracket, ensuring they are properly seated. Make sure that the brake pads are seated correctly. Refer to your picture you took earlier. It might be necessary to reattach some shims from the original pads.
9. Reinstalling the Caliper
Carefully slide the caliper back over the rotor and align it with the caliper bracket. Reinstall the caliper bolts and tighten them to the manufacturer's specified torque using a torque wrench. Consult your Altima's service manual for the correct torque specifications. Typically, this is around 25-35 ft-lbs. The torque wrench is important to make sure that the bolts are secured at the correct tension.
10. Repeating on the Other Side
Repeat steps 1-9 on the other front wheel.
11. Bleeding the Brakes (If Necessary)
If you opened the brake lines during the replacement process, you'll need to bleed the brakes to remove any air that may have entered the system. This is a separate procedure that requires special tools and knowledge. If you're not comfortable bleeding the brakes yourself, it's best to have a professional mechanic do it. If the bleeding is not done correctly, the brakes can be ineffective.
12. Reinstalling the Wheels
Carefully reinstall the wheels, tightening the lug nuts by hand in a star pattern. Lower the vehicle to the ground and use a torque wrench to tighten the lug nuts to the manufacturer's specified torque. Again, consult your owner's manual for the correct torque specifications. Typically, this is around 80-100 ft-lbs.
13. Bedding in the New Brakes
After replacing the brake pads, it's essential to bed them in properly. This involves performing a series of controlled stops to transfer a layer of friction material from the brake pads to the rotors. Consult your brake pad manufacturer's instructions for the specific bedding-in procedure. A typical procedure involves performing several moderate stops from 30 mph to 10 mph, followed by a cool-down period. Be cautious during the initial braking, as the new brakes may not have full stopping power until they are bedded in.
Final Checks and Considerations
After completing the brake pad replacement, perform the following final checks:
- Pump the brake pedal several times to ensure that the brakes are functioning properly.
- Check the brake fluid level in the master cylinder and top it off if necessary.
- Take the vehicle for a short test drive to ensure that the brakes are working smoothly and quietly.
- Listen for any unusual noises, such as squealing or grinding.
- Inspect the brake system for any leaks.
By following these steps and understanding the underlying principles, you can successfully replace the brake pads on your 2016 Nissan Altima and ensure your vehicle's braking system is in good working order. Remember, if you are unsure about any aspect of this procedure, it's always best to consult a qualified mechanic.