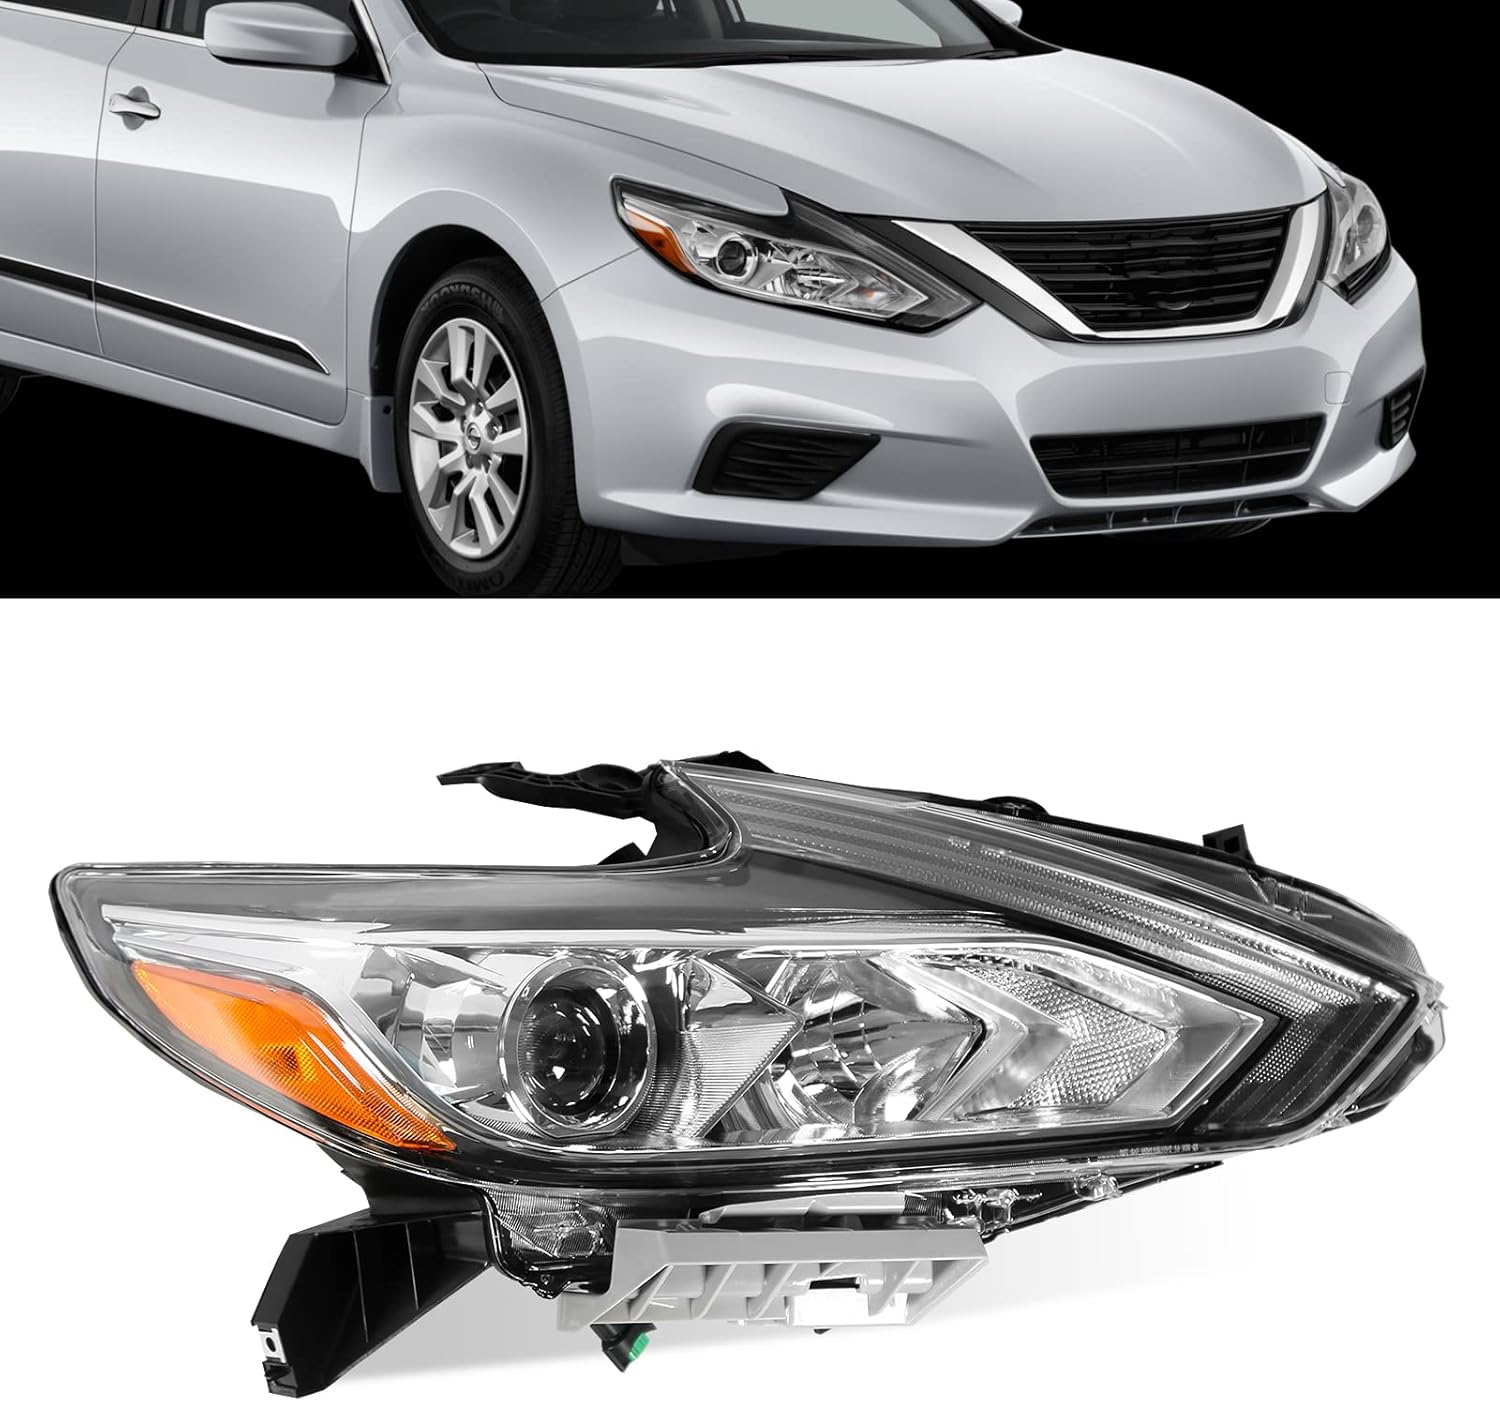
2016 Nissan Altima Headlight Replacement
Is Your 2016 Nissan Altima Seeing Stars? A Guide to Headlight Replacement
Hey there, Altima owner! Having headlight troubles with your 2016 model? You're not alone. Dim, flickering, or completely dead headlights are a common issue, and luckily, replacing them is often a DIY-friendly project. This guide will walk you through the process, giving you the information you need to get back on the road safely.
Why Replace Your Headlights?
It's more than just aesthetics. Functioning headlights are crucial for safe driving, especially at night and in inclement weather. Dim or malfunctioning lights significantly reduce visibility, increasing the risk of accidents. Beyond safety, a burned-out headlight can also get you a ticket! So, addressing the problem promptly is always the best course of action. You may also notice a yellowing or clouding of your headlight lens, which reduces light output. While lens restoration kits can sometimes help, severely damaged lenses might still require bulb replacement to maximize brightness.
Identifying the Problem: Bulb, Ballast, or Something Else?
Before diving into the replacement, let's pinpoint the problem. Here's a quick diagnostic checklist:
- One headlight is out: This is the most common scenario and typically indicates a burned-out bulb.
- Both headlights are out: Check the fuses first! A blown fuse often affects both lights simultaneously. The fuse box is usually located under the hood or in the driver's side footwell. Consult your owner's manual for its exact location and the headlight fuse designation.
- Headlights are dim or flickering: This could be a sign of a failing bulb, a faulty ballast (if your Altima has HID headlights), or even a wiring issue. Ballasts are responsible for providing the high voltage needed to start and operate HID bulbs. If your Altima has standard halogen bulbs, it will not have a ballast.
- Headlight lens is yellowed or cloudy: This reduces light output even with a good bulb. Consider a headlight restoration kit, but bulb replacement may still be necessary for optimal brightness.
If you're unsure, a mechanic can quickly diagnose the issue. But, for a simple bulb replacement, let's proceed!
What You'll Need: Tools and Parts
Here's what you'll need for a typical 2016 Nissan Altima headlight bulb replacement:
- New Headlight Bulbs: This is the most important part! Always replace bulbs in pairs. Even if only one is burned out, the other is likely nearing the end of its lifespan. Replacing them together ensures consistent brightness and color. Consult your owner's manual or an online parts retailer (like AutoZone or Advance Auto Parts) to find the correct bulb type for your Altima. Common types include halogen (H11 is a frequent fit for low beams) or HID/Xenon (if your car has them). Double-check the bulb specifications before purchasing!
- Gloves: Wearing gloves is essential to prevent oil from your skin from contaminating the new bulb. Oil residue can cause the bulb to overheat and fail prematurely.
- Screwdriver (possibly): Depending on your Altima's headlight assembly design, you might need a Phillips head or flathead screwdriver to remove any access panels or clips.
- Socket Wrench (possibly): Some headlight assemblies are secured with bolts that require a socket wrench for removal.
- Flashlight or Headlamp: Provides extra illumination, especially when working in dimly lit areas.
- Owner's Manual: Always a good reference for specific instructions related to your vehicle.
Approximate Cost: Headlight bulbs can range from $10 to $50+ per bulb, depending on the type (halogen, LED, HID) and brand. A headlight restoration kit will cost around $20-$40. If you choose to have a mechanic do the replacement, labor costs can add another $50-$150, depending on the complexity of the job.
Step-by-Step Guide to Headlight Bulb Replacement
Disclaimer: This guide provides general instructions. Always consult your owner's manual for specific procedures for your 2016 Nissan Altima. Disconnect the negative battery terminal before starting any electrical work.
- Prepare the Vehicle: Park your Altima on a level surface and turn off the ignition. Engage the parking brake.
- Locate the Headlight Assembly: Open the hood and identify the headlight assembly you need to access.
- Access the Bulb: This is where the process can vary slightly depending on the Altima's design. You may need to remove an access panel behind the headlight assembly. This panel is often held in place by screws, clips, or a combination of both. Refer to your owner's manual for the specific location and removal method. Sometimes, you will have to remove the entire headlight assembly in order to change the bulb.
- Disconnect the Electrical Connector: Once you have access to the bulb, you'll see an electrical connector attached to the back. Carefully disconnect this connector. There might be a small release tab that you need to press before pulling the connector off. Never pull on the wires!
- Remove the Old Bulb: Depending on the bulb type, it may be held in place by a retaining clip or a twist-lock mechanism. For retaining clips, gently press and unhook the clip to release the bulb. For twist-lock mechanisms, rotate the bulb counterclockwise until it releases.
- Install the New Bulb: Wearing gloves, carefully insert the new bulb into the headlight assembly. Ensure it's properly seated and secured by the retaining clip or twist-lock mechanism. Do not touch the glass part of the bulb with your bare hands!
- Reconnect the Electrical Connector: Reattach the electrical connector to the back of the new bulb, ensuring it clicks securely into place.
- Test the Headlight: Before reassembling everything, turn on the ignition and test the new headlight to ensure it's working properly.
- Reassemble the Headlight Assembly: Replace the access panel, securing it with the screws or clips you removed earlier. If you removed the entire headlight assembly, reinstall it, ensuring it's properly aligned and tightened.
- Repeat for the Other Side: Replace the bulb on the other headlight, even if it's still working. This ensures consistent brightness and color.
- Verify Alignment: After replacing the bulbs, it's a good idea to check the headlight alignment. If the beam is too high or too low, it can affect visibility and potentially blind other drivers. You can usually adjust the headlight aim using screws located on the headlight assembly. Many repair shops offer headlight aiming services, but you can find instructions online for DIY adjustments as well.
Troubleshooting Common Issues
- Bulb Doesn't Fit: Double-check that you purchased the correct bulb type for your 2016 Nissan Altima. Consult your owner's manual or an online parts retailer.
- Headlight Still Doesn't Work: Recheck the electrical connector to ensure it's securely attached. Verify that the fuse is not blown. If the fuse is blown, replace it with a new fuse of the same amperage. If the headlight still doesn't work after replacing the bulb and fuse, there may be a wiring issue or a faulty ballast (if applicable). Consult a mechanic for further diagnosis.
- Bulb Burns Out Quickly: This could be a sign of a voltage issue in your Altima's electrical system. Have a mechanic check the charging system. Also, ensure you are not touching the glass part of the bulb during installation, as oil residue can cause premature failure.
When to Call a Professional
While headlight bulb replacement is often a straightforward DIY task, there are times when it's best to consult a professional mechanic. Consider seeking professional help if:
- You're uncomfortable working on your car's electrical system.
- You have difficulty accessing the headlight assembly.
- You suspect a more complex issue, such as a wiring problem or a faulty ballast.
- You're unsure about headlight alignment.
By following these steps and tips, you can confidently tackle your 2016 Nissan Altima headlight replacement and ensure safe driving. Good luck, and remember, safety first!