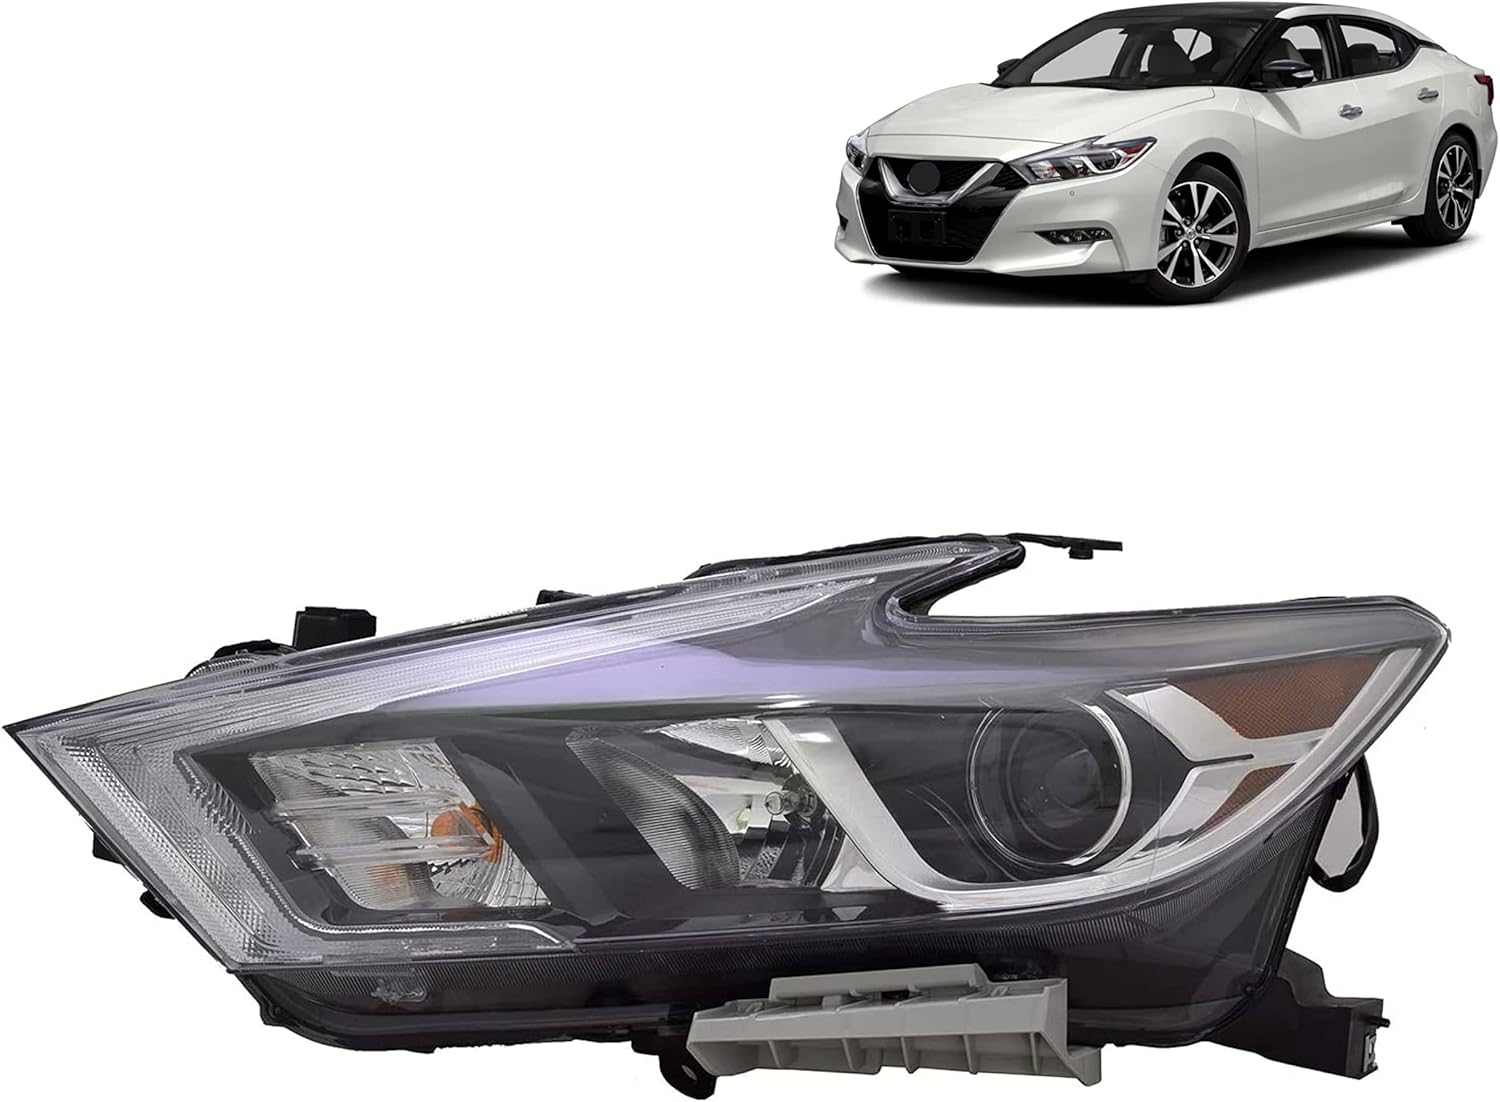
2016 Nissan Maxima Custom Headlights
So, you're having some issues with your custom headlights on your 2016 Nissan Maxima? You're not alone! Upgrading your headlights can drastically improve the look of your car, but sometimes things don't go as smoothly as planned. Let's troubleshoot some common problems and explore possible solutions. As a service advisor and former mechanic, I've seen my fair share of headlight headaches, and I'm here to guide you through it.
Common Problems with Custom Headlights on a 2016 Nissan Maxima
Before we dive into solutions, let's identify the usual suspects. Here are some of the most frequent problems people encounter after installing aftermarket headlights on their 2016 Maxima:
- Flickering or Strobe Effect: This often occurs with LED or HID conversions and can be incredibly annoying, and potentially dangerous.
- Dim Headlights: A significant decrease in brightness compared to the original headlights, rendering them practically useless.
- One Headlight Not Working: One side works perfectly fine, while the other remains stubbornly dark.
- Error Codes on the Dashboard: Your Maxima's computer is throwing a fit and displaying error messages related to the lighting system.
- Moisture Inside the Headlight Housing: Condensation buildup that can damage the internal components.
- Misalignment: The headlights are aimed incorrectly, either too high or too low, affecting visibility and potentially blinding other drivers.
- Wiring Issues: Incorrect wiring connections or damaged wires causing shorts, blown fuses, or other electrical problems.
Problem: Flickering or Strobe Effect
This is a very common issue with LED or HID conversions. The problem lies in the 2016 Maxima's electrical system and its compatibility with the new bulbs.
Solution: The most likely culprit is the need for a CAN bus decoder or anti-flicker harness. The Maxima's computer expects a certain resistance from the headlights. When you switch to LEDs or HIDs, which have lower power consumption and therefore different resistance, the computer thinks there's a problem and starts flickering the lights to conserve power or signal an error. The CAN bus decoder fools the computer into thinking the headlights are operating within acceptable parameters.
Tools Needed: Screwdrivers, wire strippers, wire connectors, and potentially a multimeter.
Approximate Cost: A CAN bus decoder or anti-flicker harness typically ranges from $15 to $50 per pair.
Problem: Dim Headlights
Dim headlights can be frustrating and compromise safety. Several factors can contribute to this.
Solution 1: Check the Wattage: Make sure the replacement bulbs have a wattage rating close to the original halogen bulbs. LEDs and HIDs often have lower wattage, but if the difference is too significant, the light output can be noticeably dimmer. Never exceed the manufacturer's recommended wattage! This can damage the wiring harness.
Solution 2: Verify Polarity: LEDs are polarity sensitive. If you install them backward, they won't light up or will be very dim. Try reversing the polarity of the LED bulb by rotating it 180 degrees in the socket.
Solution 3: Inspect the Projector Lens (if applicable): If your custom headlights use projector lenses, make sure they are clean and free of any obstructions. Dust, dirt, or condensation can significantly reduce light output.
Solution 4: Check the Ground Connection: A poor ground connection can restrict current flow, leading to dim lights. Ensure the ground wire for the headlight assembly is securely attached to a clean metal surface on the car's chassis.
Tools Needed: Screwdrivers, multimeter, cleaning supplies (lens cleaner, microfiber cloth).
Approximate Cost: Cleaning supplies are usually inexpensive. If the issue is related to a bad ground, the cost would be minimal (wire brush, new connector).
Problem: One Headlight Not Working
This is a straightforward problem with a few potential causes.
Solution 1: Check the Bulb: The most obvious culprit is a blown bulb. Swap the bulb from the working headlight to the non-working side. If the bulb now works on the other side, you know the bulb is the problem. Replace the faulty bulb.
Solution 2: Check the Fuse: Locate the fuse for the affected headlight in the fuse box (consult your owner's manual for the location). If the fuse is blown, replace it with a fuse of the same amperage rating. If the fuse blows again immediately, there's likely a short circuit in the wiring.
Solution 3: Inspect the Wiring: Look for any damaged, frayed, or disconnected wires in the headlight wiring harness. Pay close attention to the connectors and ensure they are securely plugged in. If you find any damaged wires, repair them using wire connectors or replace the entire wiring harness section.
Solution 4: Check the Ballast (HID Headlights): If you have HID headlights, the ballast could be the problem. The ballast is responsible for providing the high voltage needed to ignite the HID bulb. Swap the ballasts between the working and non-working headlights. If the problem switches sides, the ballast is faulty and needs to be replaced.
Tools Needed: Screwdrivers, multimeter, wire strippers, wire connectors, fuse puller.
Approximate Cost: A replacement bulb is usually inexpensive ($10-$50). A fuse is very cheap. A new ballast can be more expensive ($50-$200).
Problem: Error Codes on the Dashboard
Error codes often appear when the car's computer detects a discrepancy between the expected and actual performance of the headlights.
Solution 1: CAN Bus Decoder: As mentioned earlier, a CAN bus decoder can resolve error codes related to LED or HID conversions. It simulates the resistance of the original halogen bulbs, preventing the computer from detecting an error.
Solution 2: Resistors: In some cases, adding resistors to the headlight circuit can also help eliminate error codes. Resistors increase the overall resistance of the circuit, making it appear more like the original halogen setup.
Solution 3: Professional Programming: Some higher-end aftermarket headlights require professional programming to properly integrate with the car's computer. This may involve using a specialized diagnostic tool to reprogram the lighting control module.
Solution 4: Verify proper Installation: Double-check all wiring connections to ensure they are secure and correct. Incorrect wiring can trigger error codes.
Tools Needed: Screwdrivers, wire strippers, wire connectors, multimeter, potentially a diagnostic scan tool.
Approximate Cost: Resistors are relatively cheap. Professional programming can range from $50 to $150, depending on the shop and the complexity of the system.
Problem: Moisture Inside the Headlight Housing
Moisture buildup can damage the internal components of the headlight and reduce light output.
Solution 1: Check the Seals: Inspect the seals around the headlight housing for any cracks, gaps, or damage. Damaged seals can allow moisture to enter the housing. Replace any damaged seals.
Solution 2: Check the Vent Caps: Most headlight housings have vent caps that allow air to circulate and prevent pressure buildup. Make sure these vent caps are not blocked or missing. Remove any debris that may be obstructing the vents.
Solution 3: Silica Gel Packets: Place silica gel packets inside the headlight housing to absorb moisture. You can find these packets at most electronics stores or online. Replace the packets periodically as needed.
Solution 4: Reseal the Headlight Housing: If the moisture problem persists, you may need to reseal the entire headlight housing. This involves removing the headlight lens, cleaning the sealing surfaces, and applying a new sealant. This is a more involved process, and it's often best left to a professional.
Tools Needed: Screwdrivers, sealant, heat gun (optional), cleaning supplies.
Approximate Cost: Sealant is usually inexpensive. Professional resealing can range from $100 to $300 per headlight.
Problem: Misalignment
Proper headlight alignment is crucial for safe driving. Misaligned headlights can reduce visibility and blind other drivers.
Solution: Adjust the Headlight Aim: Most headlights have adjustment screws that allow you to adjust the vertical and horizontal aim. Park your car on a level surface facing a wall or garage door. Use a measuring tape and level to mark the desired headlight height and position on the wall. Adjust the headlight aim until the light beams are aligned with the marks.
Solution 2: Professional Alignment: If you're not comfortable adjusting the headlights yourself, take your car to a professional alignment shop. They have specialized equipment that can accurately align your headlights.
Tools Needed: Screwdrivers, measuring tape, level.
Approximate Cost: Professional headlight alignment typically costs between $30 and $75.
Problem: Wiring Issues
Incorrect wiring connections or damaged wires can cause a variety of problems, including blown fuses, flickering lights, and error codes.
Solution 1: Verify Wiring Connections: Double-check all wiring connections to ensure they are secure and correct. Refer to the wiring diagram that came with your custom headlights (if available). If you don't have a wiring diagram, you may be able to find one online.
Solution 2: Inspect Wires for Damage: Look for any damaged, frayed, or exposed wires. Repair any damaged wires using wire connectors or replace the affected section of the wiring harness.
Solution 3: Use a Multimeter: A multimeter can be used to test the continuity of wires and identify any short circuits or open circuits. If you're not familiar with using a multimeter, consult a professional electrician.
Solution 4: Professional Assistance: If you're not comfortable working with electrical wiring, it's best to seek professional assistance from a qualified mechanic or electrician.
Tools Needed: Screwdrivers, wire strippers, wire connectors, multimeter.
Approximate Cost: Wiring repairs can range from a few dollars for simple repairs to several hundred dollars for more complex repairs.
Important Tip: Before starting any work on your headlights, disconnect the negative battery cable to prevent electrical shock.
If you've tried these solutions and are still experiencing problems with your custom headlights, it's best to consult with a qualified mechanic or electrician. They can diagnose the problem accurately and recommend the appropriate solution. Sometimes, the custom headlights themselves are faulty and require replacement. Remember, safety is paramount. Don't compromise on headlight performance – a clear and properly functioning lighting system is essential for safe driving, especially at night.