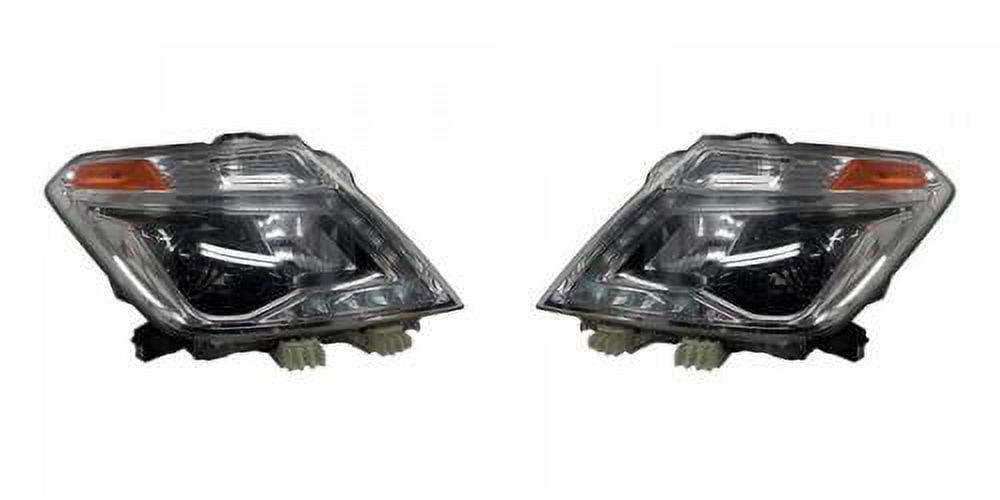
2017 Nissan Armada Headlight Assembly
Alright, let's dive into the 2017 Nissan Armada headlight assembly. We're going to cover everything from its basic components and functionality to troubleshooting common issues and even some basic modification options. This guide assumes you have a reasonable amount of experience working on cars, understand basic electrical principles, and know how to use tools safely.
Understanding the 2017 Armada Headlight Assembly
The 2017 Armada's headlight assembly is a crucial part of the vehicle's safety system, providing visibility during nighttime driving and in low-light conditions. It's more than just a bulb and a lens; it's an integrated system designed for optimal light output and regulatory compliance.
Key Components
Here's a breakdown of the main components within the 2017 Armada headlight assembly:
- Housing: The physical structure that holds all the other components together. It's typically made of durable plastic and is designed to withstand the elements. Look for cracks or damage here if you've been in an accident.
- Lens: The clear (or slightly tinted) cover that protects the bulb and focuses the light beam. The lens is typically made of polycarbonate plastic and often has a UV coating to prevent yellowing over time. Lens clarity is crucial for optimal light output.
- Reflector: A highly polished surface, usually aluminum or chrome-plated plastic, that sits behind the bulb. It's designed to reflect and direct the light emitted by the bulb forward, creating a concentrated beam.
- Bulbs: The light source itself. The 2017 Armada typically uses halogen bulbs for the low beams and high beams. Halogen bulbs work by heating a tungsten filament inside a gas-filled enclosure, causing it to glow. Other bulb options, like LEDs, will be discussed later.
- Sockets and Wiring: The electrical connectors and wiring harness that provide power to the bulbs. Corrosion or damage to these components can cause lighting problems.
- Adjusters: Screws or knobs that allow you to adjust the vertical and horizontal aim of the headlight beam. Proper aiming is essential for maximizing visibility and avoiding blinding other drivers.
Functionality
The headlight assembly operates based on a simple electrical circuit. When you turn on the headlights, power is supplied from the vehicle's battery, through the headlight switch, and to the headlight bulbs. The bulbs then illuminate, and the light is reflected and focused by the reflector and lens to create a usable beam. The 2017 Armada often includes separate circuits for low beams and high beams, allowing you to switch between the two for different driving conditions. Some models may also incorporate daytime running lights (DRLs) into the headlight assembly, which are lower-intensity lights that are always on when the vehicle is running, improving visibility to other drivers.
Troubleshooting Common Issues
Headlight problems are common, but many can be diagnosed and fixed with basic tools and knowledge. Here are some of the most frequent issues encountered with the 2017 Armada headlight assembly:
- Bulb Burnout: This is the most common problem. Halogen bulbs have a limited lifespan and will eventually burn out. Symptoms include a completely non-functional headlight or a dimming light output before complete failure.
- Dim Headlights: Dim headlights can be caused by several factors, including aging bulbs, corrosion in the wiring, or a failing voltage regulator. Check the bulb condition first. If the bulb is old or discolored, replace it. If the problem persists, inspect the wiring for corrosion or loose connections. A multimeter can be used to check the voltage at the bulb socket. It should be close to 12 volts.
- Flickering Headlights: Flickering headlights usually indicate a loose connection or a problem with the wiring harness. Check the bulb sockets and connectors for corrosion or damage. You may need to clean the contacts or replace the connector. A failing alternator or voltage regulator can also cause flickering headlights.
- Foggy or Yellowed Lenses: Over time, the polycarbonate plastic lens can become foggy or yellowed due to UV exposure. This reduces light output and makes it harder to see at night. Polishing kits are available to restore the clarity of the lenses. However, if the damage is severe, you may need to replace the entire headlight assembly.
- Water Condensation Inside the Headlight: Condensation inside the headlight assembly can be caused by a crack in the housing or a damaged seal. Water can damage the bulb and reflector, reducing light output. Inspect the housing and seal for any signs of damage. You may be able to reseal the headlight assembly with silicone sealant, but replacement is often the best option.
Pro Tip: Replace bulbs in pairs. If one bulb has burned out, the other is likely nearing the end of its life as well. Replacing both at the same time ensures consistent light output and avoids having to repeat the process soon.
Diagnostic Tools
To effectively troubleshoot headlight issues, you'll need a few basic tools:
- Multimeter: Used to measure voltage, current, and resistance. Essential for checking the electrical circuits.
- Socket Set: Needed to remove and install the headlight assembly and related components.
- Screwdrivers: Various sizes and types (Phillips, flathead) will be needed.
- Wire Strippers/Crimpers: For repairing or replacing wiring connections.
- Headlight Aiming Tool: To properly aim the headlights after installation. (A makeshift aiming system can be made using a wall and a measuring tape).
Removal and Replacement Procedure
Here's a general overview of how to remove and replace the 2017 Armada headlight assembly. Always consult your vehicle's repair manual for specific instructions and torque specifications.
- Disconnect the Battery: This is a crucial safety step to prevent electrical shock.
- Remove the Grille (If Necessary): Some Armada models require the removal of the grille to access the headlight assembly mounting bolts.
- Locate and Remove the Mounting Bolts: The headlight assembly is typically held in place by several bolts. These are usually located around the perimeter of the assembly.
- Disconnect the Wiring Harness: Carefully disconnect the wiring harness from the back of the headlight assembly. Be sure to release any retaining clips before pulling the connector.
- Remove the Headlight Assembly: Once the bolts and wiring are disconnected, you can carefully remove the headlight assembly from the vehicle.
- Install the New Headlight Assembly: Reverse the removal process to install the new headlight assembly. Be sure to reconnect the wiring harness securely and tighten the mounting bolts to the specified torque.
- Aim the Headlights: After installing the new headlight assembly, you'll need to aim the headlights properly. Use a headlight aiming tool or follow the instructions in your vehicle's repair manual to adjust the vertical and horizontal aim of the beam.
- Reconnect the Battery: After ensuring everything is properly installed, reconnect the negative battery cable.
Modification and Upgrades
Many owners choose to upgrade or modify their 2017 Armada headlight assembly for improved performance or aesthetics. Here are a few popular options:
- LED Bulb Conversion: Replacing the halogen bulbs with LED bulbs can significantly increase light output and improve visibility. LED bulbs are also more energy-efficient and have a longer lifespan. When converting to LEDs, be sure to choose bulbs that are compatible with your vehicle's electrical system and that have a proper beam pattern to avoid blinding other drivers. You might need load resistors to prevent hyper-flashing if your Armada has a system that detects bulb outages.
- HID Conversion: High-Intensity Discharge (HID) bulbs produce a brighter, more focused beam than halogen bulbs. However, HID conversions typically require additional components, such as ballasts and wiring harnesses. Proper installation is crucial to ensure safety and performance. Note: Converting to HID without the proper projector housings can cause excessive glare and be illegal in some areas.
- Projector Retrofit: Replacing the existing reflector with a projector lens can significantly improve the light output and beam pattern. Projector lenses focus the light into a concentrated beam, providing better visibility and reducing glare. This is a more advanced modification that requires specialized skills and tools.
- Custom Headlight Housings: Some aftermarket companies offer custom headlight housings with unique designs and features. These housings can add a personal touch to your vehicle's appearance.
- Lens Restoration: As mentioned earlier, polishing kits can restore the clarity of foggy or yellowed lenses. This is a relatively inexpensive way to improve light output and appearance.
Important Considerations for Modifications: Before making any modifications to your headlight assembly, be sure to research the legality of the modifications in your area. Some modifications may not be compliant with local regulations. Also, consider the impact of the modifications on other drivers. Ensure that the modifications do not cause excessive glare or impair the visibility of other vehicles.
By understanding the components, functionality, and troubleshooting techniques outlined in this guide, you'll be well-equipped to maintain, repair, and even upgrade the 2017 Nissan Armada headlight assembly.