2017 Nissan Maxima Headlight Replacement
Replacing the headlight on a 2017 Nissan Maxima might seem daunting, but with the right tools and a little patience, it's a task you can accomplish yourself. This guide provides a step-by-step walkthrough to help you safely and effectively replace your Maxima's headlight, saving you time and money compared to a mechanic visit.
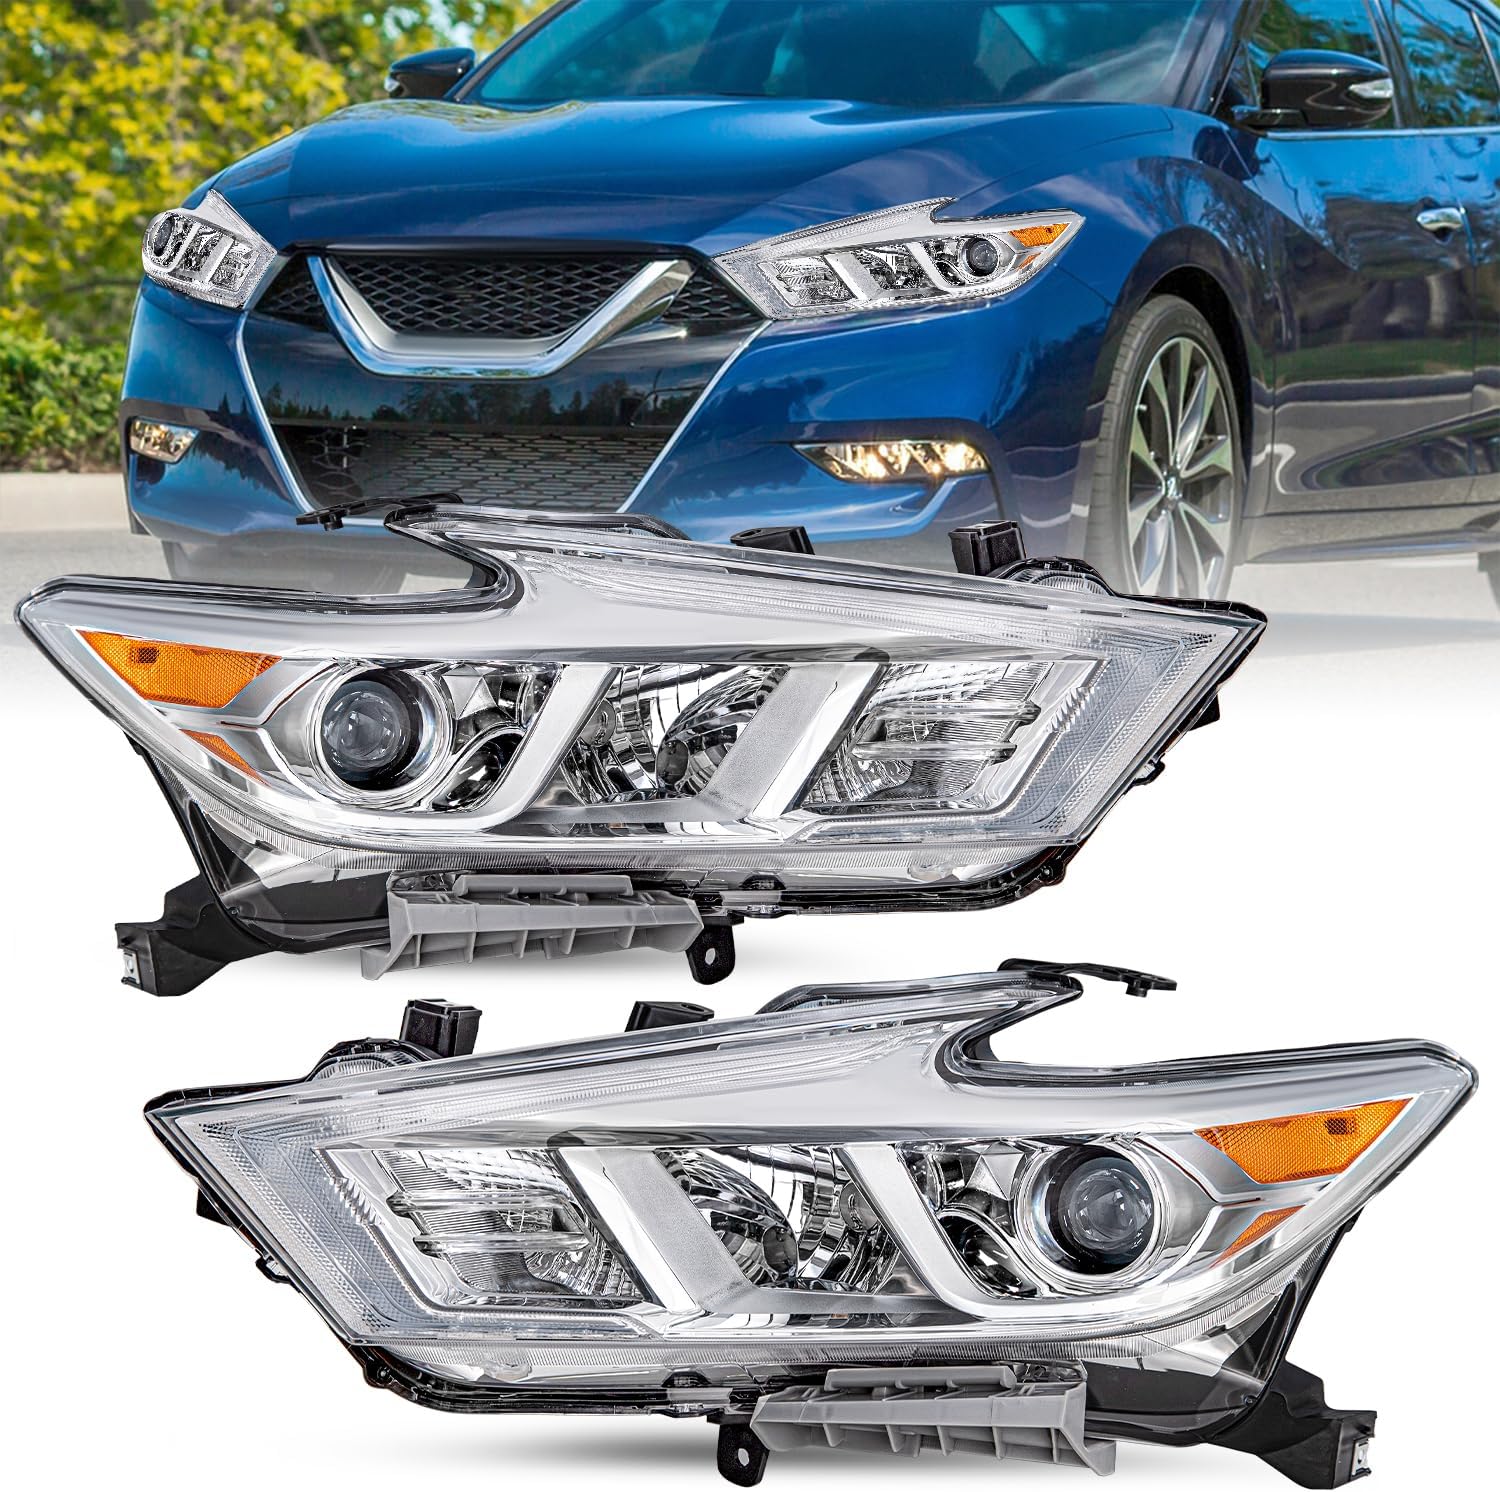
Understanding Your 2017 Nissan Maxima Headlight System
Before diving into the replacement process, it's crucial to understand the different types of headlights your 2017 Maxima might have. Knowing the specific type will ensure you purchase the correct replacement bulb and understand any nuances in the replacement procedure.
Headlight Bulb Types
The 2017 Nissan Maxima typically uses halogen headlight bulbs for the low beams and high beams. While specific trims may have featured different bulb types or even LED headlights, the halogen type is the most common. Always consult your owner's manual to confirm the exact bulb type for your vehicle.
- Halogen Bulbs: These are the standard bulbs and are relatively inexpensive and easy to replace. They provide adequate illumination for most driving conditions.
- LED Bulbs (Possible in Higher Trims): Some higher trims of the 2017 Maxima may come equipped with LED headlights. These are more energy-efficient and longer-lasting than halogen bulbs but are generally more complex and expensive to replace. Replacing LED headlights might necessitate professional assistance.
Identifying the correct bulb type is paramount. Using the wrong bulb could damage your headlight assembly or electrical system. The bulb type is typically printed on the bulb itself or can be found in your owner's manual.
Safety Precautions
Safety is paramount when working on any vehicle. Before you begin, make sure to take these precautions:
- Disconnect the Battery: Disconnecting the negative terminal of your battery is the most important step. It will prevent any accidental electrical shocks or short circuits during the process.
- Allow Bulbs to Cool: Halogen bulbs get extremely hot when in use. Give them ample time to cool down before handling them to avoid burns.
- Wear Gloves: Wear clean gloves to protect your new bulb from oils from your skin. Oil residue can shorten the lifespan of the bulb.
- Work in a Well-Lit Area: Ensure you have sufficient lighting to clearly see what you are doing.
Tools and Materials You'll Need
Gathering the necessary tools and materials before you start will streamline the replacement process. Here’s a comprehensive list:
- New Headlight Bulb(s): Make sure you have the correct bulb type for your 2017 Nissan Maxima. Refer to your owner's manual or a reputable auto parts store.
- Gloves: To protect the bulb from oils and contaminants.
- Socket Wrench Set: In some cases, you may need a socket wrench to remove plastic covers or access the headlight assembly.
- Screwdriver (Phillips and Flathead): Depending on the specific configuration, you might need a screwdriver to remove screws holding the headlight assembly in place.
- Pliers (Optional): For removing stubborn clips or connectors.
- Work Light or Flashlight: To illuminate the work area.
- Owner's Manual: A valuable resource for locating specific components and understanding the vehicle's electrical system.
Step-by-Step Guide: 2017 Nissan Maxima Headlight Replacement
Follow these steps carefully to replace the headlight on your 2017 Nissan Maxima:
- Prepare the Vehicle: Park your Maxima on a level surface and engage the parking brake. Turn off the engine and remove the key from the ignition. Disconnect the negative terminal of the battery.
- Access the Headlight Assembly: This step will vary slightly depending on whether you're replacing the driver's side or passenger's side headlight. Generally, you'll need to open the hood and locate the headlight assembly at the rear of the headlight housing. Sometimes, plastic covers need to be removed to gain access. Use a socket wrench or screwdriver to remove any screws or clips securing these covers.
- Disconnect the Electrical Connector: Carefully disconnect the electrical connector from the back of the headlight bulb. There is typically a locking mechanism or clip that needs to be released before you can pull the connector off. Avoid pulling on the wires themselves; instead, grip the connector body.
- Remove the Old Headlight Bulb: Once the connector is removed, you can remove the old headlight bulb. The bulb is usually held in place by a retaining clip or a twist-lock mechanism. Depending on the design:
- Retaining Clip: If there’s a retaining clip, gently press it inwards and unhook it from the bulb.
- Twist-Lock: If it's a twist-lock mechanism, rotate the bulb counterclockwise until it comes loose.
- Install the New Headlight Bulb: Take the new headlight bulb, being careful not to touch the glass portion with your bare hands (use gloves!). Align the bulb with the opening in the headlight assembly. If it's a twist-lock mechanism, insert the bulb and rotate it clockwise until it locks into place. If there’s a retaining clip, secure the bulb with the clip, ensuring it's firmly in place.
- Reconnect the Electrical Connector: Reconnect the electrical connector to the back of the new headlight bulb. Make sure the connector clicks into place, indicating a secure connection.
- Test the New Headlight: Reconnect the negative terminal of the battery. Turn on the headlights to ensure the new bulb is working correctly. If it doesn't light up, double-check the electrical connector and the bulb's seating. If it still doesn't work, the bulb may be defective or there might be an issue with the vehicle's electrical system.
- Reassemble the Headlight Assembly: If the new headlight is working, turn off the headlights and disconnect the negative terminal of the battery again. Reinstall any plastic covers or components you removed to access the headlight assembly. Secure them with the screws or clips you removed earlier.
- Final Check: Reconnect the negative terminal of the battery. Turn on the headlights and verify that both the low beams and high beams are functioning correctly. You may also want to check the aim of the headlights to ensure they are properly aligned.
Troubleshooting Common Issues
While the headlight replacement process is generally straightforward, you might encounter some common issues. Here's a quick troubleshooting guide:
- Headlight Doesn't Turn On:
- Check the Bulb: Make sure the bulb is properly seated and the electrical connector is securely connected.
- Check the Fuse: A blown fuse is a common cause of headlight failure. Consult your owner's manual to locate the headlight fuse and replace it if necessary.
- Check the Wiring: Inspect the wiring harness for any damage or corrosion.
- Headlight is Dim:
- Check the Ground Connection: A poor ground connection can cause a dim headlight. Clean the ground connection point to ensure a good electrical connection.
- Check the Voltage: Use a multimeter to check the voltage at the headlight bulb. Low voltage can indicate a problem with the wiring or charging system.
- Headlight Flickers:
- Loose Connection: Check the electrical connector for a loose connection.
- Faulty Bulb: A flickering headlight can indicate a faulty bulb. Replace the bulb to see if the problem is resolved.
Headlight Aiming After Replacement
After replacing a headlight, it’s important to ensure that the new headlight is aimed correctly. Improperly aimed headlights can reduce visibility and potentially blind other drivers. Headlight aiming typically involves adjusting screws on the headlight assembly. A common method involves parking the car on a level surface facing a wall and adjusting the beams according to specified measurements, often found in your vehicle's repair manual or online resources. If you’re unsure about proper aiming procedures, it's best to have a professional mechanic aim your headlights for you.
When to Seek Professional Help
While this guide provides a detailed walkthrough of the 2017 Nissan Maxima headlight replacement process, there are certain situations where it's best to seek professional help:
- You're Uncomfortable Working on Your Vehicle: If you're not comfortable working on your vehicle or lack the necessary tools, it's always best to leave the job to a professional.
- You Encounter Electrical Issues: If you suspect an electrical problem, such as a short circuit or blown fuse, it's best to consult a qualified mechanic.
- You're Replacing LED Headlights: Replacing LED headlights can be more complex than replacing halogen bulbs. It might require specialized tools and expertise.
- You're Unable to Access the Headlight Assembly: Some vehicles have headlight assemblies that are difficult to access, requiring the removal of other components.
By following these steps and taking the necessary precautions, you can successfully replace the headlight on your 2017 Nissan Maxima and restore proper visibility. Remember to prioritize safety and consult your owner's manual for specific instructions and recommendations. If you encounter any difficulties, don't hesitate to seek professional assistance.
Replacing a headlight is a manageable DIY project, but don't hesitate to call a professional if you feel uncomfortable at any point. Your safety and the safety of other drivers is the top priority!