2017 Nissan Sentra Visor Replacement
If you're experiencing issues with the sun visor in your 2017 Nissan Sentra, such as it being loose, broken, or simply not staying in place, you're not alone. A faulty sun visor can be a significant inconvenience, especially during bright sunlight. Fortunately, replacing it is often a straightforward DIY project that can save you money on labor costs at a mechanic. This guide provides a comprehensive walkthrough on how to replace the sun visor in your 2017 Nissan Sentra.
Why Replace Your 2017 Nissan Sentra Visor?
Several reasons might necessitate a 2017 Nissan Sentra visor replacement:
- Broken or Cracked Visor: Physical damage to the visor itself, making it unsightly and ineffective.
- Loose Hinge: The visor won't stay in the desired position, constantly flopping down or swinging freely. This is a common issue as the visor ages.
- Worn-Out Retainer Clip: The clip that holds the visor in the stowed position is broken or weakened, causing the visor to dangle.
- Cosmetic Damage: Stains, tears, or discoloration that detract from the interior appearance of your car.
- Malfunctioning Vanity Mirror (if equipped): Issues with the vanity mirror light or the mirror itself.
Regardless of the reason, a new sun visor will improve your driving experience and enhance the overall aesthetics of your 2017 Sentra's interior.
Tools and Materials Needed
Before you begin, gather the necessary tools and materials. This will ensure a smooth and efficient replacement process:
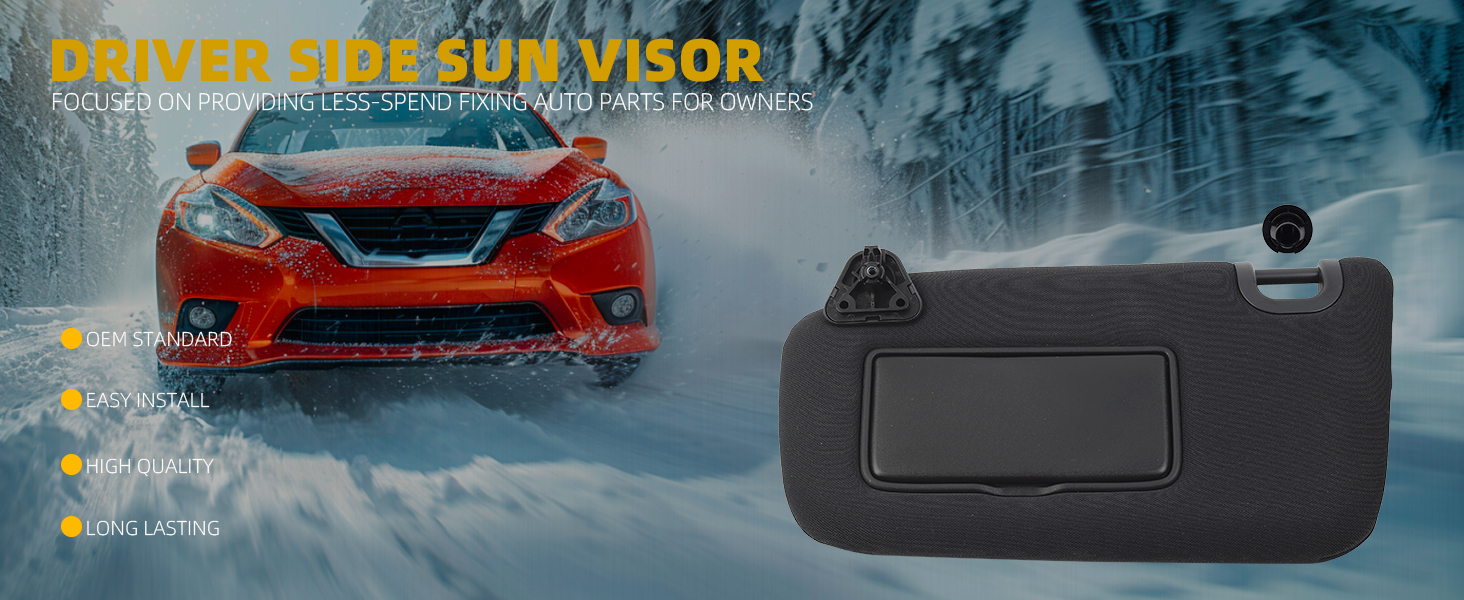
- New Sun Visor: Purchase a replacement visor specifically designed for the 2017 Nissan Sentra. Ensure it matches your car's interior color and whether it's for the driver's or passenger's side.
Important: Double-check compatibility before purchasing!
- Screwdriver Set: A Phillips head screwdriver is typically required. You might also need a flathead screwdriver for prying or removing small components.
- Panel Removal Tool (Optional): While not always necessary, a panel removal tool can help prevent damage to the surrounding trim when removing the visor's mounting hardware cover. A plastic putty knife can also work.
- Safety Glasses: Protect your eyes from debris that may fall during the removal process.
- Work Gloves (Optional): Gloves can improve your grip and protect your hands.
- Soft Cloth or Towel: To protect the headliner and other interior surfaces from scratches.
Step-by-Step Guide to Replacing Your 2017 Nissan Sentra Visor
Follow these steps carefully to replace your 2017 Nissan Sentra sun visor:
Step 1: Prepare the Vehicle
Park your 2017 Nissan Sentra in a well-lit area and turn off the ignition. Ensure the parking brake is engaged. This provides a safe and comfortable environment for the repair.
Step 2: Locate the Visor Mounting Hardware Cover
Examine the base of the sun visor where it attaches to the headliner. You'll typically find a small plastic cover concealing the mounting screws. This cover may be circular, rectangular, or oval in shape. Some models may not have a cover.
Step 3: Remove the Mounting Hardware Cover
This step requires patience and care to avoid damaging the headliner or the cover itself.
- If your visor has a screw cover: Gently pry the cover off using a panel removal tool or a small flathead screwdriver. Insert the tool into the edge of the cover and carefully work your way around until it pops loose. Be careful not to force it, as the plastic can be brittle.
- If your visor does not have a screw cover: Proceed to the next step.
Step 4: Remove the Screws
With the mounting hardware cover removed (if applicable), you'll see the screws that secure the visor to the headliner. Use the appropriate Phillips head screwdriver to carefully remove these screws. Keep the screws in a safe place, as you'll need them to install the new visor.
Pro Tip: Place the screws in a small container or magnetic tray to prevent them from getting lost.
Step 5: Disconnect Electrical Connectors (If Applicable)
If your 2017 Nissan Sentra sun visor is equipped with a vanity mirror light, you'll need to disconnect the electrical connector. Gently pull the visor down slightly to expose the connector. Press the release tab on the connector and carefully pull it apart.
Important: Do not yank the wires, as this could damage the connector or wiring harness.
Step 6: Remove the Old Visor
With the screws removed and the electrical connector disconnected (if applicable), you can now remove the old visor. Gently pull the visor straight down from the headliner. It should come off easily.
Step 7: Install the New Visor
Align the new sun visor with the mounting holes in the headliner.
Step 8: Reconnect Electrical Connectors (If Applicable)
If your new sun visor has a vanity mirror light, reconnect the electrical connector. Ensure the connector clicks into place securely.
Step 9: Secure the Visor with Screws
Reinstall the screws you removed earlier to secure the new visor to the headliner. Tighten the screws snugly, but be careful not to overtighten them, as this could damage the headliner or strip the screw holes.
Step 10: Reinstall the Mounting Hardware Cover
If your 2017 Nissan Sentra sun visor has a mounting hardware cover, snap it back into place. Ensure it is securely attached and flush with the headliner.
Step 11: Test the New Visor
Test the new sun visor to ensure it functions properly. Rotate the visor up and down and side to side. Make sure it stays in place and doesn't wobble. If the visor has a vanity mirror light, test the light to ensure it is working correctly.
Troubleshooting Common Issues
While the visor replacement process is generally straightforward, you might encounter some issues:
- Screws Won't Tighten: The screw holes in the headliner may be stripped. You can try using slightly longer screws or inserting small plastic anchors into the holes to provide a better grip.
- Electrical Connector Won't Connect: Ensure the connector is properly aligned and that the release tab is fully depressed before attempting to connect it. Check for any bent or damaged pins in the connector.
- Visor is Loose: Double-check that the screws are tightened properly. If the visor is still loose, the mounting bracket may be damaged. In this case, you may need to replace the entire mounting bracket.
- Vanity Mirror Light Doesn't Work: Ensure the electrical connector is properly connected. Check the bulb in the vanity mirror light and replace it if necessary. If the light still doesn't work, there may be a wiring issue that requires professional attention.
Finding the Right Replacement Visor
Purchasing the correct replacement visor is crucial for a successful installation. Here's where to look:
- Online Retailers: Websites like Amazon, eBay, and RockAuto offer a wide selection of sun visors for the 2017 Nissan Sentra. Be sure to filter your search by year, make, and model to ensure you find the correct part.
- Auto Parts Stores: Local auto parts stores like AutoZone, Advance Auto Parts, and O'Reilly Auto Parts typically stock sun visors. You can visit the store in person or browse their online catalogs.
- Nissan Dealership: Purchasing a sun visor from a Nissan dealership ensures you get an OEM (Original Equipment Manufacturer) part. However, this option is usually the most expensive.
- Salvage Yards: You might find a used sun visor in good condition at a salvage yard. This is a more budget-friendly option, but be sure to inspect the visor carefully for any damage.
Key Considerations When Buying a Replacement Visor:
- Side: Driver's side or passenger's side.
- Color: Match the interior color of your 2017 Nissan Sentra.
- With or Without Vanity Mirror: Choose a visor that matches the features of your original visor.
Conclusion
Replacing the sun visor in your 2017 Nissan Sentra is a relatively simple DIY project that can significantly improve your driving comfort and the overall appearance of your car. By following these step-by-step instructions and taking your time, you can save money on labor costs and enjoy a fully functional sun visor once again. Remember to always prioritize safety and double-check compatibility before purchasing any replacement parts. A new, properly installed visor will make those sunny drives much more enjoyable.