2018 Honda Accord Fuel Door Actuator
The 2018 Honda Accord, a staple of reliable and efficient transportation, incorporates a seemingly simple yet surprisingly complex system for managing its fuel door. At the heart of this system lies the fuel door actuator, an electromechanical device responsible for unlocking and releasing the fuel door upon command. While often overlooked, its functionality is crucial for convenient refueling. When this actuator fails, the experience can range from mildly inconvenient to significantly problematic, requiring manual intervention or even professional repair. This guide delves into the inner workings of the 2018 Honda Accord's fuel door actuator system, exploring its components, operation, common failure modes, and basic troubleshooting techniques.
System Overview: An Electromechanical Symphony
The fuel door actuator system in the 2018 Accord isn't just a single component; it's a coordinated network of electrical and mechanical elements working in concert. The primary components include:
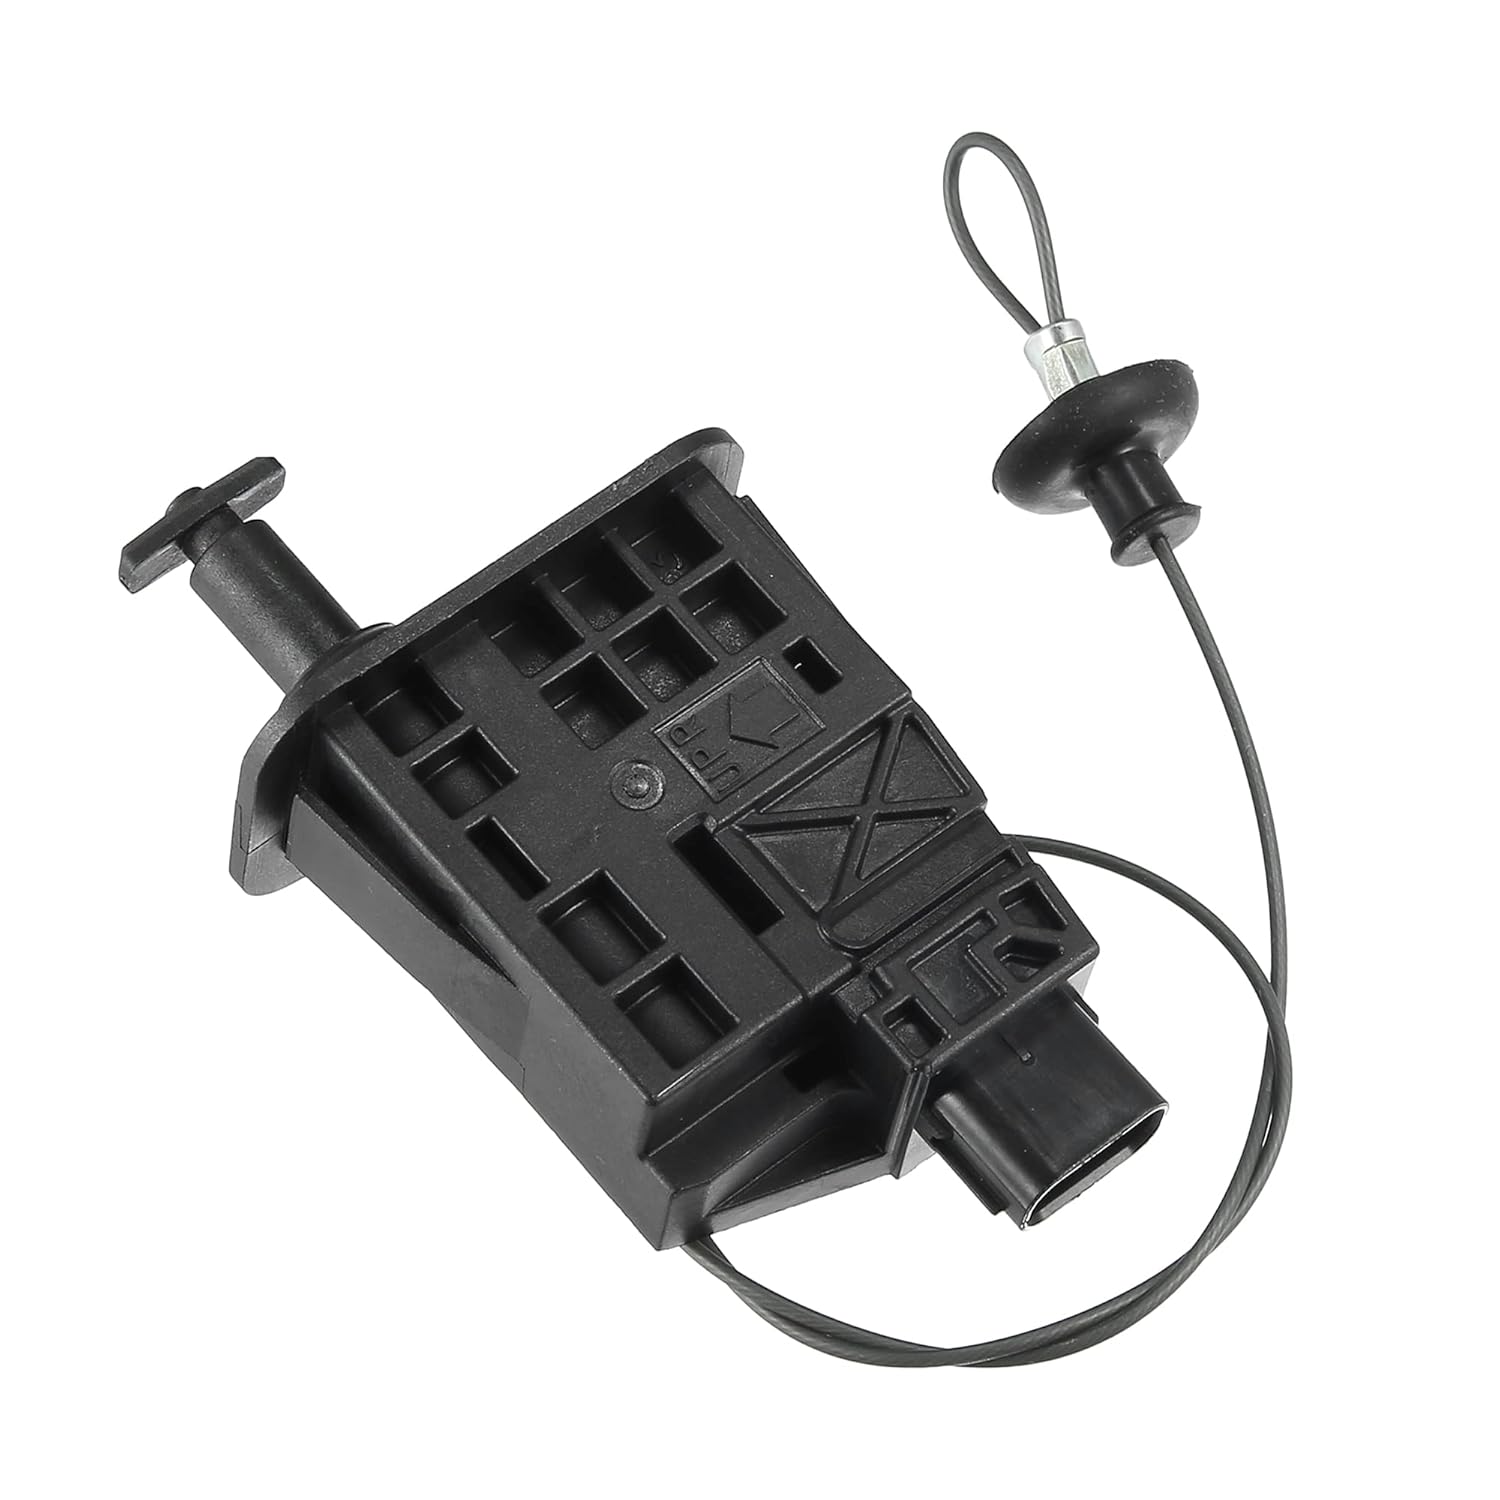
- Fuel Door Actuator: The core of the system, this is a small electric motor coupled with a mechanical linkage. When energized, the motor rotates, driving the linkage to retract a locking pin, thereby releasing the fuel door.
- Fuel Door Latch Mechanism: This is the receiving end of the actuator's action. It's a simple spring-loaded latch that holds the fuel door securely closed. When the actuator retracts the locking pin, the latch is free to release, allowing the door to swing open.
- Switch: Located inside the vehicle, usually on the dashboard or near the driver's seat, the switch serves as the user interface. Activating this switch signals the vehicle's computer to initiate the fuel door opening sequence.
- Body Control Module (BCM): The BCM acts as the brain of the operation. It receives the signal from the switch, verifies its validity (ensuring the vehicle is in a suitable state, like being parked), and then sends the appropriate voltage to the fuel door actuator.
- Wiring Harness: The nervous system of the system, the wiring harness provides the electrical connections between the switch, BCM, and the fuel door actuator. Any break or short in this wiring can disrupt the entire process.
- Fuel Door Hinge and Spring: While not directly part of the actuator system, the hinge and spring are essential for the smooth opening and closing of the fuel door. The spring provides the necessary force to pop the fuel door open once the latch is released.
Operational Breakdown: How it Works
The operation of the fuel door actuator system is relatively straightforward:
- The driver presses the fuel door release switch inside the vehicle.
- The switch sends a signal to the BCM.
- The BCM verifies the signal and checks for any inhibiting conditions (e.g., the car is in drive).
- If all conditions are met, the BCM sends a pulse of voltage to the fuel door actuator.
- The electric motor inside the actuator spins, retracting the locking pin from the fuel door latch.
- The spring-loaded latch on the fuel door releases, allowing the fuel door to pop open.
- When the fuel door is closed, the latch mechanism automatically engages, securing the door. The locking pin remains extended until the next time the release switch is activated.
It's important to note that the BCM typically sends a brief pulse of voltage to the actuator, rather than a continuous current. This helps to conserve energy and prevent overheating of the actuator motor.
Common Failure Modes: Diagnosing the Problem
The fuel door actuator system, despite its simplicity, can be susceptible to several failure modes:
Actuator Failure
This is perhaps the most common cause of fuel door issues. The electric motor inside the actuator can burn out, the mechanical linkage can become jammed or broken, or the internal wiring can corrode. Symptoms of actuator failure include:
Complete lack of response when the fuel door release switch is activated.
A faint clicking sound coming from the fuel door area when the switch is pressed, indicating the motor is attempting to operate but is unable to move the linkage.
Electrical Issues
Problems with the wiring harness, switch, or BCM can also prevent the actuator from functioning. Common electrical issues include:
Blown fuse: A blown fuse in the circuit powering the fuel door actuator will obviously prevent it from receiving power.
Faulty switch: A damaged or corroded switch may not send a signal to the BCM.
Wiring harness damage: Wires can become frayed, broken, or corroded, disrupting the electrical connection between the components.
BCM malfunction: While less common, a faulty BCM may fail to send the voltage signal to the actuator.
Mechanical Issues
Although less frequent, mechanical problems can also contribute to fuel door malfunctions:
Corroded or jammed latch: Dirt, debris, or corrosion can prevent the latch from releasing, even when the actuator is functioning correctly.
Damaged hinge or spring: A broken hinge or weak spring can prevent the fuel door from opening properly.
Troubleshooting Techniques: A DIY Approach
Before seeking professional help, there are several troubleshooting steps you can take to diagnose the fuel door actuator problem:
- Check the Fuse: Locate the fuse responsible for the fuel door actuator (consult your owner's manual for the fuse location). Inspect the fuse for any signs of damage. If the fuse is blown, replace it with a new fuse of the same amperage rating.
- Listen for the Actuator: When you press the fuel door release switch, listen carefully near the fuel door. If you hear a clicking sound, the actuator is likely receiving power but is unable to move the linkage. This often indicates a faulty actuator.
- Inspect the Wiring Harness: Visually inspect the wiring harness that connects to the fuel door actuator. Look for any signs of damage, such as frayed wires, broken connectors, or corrosion.
- Test the Switch: Using a multimeter, you can test the fuel door release switch for continuity. This will confirm whether the switch is functioning correctly and sending a signal when pressed.
- Manual Release: Many vehicles have a manual fuel door release located inside the trunk or behind a panel in the rear cargo area. Consult your owner's manual to locate this release and use it to open the fuel door. This can provide temporary access to the fuel tank and can also help you determine if the latch mechanism is functioning correctly.
- Check the Latch Mechanism: With the fuel door open (using the manual release if necessary), inspect the latch mechanism for any signs of dirt, debris, or corrosion. Clean the latch and apply a small amount of lubricant to ensure smooth operation.
Advanced Diagnostics: When to Call a Professional
If the above troubleshooting steps do not resolve the problem, it may be necessary to seek professional help. Advanced diagnostics may involve using a scan tool to read diagnostic trouble codes (DTCs) from the BCM, testing the voltage and current at the fuel door actuator, and performing more in-depth electrical testing.
Replacing the fuel door actuator itself is a relatively straightforward task that can often be performed by a mechanically inclined individual. However, diagnosing electrical issues or problems with the BCM requires specialized knowledge and equipment.
Preventive Maintenance: Keeping it Running Smoothly
While the fuel door actuator system is generally reliable, there are a few preventive maintenance steps you can take to minimize the risk of failure:
- Keep the Latch Clean: Periodically clean the fuel door latch mechanism to remove any dirt, debris, or corrosion.
- Lubricate the Latch: Apply a small amount of lubricant to the latch mechanism to ensure smooth operation.
- Inspect the Wiring: Regularly inspect the wiring harness for any signs of damage.
Conclusion: Understanding the Details
The fuel door actuator system in the 2018 Honda Accord is a testament to how seemingly simple tasks rely on intricate electromechanical systems. Understanding its components, operation, and common failure modes allows for effective troubleshooting and, in some cases, DIY repair. By following the diagnostic steps outlined in this guide, curious owners can gain a deeper appreciation for the engineering behind their vehicles and potentially save themselves a trip to the mechanic. While some issues require professional attention, a basic understanding of the system empowers owners to make informed decisions about maintenance and repair, ensuring the continued convenience and functionality of their vehicle.