2018 Nissan Sentra Battery Terminal
Alright, let's talk about the battery terminals on a 2018 Nissan Sentra. This might seem basic, but understanding the intricacies of your battery connection is crucial for proper electrical system function and preventative maintenance. Whether you're replacing the battery, diagnosing charging issues, or adding aftermarket accessories, knowing your way around these terminals is essential.
Understanding the Basics: Positive (+) and Negative (-)
Before we dive into the specifics, let's cover the fundamentals. Your car's battery, including the one in the 2018 Sentra, operates on direct current (DC). This means the current flows in one direction, from the positive (+) terminal to the negative (-) terminal. It's absolutely critical to observe proper polarity when working with the battery. Reversing the polarity, even for a split second, can cause serious and expensive damage to the car's electrical system.
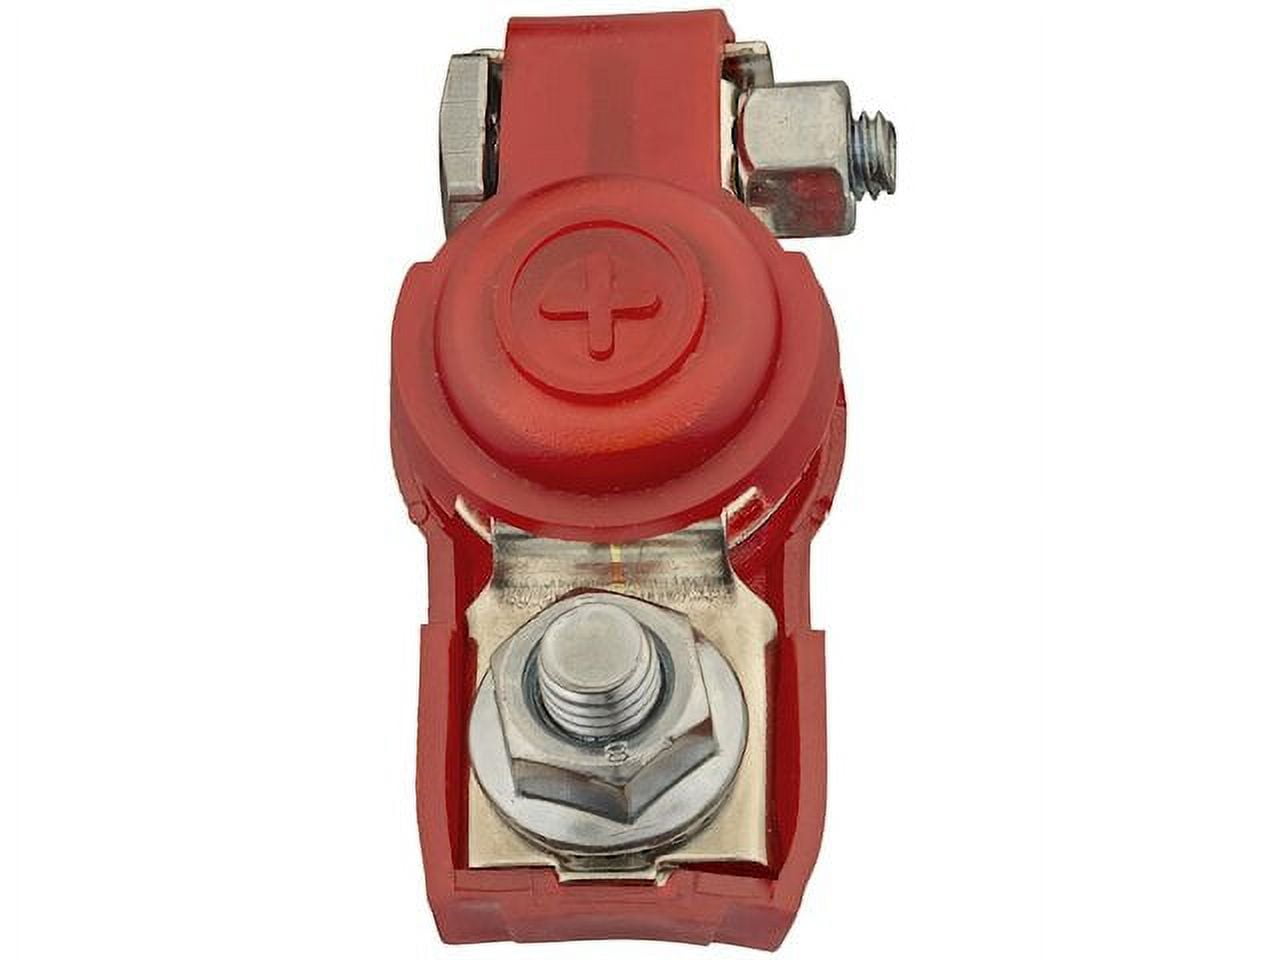
The positive terminal is usually marked with a "+" symbol and is often red. The negative terminal is marked with a "-" symbol and is typically black. Never assume; always double-check the markings. Also, the positive terminal is generally slightly larger in diameter than the negative terminal to prevent accidental misconnections.
The 2018 Sentra uses a standard automotive lead-acid battery. The battery provides the necessary voltage, typically 12.6 volts when fully charged, to power the starting system, ignition system, lighting, and all other electrical accessories. The battery terminal acts as the connecting point to allow the flow of current from the battery to the car's electrical circuits and back.
Terminal Construction and Materials
The battery terminals on a 2018 Sentra, like most vehicles, are typically made of lead or a lead alloy. Lead offers excellent conductivity and resistance to corrosion, making it a suitable material for this application. The terminals themselves are designed to be robust and durable, capable of withstanding the vibrations and temperature fluctuations within the engine compartment.
They're typically shaped like truncated cones or posts, with a threaded bolt or clamp mechanism for securing the battery cables. The cable ends, or lugs, are usually made of copper or a copper alloy for similar conductivity and corrosion resistance reasons. Copper is a superior conductor but more expensive, so alloys are often used to balance cost and performance.
The connection between the terminal and the lug must be clean and tight. Any corrosion or looseness introduces resistance, which impedes current flow. This can lead to various problems, from slow starting to malfunctioning electrical components.
Identifying Terminal Issues: Corrosion, Looseness, and Damage
One of the most common problems with battery terminals is corrosion. Battery corrosion is typically a buildup of sulfate deposits formed as a byproduct of the battery's chemical reaction. This appears as a white or bluish-green powdery substance on the terminals and cable ends. Corrosion increases resistance, reducing the battery's ability to deliver current effectively. It also causes the surrounding metal to degrade over time.
Causes of corrosion include:
- Acid leakage: Small amounts of sulfuric acid can leak from around the terminal posts, reacting with the metal.
- Hydrogen gas: Batteries release small amounts of hydrogen gas during charging, which can react with atmospheric moisture to form corrosive compounds.
- Overcharging: Overcharging a battery can accelerate corrosion.
- Environmental factors: Exposure to humidity, salt, and other contaminants can exacerbate corrosion.
Looseness is another frequent issue. A loose connection prevents proper current flow and can cause intermittent electrical problems. It can also generate heat due to increased resistance, potentially damaging the terminal and cable. Vibrations during driving can loosen the connections over time.
Physical damage to the terminals can also occur, such as cracks, breaks, or deformation. This can result from over-tightening the clamps, improper handling, or accidental impacts. Damaged terminals need to be replaced immediately, as they compromise the connection and pose a safety risk.
Cleaning and Maintenance Procedures
Regular cleaning and maintenance are crucial for prolonging the life of your battery terminals and ensuring optimal electrical system performance. Here's a recommended procedure:
- Disconnect the battery: Always disconnect the negative (-) terminal first, followed by the positive (+) terminal. This prevents accidental short circuits while working on the terminals. Use appropriately sized wrenches to loosen the cable clamps.
- Inspect the terminals and cables: Look for signs of corrosion, looseness, or damage.
- Clean the terminals: Use a battery terminal cleaning tool (a wire brush designed specifically for this purpose) to remove corrosion from the terminals and cable ends. Alternatively, you can use a mixture of baking soda and water to neutralize the acid. Apply the paste, let it fizz for a few minutes, and then scrub with a brush. Rinse thoroughly with water.
- Clean the cable lugs: If the cable lugs are corroded, clean them with a wire brush or sandpaper. Ensure the contact surfaces are clean and bright.
- Reassemble the connections: After cleaning, dry the terminals and cable ends thoroughly. Apply a thin layer of dielectric grease to the terminals to prevent future corrosion. Reconnect the positive (+) terminal first, followed by the negative (-) terminal. Tighten the cable clamps securely, but avoid over-tightening, which can damage the terminals.
- Test the connection: After reassembling the connections, check the voltage across the battery terminals to ensure a good connection. Start the engine and monitor the charging voltage to verify the alternator is charging the battery correctly.
Important Safety Note: Always wear safety glasses and gloves when working with batteries, as they contain corrosive acid. Dispose of used cleaning materials properly.
Replacing Battery Terminals: When and How
If your battery terminals are severely corroded, damaged, or cannot be adequately cleaned, they need to be replaced. You can purchase replacement terminals at most auto parts stores. Ensure you buy terminals that are compatible with your 2018 Sentra's battery and cable size.
Here's a general outline of the replacement process:
- Disconnect the battery: As before, disconnect the negative (-) terminal first, followed by the positive (+) terminal.
- Remove the old terminals: Loosen the cable clamps and remove the old terminals from the battery posts. If the cables are corroded or damaged, you may need to replace them as well. Some terminals are crimped onto the cable, requiring a crimping tool to install new ones. Other terminals use a bolt-on design, making the replacement process simpler.
- Prepare the cable ends: If you're replacing the terminals with crimp-on types, strip the insulation from the cable ends and crimp the new terminals securely using a proper crimping tool. Ensure the crimp is strong and makes good electrical contact. If the wires are heavily corroded, you may need to cut back the wire until you reach clean, uncorroded copper.
- Install the new terminals: Place the new terminals onto the battery posts, ensuring the correct polarity. Tighten the cable clamps securely, but avoid over-tightening.
- Reconnect the battery: Reconnect the positive (+) terminal first, followed by the negative (-) terminal.
- Test the connection: As before, check the voltage across the battery terminals and start the engine to verify the charging system is working correctly.
When replacing terminals, consider using heat shrink tubing over the connection. This creates a waterproof seal that prevents corrosion from returning, especially in harsh climates.
Aftermarket Considerations: Upgrading Terminals
Some enthusiasts and modders choose to upgrade their battery terminals with aftermarket options. These upgraded terminals often offer features like improved conductivity, enhanced durability, and easier installation of multiple accessories. For example, you can find terminals with multiple connection points, allowing you to easily connect aftermarket lights, audio equipment, or other electrical devices without cluttering the main battery terminals.
When choosing aftermarket terminals, consider the quality of the materials, the ease of installation, and the number of connection points you need. Ensure the terminals are compatible with your battery type and cable size. Also, remember that adding significant electrical loads to your vehicle may require upgrading the battery and alternator to accommodate the increased power demand. Always prioritize safety and follow proper wiring practices when installing aftermarket electrical components.
In conclusion, understanding the battery terminals on your 2018 Nissan Sentra is essential for maintaining a healthy electrical system. Regular cleaning, inspection, and timely replacement of damaged components will ensure reliable starting and optimal performance of all your vehicle's electrical accessories. By following these guidelines, you can keep your battery connections in top condition and avoid costly electrical problems down the road.