2018 Nissan Versa Battery Replacement
The 2018 Nissan Versa, a reliable and economical subcompact, relies on a 12-volt lead-acid battery to power its electrical systems. Over time, this battery will inevitably degrade, necessitating a replacement. While a professional mechanic can handle this task with ease, understanding the process yourself offers valuable insight into your vehicle's functionality and empowers you to perform this routine maintenance yourself.
Understanding the Battery's Role
Before diving into the replacement procedure, it's crucial to grasp the battery's critical functions within the Versa's electrical architecture. The battery serves three primary roles:
- Starting the Engine: The battery provides the substantial current surge required to crank the engine via the starter motor. This is arguably its most demanding task.
- Providing Auxiliary Power: When the engine is off, the battery powers various electrical components, including lights, the radio, and the central locking system.
- Stabilizing Voltage: The battery acts as a voltage stabilizer, smoothing out fluctuations in the electrical system caused by varying engine speeds and electrical load changes. This protects sensitive electronic components from damage.
A failing battery manifests in several ways, including slow engine cranking, dimming headlights, frequent jump starts, and a battery warning light illuminating on the dashboard. If you experience these symptoms, it's prudent to have your battery tested to determine its condition.
Tools and Materials Required
Replacing the battery in a 2018 Nissan Versa is a straightforward procedure, but having the right tools and materials readily available ensures a smooth and safe experience. Here's a comprehensive list:
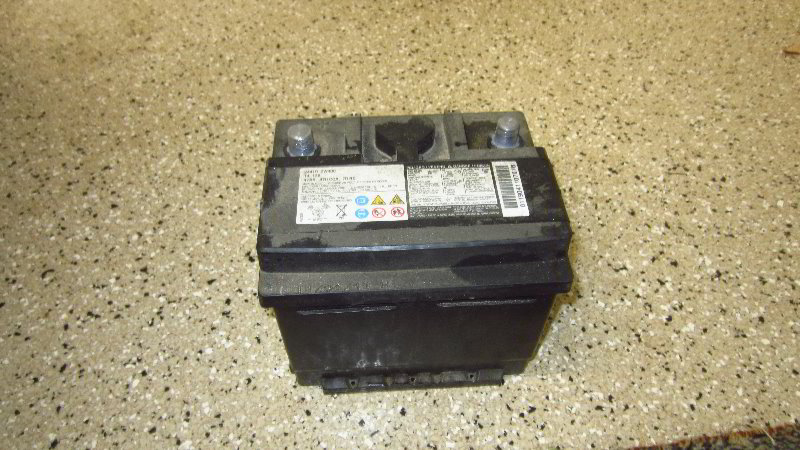
- New Battery: Crucially, select the correct battery size and type for your 2018 Nissan Versa. Consult your owner's manual or a reputable auto parts store to ensure compatibility. Typically, a Group Size 35 battery is specified. Ensure the new battery is fully charged before installation.
- Wrench Set: A set of metric wrenches is essential for loosening and tightening the battery terminals and hold-down hardware. A 10mm wrench is commonly used for the terminals.
- Socket Set: A socket set, often used in conjunction with an extension, can provide easier access to the battery hold-down clamp.
- Battery Terminal Cleaner: This specialized cleaner helps remove corrosion from the battery terminals, ensuring a good electrical connection.
- Battery Terminal Protector: Applying terminal protector after cleaning helps prevent future corrosion buildup.
- Safety Glasses: Protecting your eyes from battery acid is paramount. Always wear safety glasses.
- Gloves: Acid-resistant gloves are recommended to protect your skin from potential battery acid exposure.
- Rags or Paper Towels: For cleaning up any spills or residue.
- Memory Saver (Optional): A memory saver plugs into the vehicle's OBD-II port and provides a small current to retain the vehicle's electronic settings (radio presets, seat positions, etc.) while the battery is disconnected. This prevents the need to reprogram these settings after the battery replacement.
- Dielectric Grease (Optional): Applying a small amount of dielectric grease to the battery terminals after cleaning and before connecting the cables helps prevent corrosion and ensures a good electrical connection.
- Baking Soda and Water (Optional): A mixture of baking soda and water can be used to neutralize battery acid spills.
Step-by-Step Battery Replacement Procedure
Follow these steps carefully to safely and effectively replace the battery in your 2018 Nissan Versa:
1. Preparation and Safety Precautions
Park the vehicle on a level surface and engage the parking brake. Turn off the engine and remove the key from the ignition. Open the hood and locate the battery. Familiarize yourself with the battery terminal locations and the hold-down mechanism. Put on your safety glasses and gloves.
2. Disconnecting the Negative Terminal
Using the appropriate wrench, loosen the nut on the negative (-) battery terminal. The negative terminal is usually marked with a "-" symbol and is often black. Carefully remove the negative cable from the terminal. If the cable is stuck, you can use a battery terminal puller tool to gently remove it. Do not force the cable off. Tuck the negative cable away from the battery to prevent accidental contact.
3. Disconnecting the Positive Terminal
Repeat the process for the positive (+) battery terminal. Loosen the nut on the positive terminal, which is usually marked with a "+" symbol and is often red. Carefully remove the positive cable from the terminal and tuck it away from the battery. Again, avoid forcing the cable off.
4. Removing the Battery Hold-Down
The battery is secured in place by a hold-down mechanism, which may be a clamp, strap, or bracket. Identify the type of hold-down used in your Versa and use the appropriate tool (wrench or socket) to loosen and remove it. Carefully remove the hold-down mechanism.
5. Removing the Old Battery
Carefully lift the old battery out of the battery tray. Be mindful of its weight, as batteries can be heavy. Avoid tilting the battery excessively to prevent acid spillage. Inspect the battery tray for any corrosion or debris and clean it as needed.
6. Cleaning the Battery Terminals and Cables
Thoroughly clean the battery terminals and cable connectors using a battery terminal cleaner and a wire brush. Remove any corrosion or buildup to ensure a good electrical connection. Once cleaned, dry the terminals and cables with a rag.
7. Installing the New Battery
Carefully lower the new battery into the battery tray, ensuring it is oriented correctly. The positive (+) and negative (-) terminals should be aligned with the corresponding cables. Replace the battery hold-down mechanism and tighten it securely, but do not overtighten it.
8. Connecting the Positive Terminal
Attach the positive (+) cable to the positive (+) battery terminal. Ensure the cable is securely seated and tighten the nut. Apply a small amount of battery terminal protector to prevent corrosion.
9. Connecting the Negative Terminal
Attach the negative (-) cable to the negative (-) battery terminal. Ensure the cable is securely seated and tighten the nut. Apply a small amount of battery terminal protector to prevent corrosion.
10. Final Inspection and Testing
Double-check that all connections are secure and that the battery hold-down is properly installed. Start the engine to verify that the battery is functioning correctly. Check the dashboard for any warning lights. If you used a memory saver, ensure it is disconnected.
Important Considerations
- Battery Acid: Battery acid is corrosive and can cause burns. Avoid contact with skin and eyes. If acid spills, neutralize it with a mixture of baking soda and water and rinse thoroughly with water.
- Proper Disposal: Dispose of the old battery properly. Most auto parts stores and recycling centers accept used batteries for recycling. Never discard a battery in the trash.
- Terminal Tightness: Ensure the battery terminals are tightened securely, but avoid overtightening, which can damage the terminals or cables.
- Polarity: Double-check that you are connecting the positive and negative cables to the correct terminals. Reversing the polarity can damage your vehicle's electrical system.
- Professional Assistance: If you are uncomfortable performing any of these steps, seek professional assistance from a qualified mechanic.
Troubleshooting Common Issues
Even with careful execution, some issues may arise during battery replacement. Here are some common problems and their potential solutions:
- Engine Won't Start After Replacement: Double-check all connections to ensure they are secure and properly connected. Verify that the battery is fully charged. Check the fuses to ensure none have blown.
- Battery Terminals Won't Come Loose: Use a battery terminal puller tool to gently remove stuck terminals. Apply penetrating oil to loosen corroded nuts.
- Corrosion on New Battery Terminals: Apply battery terminal protector to prevent corrosion. Consider using dielectric grease on the terminals before connecting the cables.
- Vehicle's Electronic Settings Reset: If you didn't use a memory saver, you may need to reprogram your radio presets, seat positions, and other electronic settings. Consult your owner's manual for instructions.
Conclusion
Replacing the battery in a 2018 Nissan Versa is a manageable task for the informed and prepared individual. By understanding the battery's function, following the step-by-step procedure, and prioritizing safety, you can confidently perform this routine maintenance and save on potential labor costs. Remember to always consult your owner's manual for specific information related to your vehicle.