2019 Nissan Sentra Alternator Replacement
The 2019 Nissan Sentra, like any modern vehicle, relies heavily on its electrical system. The heart of this system, after the battery, is the alternator. This electromechanical device transforms mechanical energy from the engine into electrical energy, keeping the battery charged and powering all the car's electrical components while the engine is running. Understanding how to replace the alternator isn't just about saving money on labor; it's about gaining a deeper understanding of your vehicle's inner workings. This guide provides a detailed walkthrough of the 2019 Nissan Sentra alternator replacement process.
Understanding the Alternator's Role
Before diving into the replacement procedure, it's crucial to understand the alternator's fundamental function. The alternator consists of several key components: the rotor (spinning electromagnet), the stator (stationary coils of wire), the rectifier (converts AC to DC), the voltage regulator (maintains constant output voltage), and the cooling fan. The engine's serpentine belt drives the alternator's pulley, rotating the rotor. This rotation induces an alternating current (AC) in the stator windings. This AC current is then converted to direct current (DC) by the rectifier, making it suitable for charging the battery and powering the car's DC electrical system.
Common symptoms of a failing alternator include a dimming or flickering of headlights, difficulty starting the car (especially after it's been sitting), a battery warning light illuminated on the dashboard, and unusual noises coming from the alternator itself (such as whining or growling sounds). A voltmeter reading across the battery terminals while the engine is running should typically show a voltage between 13.5 and 14.5 volts. A reading significantly lower than this indicates a potential alternator issue.
Tools and Materials Needed
Replacing the alternator requires a basic set of tools and materials:
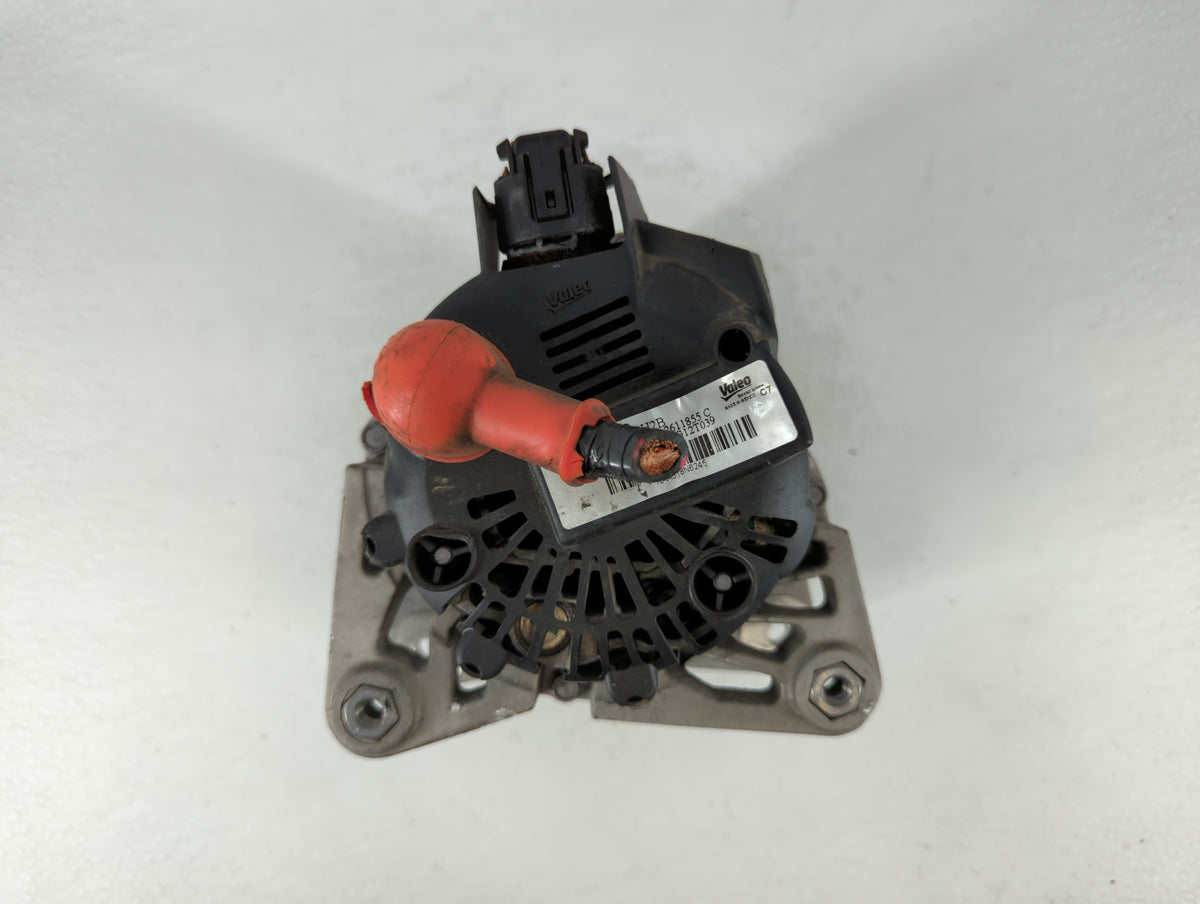
- New alternator (ensure it's the correct part for your 2019 Nissan Sentra, considering engine type and trim level)
- Socket set (metric)
- Wrench set (metric)
- Screwdrivers (Phillips and flathead)
- Torque wrench
- Multimeter
- Battery terminal cleaner
- Gloves
- Safety glasses
- Jack and jack stands
- Wheel chocks
- Serpentine belt tool (optional, but highly recommended)
Safety Precautions
Safety is paramount when working on any vehicle. Before starting, disconnect the negative battery terminal. This prevents accidental short circuits and potential electrical shocks. Wear safety glasses to protect your eyes from debris. Use jack stands to securely support the vehicle if you need to raise it. Work in a well-ventilated area. If you're unsure about any step of the process, consult a qualified mechanic. Remember, disconnecting the battery will reset some vehicle systems, such as radio presets and the electronic stability control system, which may require recalibration after the alternator replacement.
Step-by-Step Alternator Replacement Procedure
- Preparation: Chock the rear wheels to prevent the car from rolling. Open the hood and locate the battery. Using a wrench or socket, disconnect the negative (-) battery terminal first, followed by the positive (+) terminal. Tuck the terminals away from the battery posts to prevent accidental contact.
- Accessing the Alternator: The alternator on the 2019 Sentra is typically located on the front of the engine, accessible from either above or below, depending on the specific engine configuration. In most cases, accessing it from below provides more room to work. If necessary, use a jack and jack stands to safely raise the front of the car. Never work under a vehicle supported only by a jack.
- Removing the Serpentine Belt: The serpentine belt drives the alternator. You'll need to relieve the tension on the belt to remove it. Locate the belt tensioner pulley. It's typically spring-loaded. Use a serpentine belt tool (or a wrench/socket on the tensioner pulley bolt) to rotate the tensioner, relieving the tension on the belt. Carefully slip the belt off the alternator pulley. Note the routing of the belt before removing it completely. Taking a picture or making a diagram will help you reinstall it correctly later. Slowly release the tensioner after the belt is removed.
- Disconnecting Electrical Connections: Locate the electrical connections on the back of the alternator. There will typically be two connections: a large B+ (battery positive) terminal with a nut holding a cable in place and a smaller connector for the voltage regulator. Carefully remove the nut from the B+ terminal and disconnect the cable. Disconnect the smaller connector by pressing the locking tab and pulling it straight out. Be gentle to avoid damaging the connector.
- Removing the Alternator Mounting Bolts: The alternator is held in place by one or two mounting bolts. Locate these bolts. They may pass through mounting brackets. Use a socket and wrench to loosen and remove the bolts. Sometimes, one bolt might be longer than the other. Keep track of their positions for reinstallation.
- Removing the Alternator: With the bolts removed and electrical connections disconnected, you should be able to carefully maneuver the alternator out of its mounting location. You may need to gently wiggle it and adjust its position to clear any surrounding components.
- Inspecting the Mounting Area: Before installing the new alternator, inspect the mounting area for any damage or corrosion. Clean the area if necessary.
- Installing the New Alternator: Carefully position the new alternator in its mounting location. Align the mounting holes and insert the mounting bolts. Tighten the bolts to the manufacturer's specified torque using a torque wrench. Consult a repair manual or online resources for the correct torque specifications. Proper torque is critical to ensure the alternator is securely mounted and won't vibrate loose.
- Reconnecting Electrical Connections: Reconnect the electrical connections to the back of the alternator. Ensure the B+ cable is securely attached to the terminal and the nut is tightened properly. Reconnect the smaller connector until it clicks into place.
- Reinstalling the Serpentine Belt: Route the serpentine belt around all the pulleys, following the diagram or picture you took earlier. Use the serpentine belt tool (or wrench/socket) to relieve the tension on the tensioner pulley. Slip the belt onto the alternator pulley. Slowly release the tensioner. Double-check that the belt is properly seated on all the pulleys.
- Lowering the Vehicle (If Applicable): If you raised the vehicle, carefully lower it using the jack. Remove the jack stands.
- Reconnecting the Battery: Reconnect the positive (+) battery terminal first, followed by the negative (-) battery terminal. Tighten the terminals securely.
- Testing the New Alternator: Start the engine. Observe the dashboard for any warning lights. Use a multimeter to measure the voltage across the battery terminals while the engine is running. The voltage should be between 13.5 and 14.5 volts. This indicates that the alternator is charging the battery properly.
- Final Checks: Check all connections to make sure everything is secure. Listen for any unusual noises coming from the alternator or serpentine belt.
Troubleshooting
Even after following these steps, you might encounter some issues:
- No Charging: If the battery warning light remains illuminated and the voltage across the battery terminals is low, double-check all electrical connections to the alternator. Also, verify the serpentine belt is properly seated and the alternator pulley is turning. A blown fuse in the charging system could also be the culprit.
- Noisy Alternator: A new alternator should operate quietly. If you hear whining or growling noises, it could indicate a defective alternator or improper belt alignment.
- Serpentine Belt Slipping: If the serpentine belt is slipping, it could be due to a worn belt, a faulty tensioner, or a misaligned pulley.
Conclusion
Replacing the alternator on a 2019 Nissan Sentra is a manageable task for the DIY enthusiast with a basic understanding of automotive mechanics. By following these steps carefully and taking the necessary safety precautions, you can save money on labor costs and gain a valuable understanding of your vehicle's electrical system. Remember to always double-check your work and consult a qualified mechanic if you encounter any difficulties. Understanding and maintaining your vehicle empowers you as a driver and owner.