2019 Nissan Sentra Door Handle Replacement
Replacing a door handle on a 2019 Nissan Sentra might seem daunting, but with the right tools, a bit of patience, and this guide, you can tackle this project yourself. We'll walk you through the entire process, covering everything from prepping the door panel to ensuring the new handle functions smoothly. This guide assumes you have some basic automotive repair experience and are comfortable using tools.
Tools and Materials You'll Need
Before you begin, gather all the necessary tools and materials. This will save you time and frustration later on.
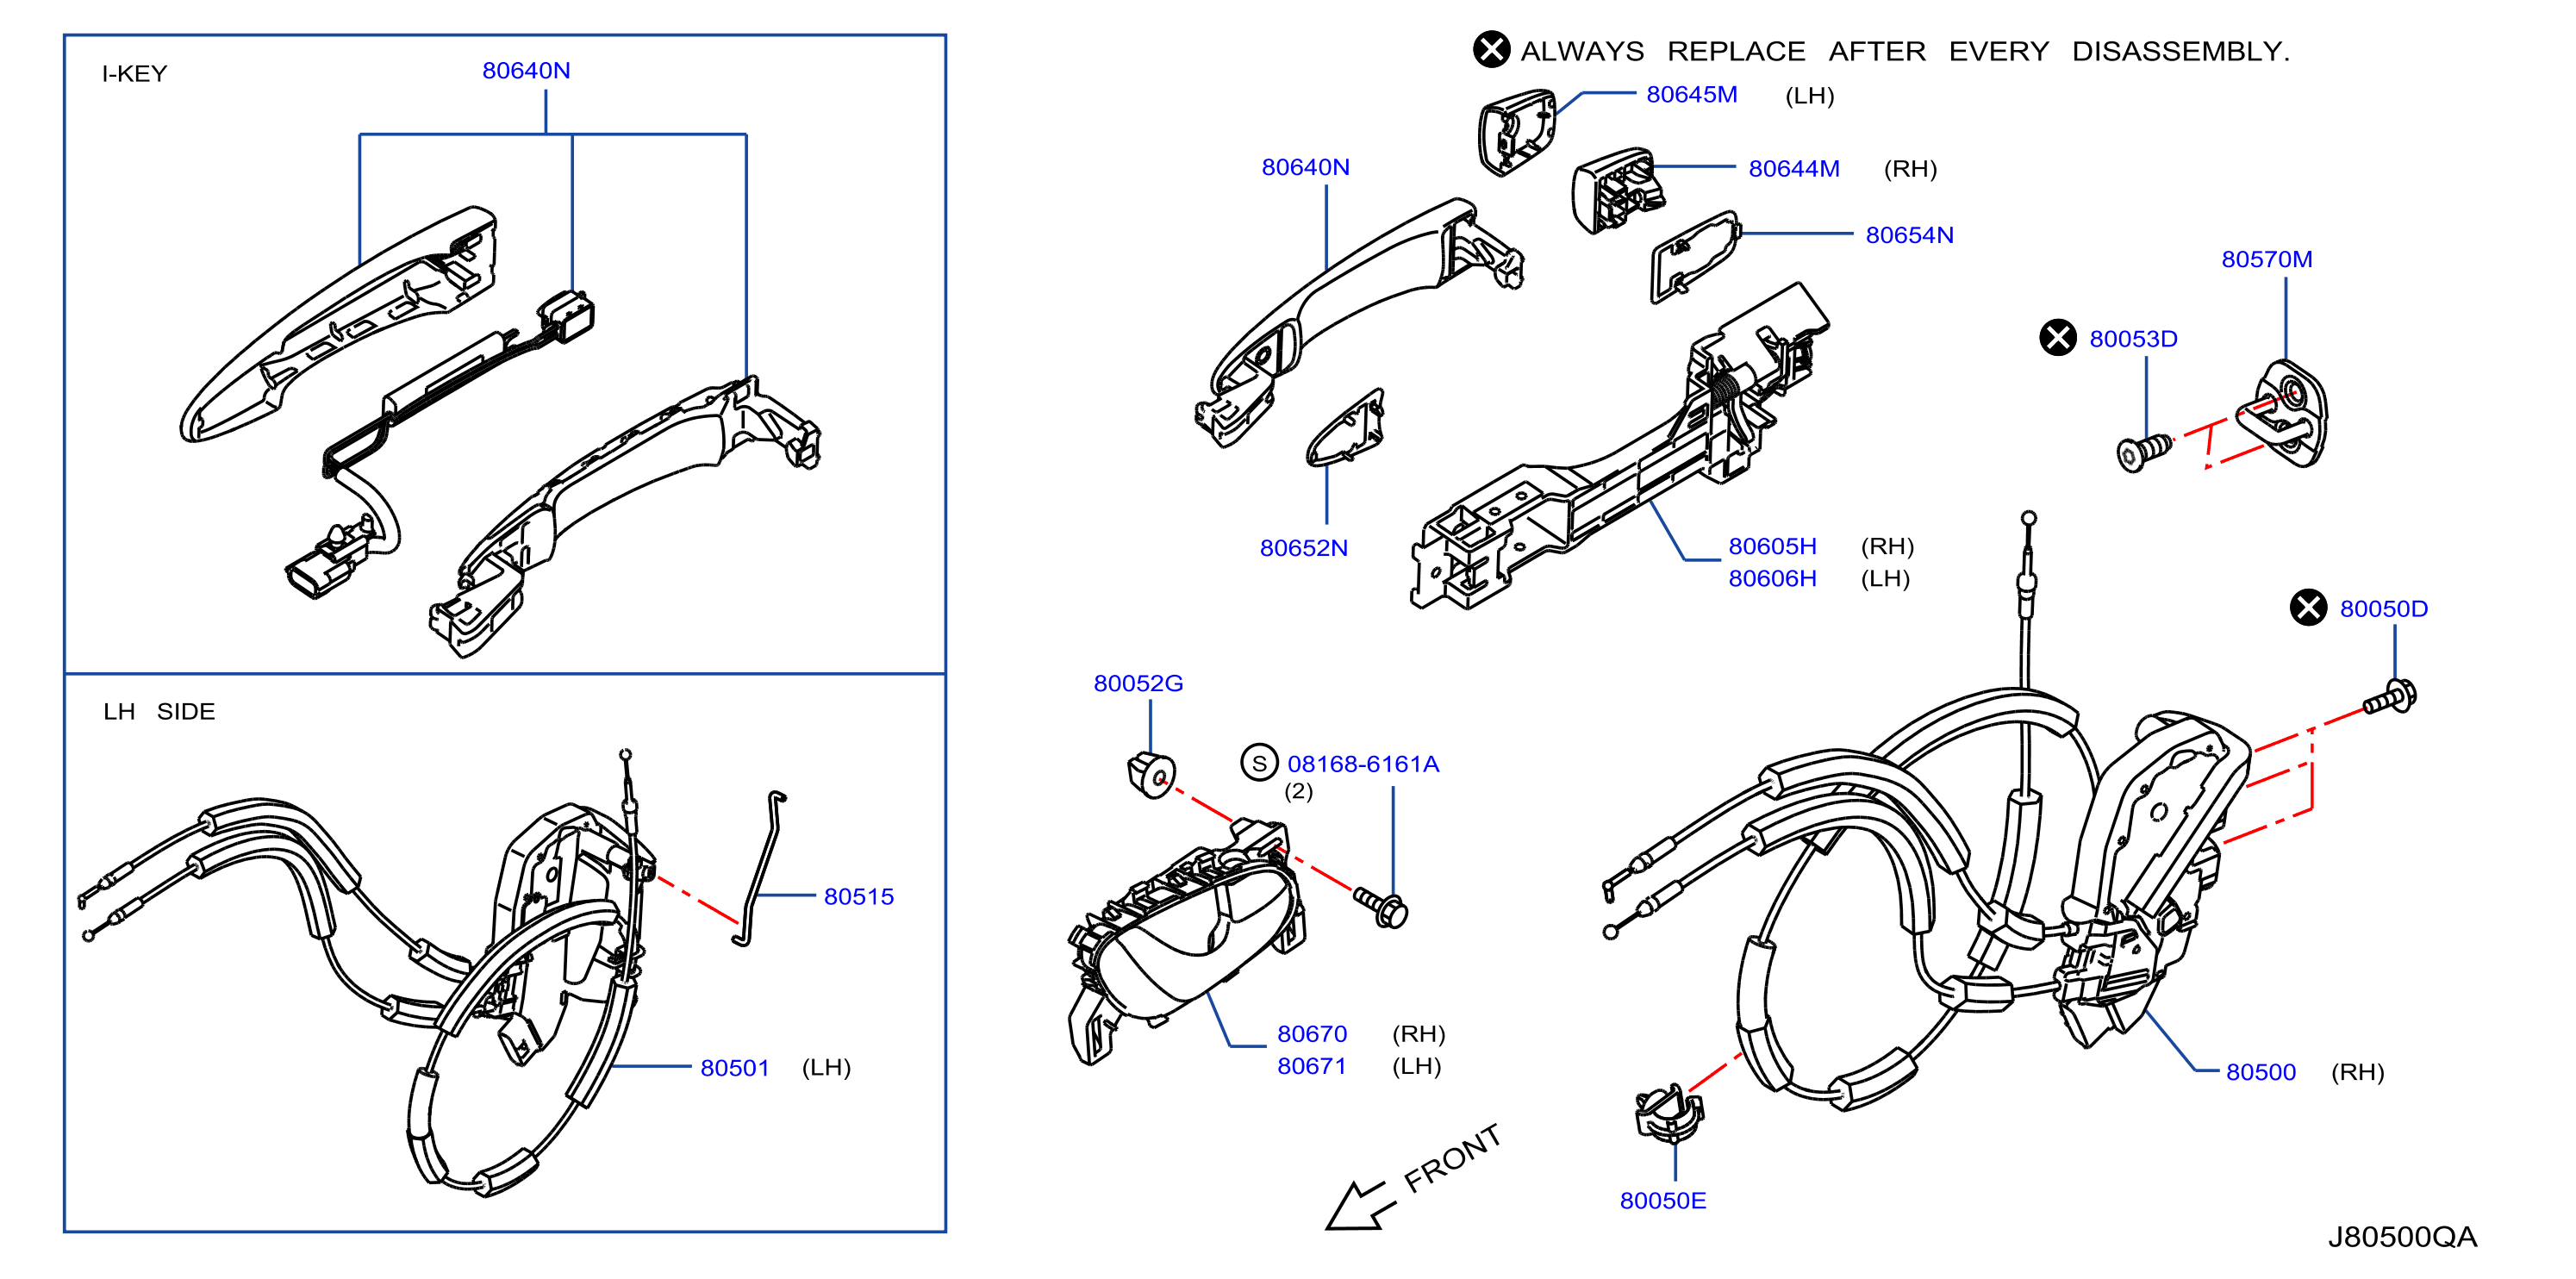
- New Door Handle (Specifically for 2019 Nissan Sentra) - Ensure it's the correct side (left/right, front/rear) and color. Check the part number!
- Socket Set - Including common sizes like 8mm, 10mm, and 12mm.
- Screwdriver Set - Both Phillips head and flathead screwdrivers. A stubby Phillips head is useful.
- Trim Removal Tool Set (Plastic Pry Tools) - Essential for removing door panels without damaging them.
- Panel Popper (Optional, but recommended) - A more robust tool for removing stubborn panel clips.
- Ratchet and Extension - For reaching recessed bolts.
- Needle-Nose Pliers - For manipulating clips and cables.
- Work Gloves - To protect your hands.
- Safety Glasses - Always wear safety glasses when working on vehicles.
- Small Container or Magnetic Tray - To hold screws and bolts. Important to prevent losing them.
- Clean Rags - For wiping down surfaces and cleaning up any messes.
- Pen and Paper or Digital Camera - For taking pictures as you disassemble, to help with reassembly.
Step-by-Step Door Handle Replacement
1. Preparation and Safety
First and foremost, disconnect the negative terminal of your car battery. This will prevent any accidental electrical shorts while you're working. Place the negative cable somewhere it can't accidentally contact the battery terminal. Then, park the car on a level surface and engage the parking brake. Safety first! Wear your safety glasses throughout the process.
2. Removing the Door Panel
This is the most delicate part of the process. Take your time and be careful not to break any of the plastic clips that hold the door panel in place.
- Locate and Remove Screws: Look for screws hidden behind plastic covers in the door handle recess, armrest, and along the bottom edge of the door panel. Use a small flathead screwdriver to carefully pry off the plastic covers. Typically there are 2-3 screws.
- Pry Off the Door Panel: Using your trim removal tools, start at the bottom of the door panel. Insert the tool between the panel and the door frame and gently pry outward. Work your way around the perimeter of the panel, releasing the clips as you go. You'll hear a popping sound as each clip disengages. A panel popper can be used for stubborn clips.
- Lift and Detach: Once all the clips are released, lift the door panel upwards and slightly outwards. Be careful not to pull too hard, as there are still electrical connectors and cables attached.
- Disconnect Electrical Connectors: Disconnect all electrical connectors attached to the door panel, such as the power window switch, door lock switch, and speaker. These usually have locking tabs that need to be pressed before pulling them apart. Carefully inspect how they connect.
- Detach the Door Latch Cable: The door latch cable connects the inside door handle to the door latch mechanism. This cable is usually held in place by a clip or bracket. Use needle-nose pliers to carefully detach the cable from the door handle. The cable often has a ball-end that fits into a socket. You might need to rotate or slide the cable housing to release it. Pay very close attention to how this cable is connected, as it's crucial for the door to open properly. Take a picture!
- Remove Vapor Barrier (Optional): Depending on the model and how accessible the door handle mechanism is, you may need to partially or fully remove the vapor barrier (plastic sheet) that's glued to the door frame. If necessary, carefully peel it back, taking care not to tear it. You might need adhesive spray to reattach it later.
3. Accessing and Removing the Old Door Handle
Now that the door panel is removed, you can access the door handle mechanism.
- Locate the Door Handle Mounting Hardware: The door handle is typically held in place by two or three bolts or nuts. They're usually accessible from inside the door frame.
- Remove the Mounting Hardware: Use the appropriate socket or wrench to remove the bolts or nuts securing the door handle.
- Detach Any Remaining Cables or Linkages: There may be additional cables or linkages connected to the door handle. Carefully detach them, paying close attention to how they are connected. Again, take pictures if necessary.
- Remove the Old Door Handle: With all the hardware and connections removed, you should be able to carefully remove the old door handle from the exterior of the door.
4. Installing the New Door Handle
Now it's time to install the new door handle. This is essentially the reverse of the removal process.
- Position the New Door Handle: Carefully insert the new door handle into the opening in the door.
- Attach Any Cables or Linkages: Reconnect any cables or linkages that were attached to the old door handle. Make sure they are securely fastened. Double-check this step; it's critical.
- Install the Mounting Hardware: Reinstall the bolts or nuts that secure the door handle to the door frame. Tighten them to the manufacturer's specified torque. Do not overtighten!
5. Reassembling the Door Panel
Now it's time to put everything back together.
- Reattach the Door Latch Cable: Reconnect the door latch cable to the inside door handle. Ensure it's securely attached and functioning correctly. Test the door handle to make sure it opens and closes the door latch smoothly. This is absolutely critical. If it doesn't work, the door won't open from the inside!
- Reattach Vapor Barrier (If Removed): If you removed the vapor barrier, carefully reattach it to the door frame. Use adhesive spray if necessary to ensure a good seal.
- Reconnect Electrical Connectors: Reconnect all electrical connectors to the door panel.
- Position the Door Panel: Align the door panel with the door frame and carefully push it into place. Make sure all the clips are properly aligned before applying pressure.
- Reattach the Clips: Firmly press the door panel against the door frame to reattach the clips. You should hear a "snap" as each clip engages.
- Reinstall Screws: Reinstall the screws that you removed earlier, and replace the plastic covers.
6. Testing and Final Checks
Before you celebrate, make sure everything is working correctly.
- Test the Door Handle: Open and close the door several times to ensure the new door handle is functioning smoothly.
- Test the Power Windows and Door Locks: Make sure the power windows and door locks are working properly.
- Check for Any Loose Connections: Inspect all connections and cables to make sure they are securely fastened.
- Reconnect the Battery: Reconnect the negative terminal of the car battery.
- Clean Up: Clean up any tools or materials you used during the process.
Troubleshooting Tips
- Door Handle Doesn't Open the Door: The most common cause is incorrect reattachment of the door latch cable. Double-check the cable connection and ensure it's properly seated in the handle mechanism.
- Power Windows or Door Locks Don't Work: Make sure all electrical connectors are fully seated and securely connected. Check the fuses related to these systems.
- Door Panel Doesn't Fit Properly: Ensure all the clips are properly aligned and engaged. You may need to replace any broken or damaged clips.
- Difficulty Removing the Door Panel: Be patient and use the trim removal tools carefully. Avoid using excessive force, as this can damage the door panel or the clips. Heat applied with a heat gun (on a low setting and with caution) can sometimes help soften stubborn plastic clips.
Understanding Key Components
To better understand the process, it's helpful to know what some of the key components are and what they do.
- Door Latch Assembly: This is the mechanism inside the door that actually locks and unlocks the door. It's connected to both the inside and outside door handles.
- Door Latch Cable: This cable connects the door handle to the door latch assembly. When you pull the door handle, the cable pulls on the latch mechanism, releasing the door.
- Door Panel Clips: These are plastic fasteners that hold the door panel securely to the door frame. They're designed to be removed and reinstalled, but they can break if too much force is applied.
- Vapor Barrier: This plastic sheet helps prevent moisture from entering the cabin of the vehicle.
Replacing a door handle on a 2019 Nissan Sentra is a manageable project for a DIY enthusiast with some experience. By following these steps carefully and taking your time, you can save money and gain a sense of accomplishment. Remember to prioritize safety and double-check your work at each stage. Good luck!
Disclaimer: This guide is for informational purposes only. Consult a qualified mechanic if you are unsure about any aspect of this procedure. The author is not responsible for any damages or injuries that may occur as a result of following this guide.