2020 Nissan Sentra Subwoofer Install
The 2020 Nissan Sentra represents a significant step forward in design and technology for the model. While the factory audio system is adequate for many, audiophiles often crave deeper bass and more impactful sound. This guide provides an in-depth look at installing an aftermarket subwoofer system in a 2020 Nissan Sentra, covering the necessary tools, wiring considerations, and potential challenges. This is not a step-by-step instruction manual; rather, it's an exploration of the technical aspects to empower informed decisions and safe installations.
Understanding the 2020 Sentra's Audio System
Before diving into the installation, it's crucial to understand the existing system. The 2020 Sentra likely features a non-amplified or amplified system, depending on the trim level. Determining which system you have will greatly influence your installation approach. Factory systems may have built-in equalization curves optimized for the stock speakers, which might need to be addressed with signal processors for optimal subwoofer performance.
Identifying the Head Unit and Audio Signals
The head unit is the brain of the audio system. Identifying the head unit type (factory integrated, aftermarket, etc.) is paramount. If retaining the factory head unit, you'll need to tap into the existing speaker wires to obtain an audio signal for your subwoofer amplifier. This can be done via a line output converter (LOC). The LOC converts the high-level speaker signal into a low-level RCA signal that is compatible with most aftermarket amplifiers. The quality of the LOC is important; a poor-quality LOC can introduce noise and distortion.
Alternatively, if you are replacing the factory head unit with an aftermarket unit, the process is typically simpler. Aftermarket head units generally offer RCA outputs specifically designed for subwoofer connectivity. However, even with an aftermarket head unit, understanding the existing wiring harness and CAN-BUS integration is vital to avoid issues. CAN-BUS, or Controller Area Network, is a communication protocol used in modern vehicles. Disconnecting the factory head unit might affect other vehicle functionalities that rely on it, so proper wiring harnesses and adapters are a necessity.
Powering Your Subwoofer: Electrical System Considerations
Subwoofers require substantial power. The Sentra's electrical system must be able to handle the additional load imposed by the amplifier.
Battery and Charging System Capacity
The first step is to assess the existing battery and alternator's capacity. The alternator's amperage rating indicates its maximum current output. Consult the owner's manual or the alternator itself for this specification. Calculate the total power consumption of the amplifier and compare it to the available capacity. If the amplifier's current draw exceeds the alternator's capacity, consider upgrading the alternator to a higher-output model or installing a secondary battery to prevent voltage drops and potential damage to the electrical system.
Wiring and Fusing
Proper wiring is crucial for safety and performance. Use appropriately sized wiring based on the amplifier's power requirements. Consult a wiring chart for the correct gauge. A general rule of thumb is that larger gauge wires (smaller numerical value) are needed for higher current demands. Running undersized wiring can lead to overheating, voltage drops, and potentially fire hazards. A dedicated power wire should run directly from the battery to the amplifier.
Always include an appropriately sized fuse near the battery to protect the entire electrical system from short circuits. Another fuse should also be placed near the amplifier.
Grounding is equally important. The amplifier should be grounded to a solid, clean metal surface on the car's chassis. Avoid grounding to painted surfaces, as this can impede proper conductivity. Scrape away the paint to expose bare metal for optimal grounding.
Remote Turn-On Wire
The amplifier needs a signal to turn on and off with the ignition. This is typically accomplished with a remote turn-on wire connected to a switched 12V source. Many aftermarket head units provide a dedicated remote turn-on wire. If using the factory head unit, a suitable switched 12V source can be located in the fuse box or wiring harness. Use a multimeter to identify a wire that receives power only when the ignition is on.
Signal Integration and Line Output Converters (LOCs)
As previously mentioned, integrating with the factory audio system often requires a line output converter (LOC). The LOC takes the high-level speaker signal from the factory system and converts it into a low-level RCA signal suitable for aftermarket amplifiers.
Choosing the Right LOC
LOCs vary in quality and features. Opt for a LOC with adjustable gain to fine-tune the subwoofer's output level. Some LOCs also feature remote turn-on circuitry, eliminating the need to find a separate switched 12V source. Look for LOCs with good reviews and specifications regarding total harmonic distortion (THD) to ensure minimal signal degradation. Active LOCs are generally superior as they use internal circuitry to produce a clean signal. Passive LOCs do not; they simply attenuate the high-level signal, which is not ideal for sound quality.
Signal Tapping Location
The best location to tap into the speaker wires depends on the vehicle's wiring configuration. Ideally, tap into the rear speaker wires before they reach the speakers themselves. This minimizes the impact on the factory speakers and provides the cleanest possible signal. Consult the vehicle's wiring diagram to identify the correct wires. A common location for tapping into speaker wires is behind the head unit or in the kick panels.
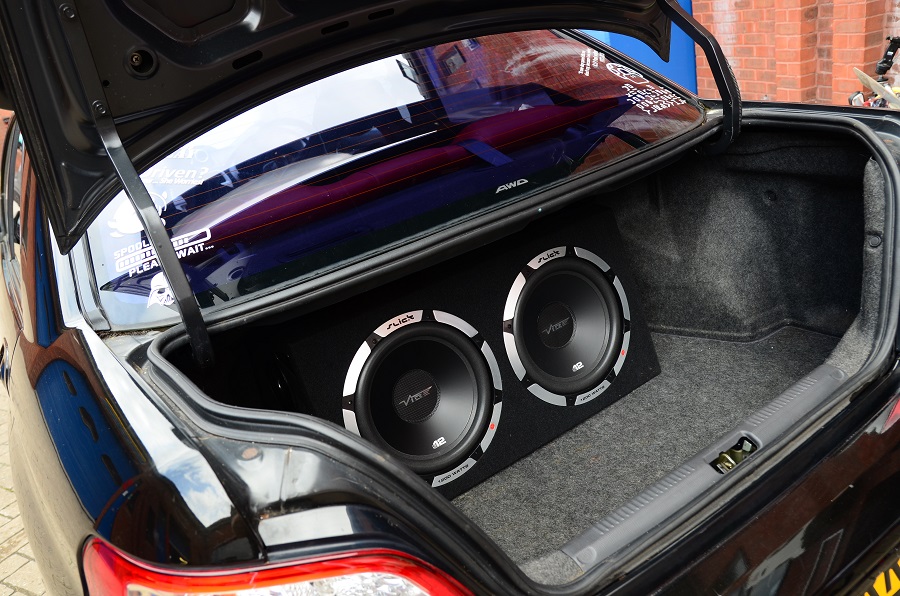
Subwoofer Enclosure and Placement
The subwoofer enclosure and its placement significantly affect the sound. Different enclosure types (sealed, ported, bandpass) produce different sonic characteristics. Sealed enclosures offer accurate and controlled bass response, while ported enclosures provide louder output at specific frequencies but may sacrifice accuracy. The size of the enclosure also impacts the subwoofer's performance. Calculate the optimal enclosure volume based on the subwoofer's specifications.
Enclosure Type and Material
Consider the available space in the Sentra's trunk. A prefabricated enclosure can be a convenient option, but a custom-built enclosure allows for optimized performance and fit. Medium-density fiberboard (MDF) is a common material for subwoofer enclosures due to its rigidity and acoustic properties. Properly bracing the enclosure is essential to prevent unwanted vibrations and resonances.
Placement Considerations
The subwoofer's placement in the trunk can impact the bass response inside the cabin. Experiment with different positions to find the optimal location. Firing the subwoofer towards the rear of the vehicle can often produce a more even bass response. Ensure the enclosure is securely mounted to prevent it from moving around during driving.
Tuning and Optimization
Once everything is installed, tuning the amplifier is crucial for achieving optimal sound quality. Use a multimeter to set the amplifier's gain properly. The gain control is not a volume knob; it's an input sensitivity adjustment. Setting the gain too high can cause clipping and distortion, while setting it too low can result in weak output.
Crossover and Equalization
Adjust the amplifier's crossover frequency to blend the subwoofer with the existing speakers. The crossover frequency determines which frequencies are sent to the subwoofer. A common starting point is around 80Hz. Fine-tune the crossover point based on the vehicle's acoustics and personal preference.
Consider using a signal processor with equalization capabilities to compensate for any imperfections in the factory audio system's response. Equalization allows you to adjust the frequency response of the subwoofer to achieve a flatter and more balanced sound.
Potential Challenges and Troubleshooting
Subwoofer installations can present various challenges.
Noise and Interference
Ground loops are a common source of noise in car audio systems. Ensure all grounding points are clean and secure. If noise persists, try re-routing the RCA cables away from power wires. Using shielded RCA cables can also help reduce interference.
Compatibility Issues
Modern vehicles with complex electronic systems can sometimes present compatibility issues with aftermarket audio equipment. Research the specific year and model of your Sentra to identify any known issues. Consult with a professional installer if you encounter difficulties.
Error Codes and Warning Lights
Disconnecting or modifying the factory audio system can sometimes trigger error codes or warning lights. Use a scan tool to diagnose and clear any error codes. Properly installed wiring harnesses and adapters can help prevent these issues.
Installing a subwoofer in a 2020 Nissan Sentra requires careful planning and execution. By understanding the vehicle's audio system, electrical system, and the principles of subwoofer installation, you can achieve impressive bass and enhance your overall listening experience. Remember to prioritize safety and consult with a professional installer if you are unsure about any aspect of the installation. Always double check your work and listen for any signs of distortion or malfunction. Proper installation and tuning will result in many hours of driving pleasure and listening enjoyment.