
2022 Nissan Altima Tail Lights
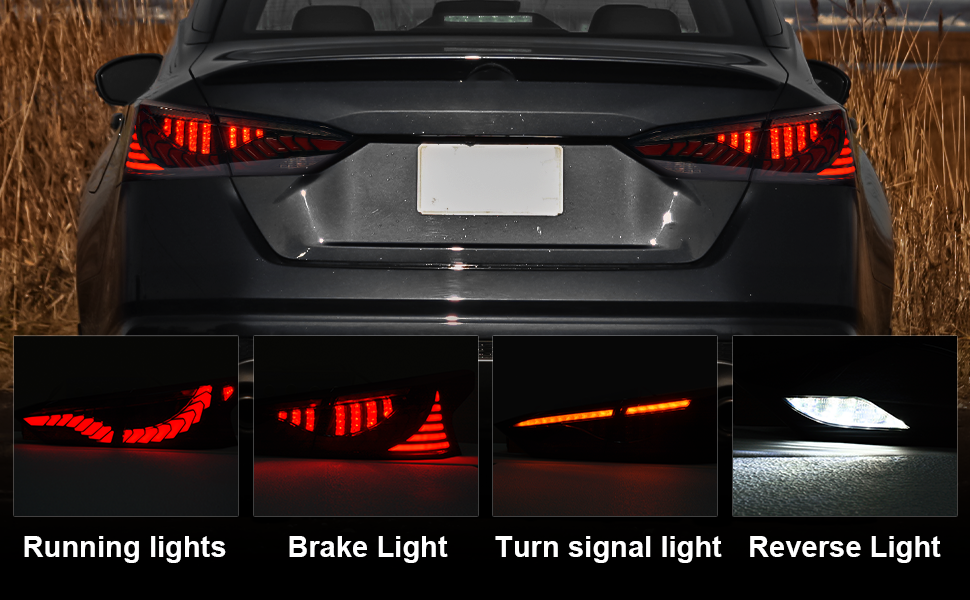
Hey there, fellow Nissan Altima owners! Experiencing some tail light trouble with your 2022 model? You're not alone. Tail light issues, while sometimes minor, can quickly escalate into safety hazards and lead to unwanted attention from law enforcement. This article will walk you through common problems, diagnostic steps, and potential solutions for your 2022 Altima's tail lights.
Common 2022 Altima Tail Light Problems
Before diving into fixes, let's identify the usual suspects. These are the most frequent tail light complaints we hear about regarding the 2022 Altima:
- Bulb Burnout: The most obvious and frequent offender. A simple burned-out bulb can render a tail light, brake light, or turn signal inoperative.
- Cracked or Damaged Lens: Accidents, road debris, or even extreme weather can crack or shatter the tail light lens. This allows moisture to enter, potentially damaging the bulb and wiring.
- Water Intrusion/Condensation: Even without a visible crack, condensation can build up inside the tail light housing. This can lead to corrosion of the bulb socket and wiring, causing intermittent or complete failure.
- Wiring Issues: Damaged or corroded wiring, connectors, or grounds can disrupt the electrical circuit, preventing the tail light from functioning properly. Rodents are a surprisingly common cause of wiring damage!
- Faulty Tail Light Assembly: In rare cases, the entire tail light assembly itself can be faulty, requiring replacement. This is more likely if the vehicle was involved in a collision.
- Blown Fuse: A blown fuse is a common cause of tail light failure. Usually, the fuse is blown as a safety mechanism to prevent damage to the electrical system from too much power draw.
Troubleshooting Your 2022 Altima Tail Lights
Okay, so you suspect a problem. Here's a step-by-step guide to help you pinpoint the issue:
Step 1: Visual Inspection
Start with a thorough visual inspection. Check for the following:
- Cracked or Broken Lens: Look for any signs of physical damage to the tail light housing.
- Condensation: Is there moisture inside the lens?
- Bulb Condition: If possible, visually inspect the bulb. Look for a broken filament or a darkened appearance.
- Wiring: Examine the wiring harness leading to the tail light assembly for any signs of damage, such as cuts, abrasions, or corrosion.
Step 2: Bulb Check
This is the easiest fix, so let's start here. You'll need to access the tail light assembly (refer to your owner's manual for specific instructions; usually, it involves removing an interior panel in the trunk).
Tools Needed:
- Screwdriver (usually Phillips head)
- Replacement bulb (check your owner's manual for the correct bulb type)
- Gloves (optional, to keep your hands clean)
Once you've accessed the bulb socket:
- Carefully remove the bulb from its socket. Most bulbs either twist-lock or pull straight out.
- Inspect the bulb filament. If it's broken or the bulb is darkened, it's time for a replacement.
- Install the new bulb, ensuring it's securely seated in the socket.
- Test the tail light.
Pro Tip: Even if only one bulb is out, consider replacing both bulbs on the same side. This ensures consistent brightness and prevents the other bulb from burning out shortly after. Also, never touch the glass part of the bulb with your bare hands. The oil from your skin can shorten the bulb's lifespan.
Step 3: Fuse Check
If replacing the bulb doesn't solve the problem, the next suspect is a blown fuse. Your Altima's fuse box is usually located under the dashboard or in the engine compartment. Consult your owner's manual to locate the fuse specifically for the tail lights.
Tools Needed:
- Fuse puller (usually located in the fuse box)
- Replacement fuse (of the same amperage rating as the blown fuse)
Important: Never replace a fuse with one of a higher amperage rating. This can overload the circuit and cause serious damage or even a fire.
- Use the fuse puller to remove the fuse.
- Inspect the fuse. If the metal filament inside is broken, the fuse is blown.
- Replace the fuse with a new one of the same amperage rating.
- Test the tail light.
Step 4: Wiring Inspection and Testing
If the bulb and fuse are good, the problem might lie in the wiring. This is where things can get a bit more complex. You'll need to carefully inspect the wiring harness leading to the tail light assembly for any signs of damage, corrosion, or loose connections.
Tools Needed:
- Multimeter
- Wire stripper/crimper
- Electrical tape or heat shrink tubing
- Wiring diagram (optional, but highly recommended)
- Visually inspect the wiring for any obvious damage.
- Check the connectors for corrosion or loose connections. Clean corroded connectors with electrical contact cleaner.
- Use a multimeter to test for voltage at the bulb socket. With the tail lights turned on, you should see approximately 12 volts. If you don't, there's a break in the circuit.
- If you find a damaged wire, repair it using a wire stripper/crimper and electrical tape or heat shrink tubing.
Caution: When working with electrical systems, it's always a good idea to disconnect the negative battery terminal to prevent accidental shocks or damage.
Step 5: Tail Light Assembly Replacement
If you've exhausted all other possibilities and the tail light still isn't working, the entire assembly may be faulty. This is usually a last resort, but sometimes it's the only solution. You can purchase a replacement tail light assembly from a Nissan dealer, auto parts store, or online retailer.
Tools Needed:
- Screwdriver (usually Phillips head)
- Socket wrench (may be needed for some mounting bolts)
- Replacement tail light assembly
- Disconnect the wiring harness from the old tail light assembly.
- Remove the mounting screws or bolts that secure the assembly to the vehicle.
- Carefully remove the old tail light assembly.
- Install the new tail light assembly, securing it with the mounting screws or bolts.
- Reconnect the wiring harness.
- Test the tail light.
Estimated Repair Costs
Here's a rough estimate of the costs you can expect for different tail light repairs on your 2022 Nissan Altima:
- Bulb Replacement: $5 - $20 (DIY) or $20 - $50 (at a shop)
- Fuse Replacement: $2 - $5 (DIY) or $10 - $20 (at a shop)
- Wiring Repair: $20 - $100 (DIY, depending on the extent of the damage) or $100 - $300 (at a shop)
- Tail Light Assembly Replacement: $100 - $300 (DIY, depending on the assembly price) or $200 - $500 (at a shop, including labor)
Important Note: These are just estimates. Actual costs may vary depending on your location, the specific parts needed, and the labor rates of the repair shop.
When to Seek Professional Help
While many tail light problems can be resolved with basic DIY skills, there are situations where it's best to seek professional help. Consider taking your Altima to a qualified mechanic if:
- You're not comfortable working with electrical systems.
- You've tried the troubleshooting steps above and are still unable to diagnose the problem.
- The wiring damage is extensive or complex.
- You suspect a more serious electrical issue, such as a problem with the vehicle's computer.
Ignoring a tail light issue can lead to safety hazards and legal problems. By taking the time to diagnose and repair the problem, you can ensure that your 2022 Nissan Altima is safe and compliant with traffic laws. Good luck, and happy driving!