240sx Clutch Slave Cylinder: Replacement Guide
The 240SX, a beloved sports coupe from Nissan, is known for its performance and tunability. However, like any vehicle, it requires regular maintenance and occasional repairs. One common issue that 240SX owners face is a failing clutch slave cylinder. This component is essential for proper clutch operation, and when it malfunctions, it can lead to shifting problems or even a complete inability to engage the clutch. This guide provides a comprehensive walkthrough on how to replace your 240SX clutch slave cylinder.
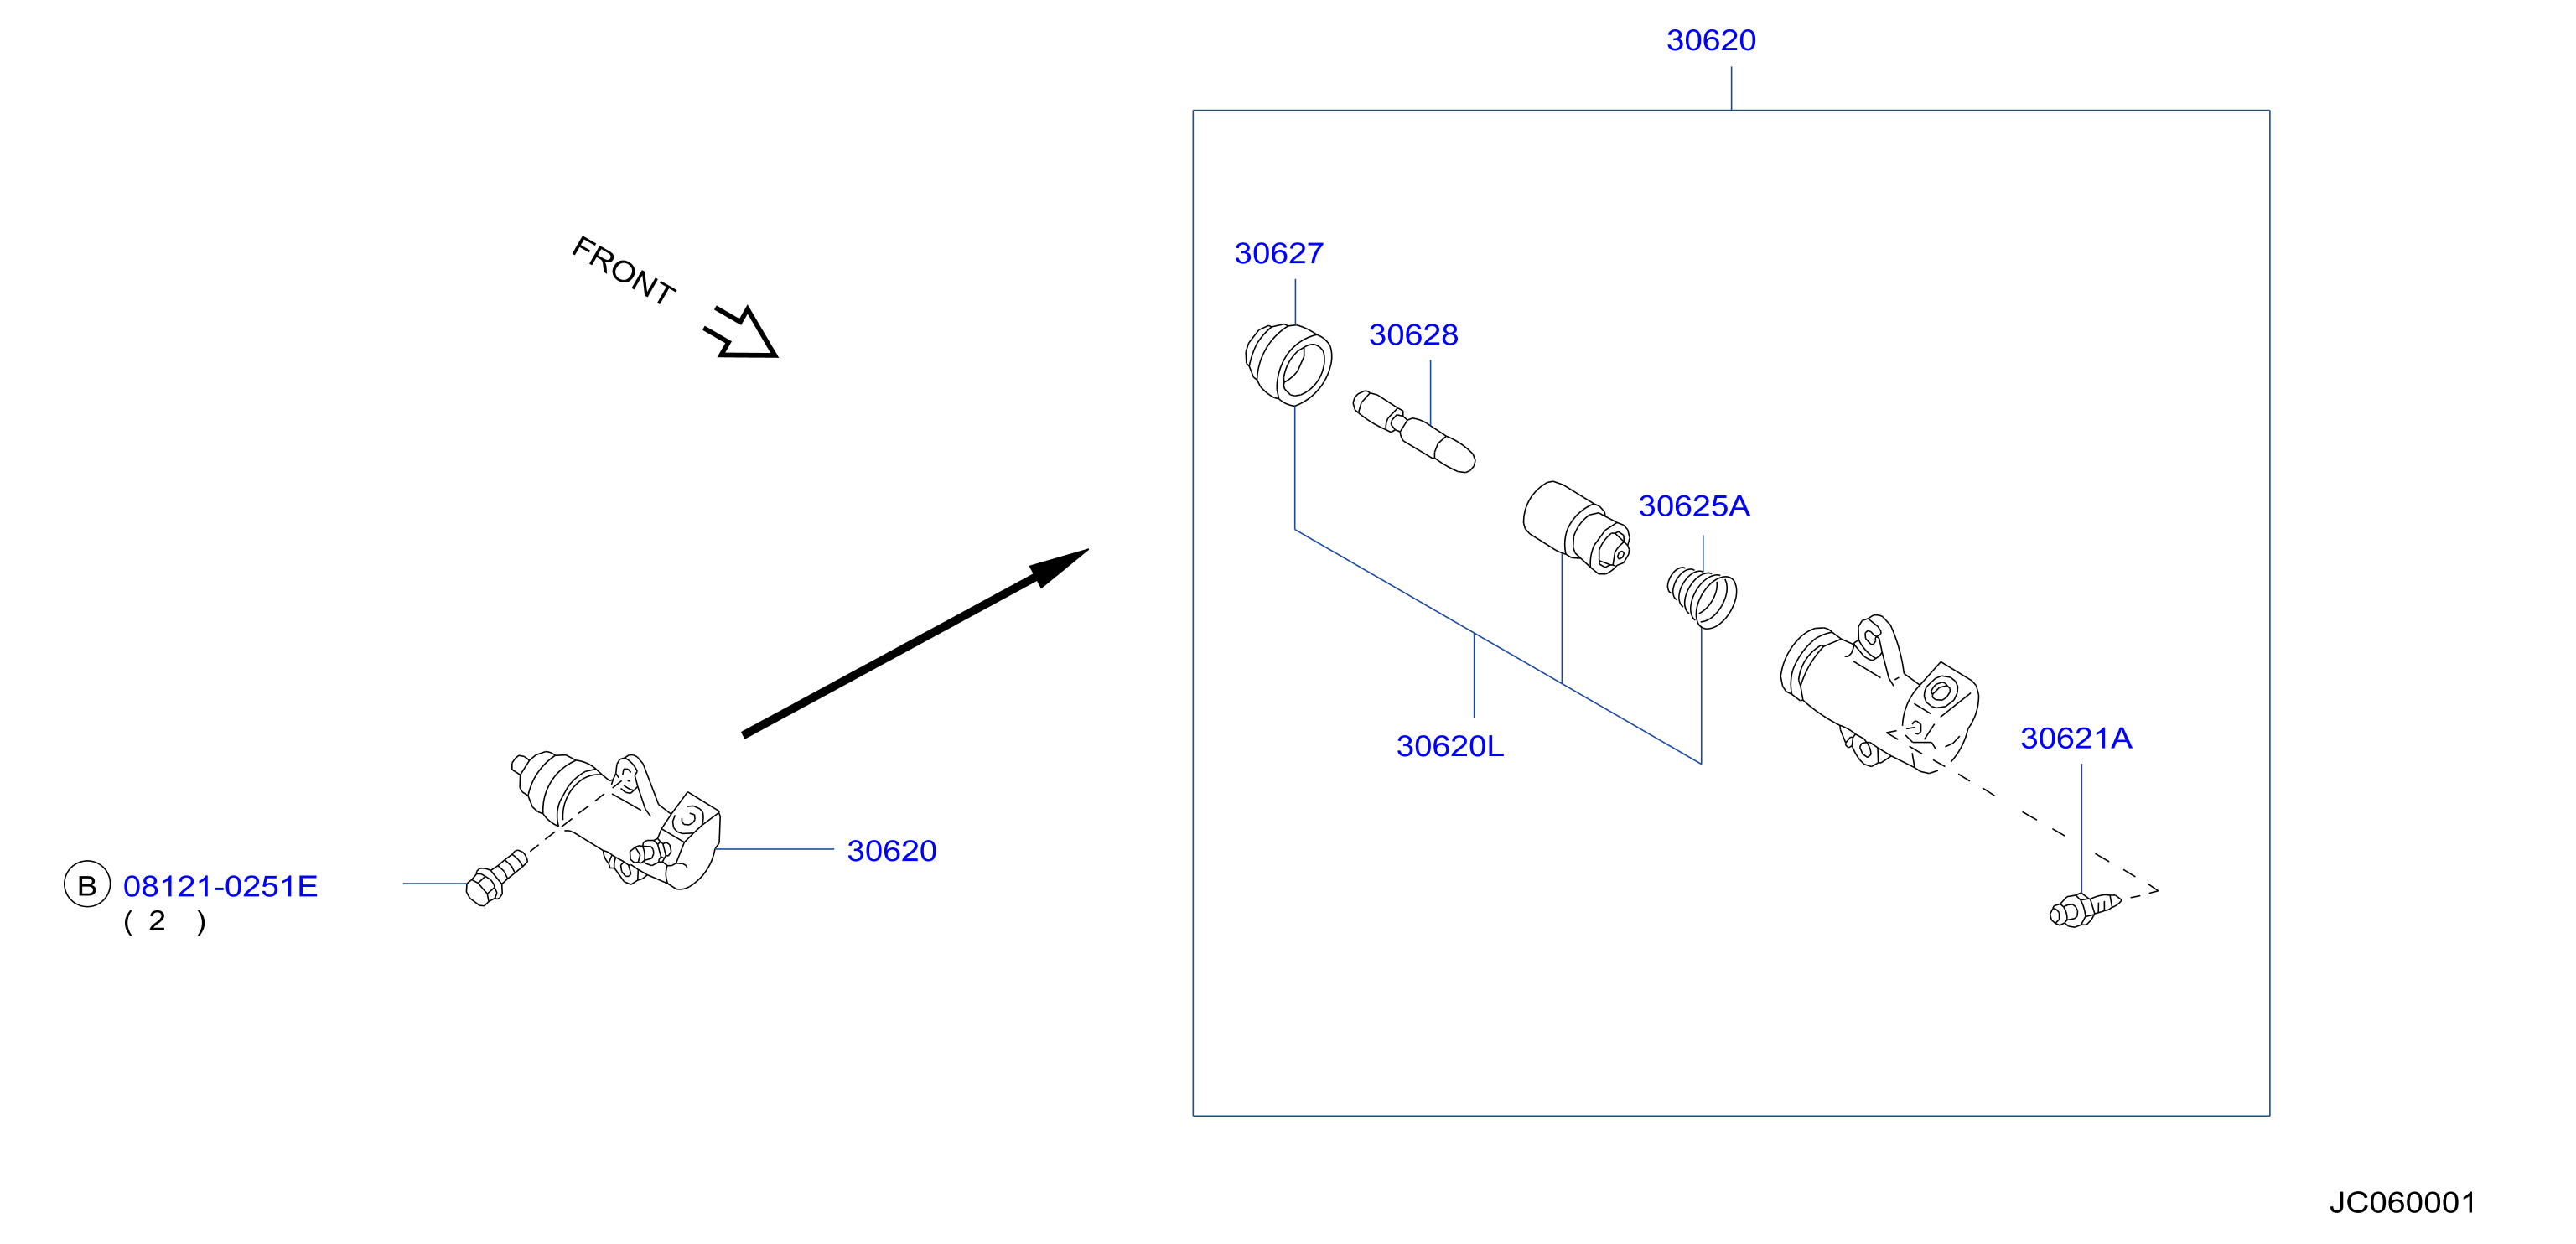
Understanding the Clutch Slave Cylinder in Your 240SX
Before diving into the replacement process, it's important to understand the function of the clutch slave cylinder. The clutch system in your 240SX is a hydraulic system. When you press the clutch pedal, the clutch master cylinder pushes hydraulic fluid through a line to the clutch slave cylinder. The slave cylinder then actuates the clutch fork, which in turn disengages the clutch from the engine, allowing you to shift gears.
A failing clutch slave cylinder will typically exhibit the following symptoms:
- Difficulty shifting gears: This is often the first and most noticeable symptom. You might struggle to get the car into gear, especially first and reverse.
- Soft or spongy clutch pedal: The pedal might feel weak and lack resistance.
- Clutch pedal sticking to the floor: This indicates a significant loss of hydraulic pressure.
- Fluid leaks: Look for brake fluid leaks around the slave cylinder itself or along the hydraulic line. Brake fluid is typically clear or amber in color.
- Low brake fluid level: A leaking slave cylinder will cause the brake fluid reservoir to gradually empty.
Ignoring these symptoms can lead to further damage to your clutch system, including the clutch master cylinder, clutch disc, and pressure plate. Prompt replacement of the clutch slave cylinder is crucial for maintaining the performance and reliability of your 240SX.
Tools and Materials Needed
Before you begin the replacement process, gather the necessary tools and materials:
- New clutch slave cylinder (Ensure it's the correct part for your 240SX model year)
- New crush washers (usually come with the new slave cylinder)
- Brake fluid (DOT 3 or DOT 4 – check your owner's manual for the correct specification)
- Wrench set (Typically 10mm, 12mm, and 14mm)
- Flare nut wrench (Optional, but highly recommended for preventing damage to the brake line fitting)
- Socket set
- Ratcheting wrench
- Brake bleeder wrench or tube and container
- Jack and jack stands
- Wheel chocks
- Gloves
- Safety glasses
- Rags or shop towels
- Penetrating oil (for loosening stubborn bolts)
Step-by-Step 240SX Clutch Slave Cylinder Replacement Guide
Follow these steps carefully to replace your 240SX clutch slave cylinder:
Step 1: Preparation and Safety
- Park your 240SX on a level surface.
- Engage the parking brake and use wheel chocks to secure the rear wheels.
- Loosen the lug nuts on the front wheels.
- Jack up the front of the car and support it securely with jack stands. Never work under a vehicle supported only by a jack.
- Remove the front wheels.
- Locate the clutch slave cylinder. It's typically mounted on the transmission housing, near the clutch fork.
Step 2: Disconnecting the Old Slave Cylinder
- Spray penetrating oil on the brake line fitting and mounting bolts of the slave cylinder. Let it soak for a few minutes.
- Place a rag under the slave cylinder to catch any dripping brake fluid.
- Using a flare nut wrench (if available) or a regular wrench, carefully loosen the brake line fitting connected to the slave cylinder. Be extremely careful not to strip the fitting. If it's stuck, apply more penetrating oil and try again.
- Once the fitting is loose, fully disconnect the brake line. Be prepared for brake fluid to spill. Cap the brake line immediately with a rubber cap or plastic wrap to prevent further fluid loss and contamination.
- Remove the mounting bolts securing the slave cylinder to the transmission housing.
- Carefully remove the old clutch slave cylinder.
Step 3: Installing the New Slave Cylinder
- Inspect the area where the slave cylinder mounts and clean away any dirt or debris.
- Install the new crush washers onto the brake line fitting.
- Carefully position the new clutch slave cylinder onto the transmission housing.
- Install the mounting bolts and tighten them to the manufacturer's specified torque (consult your service manual). If you don't have a service manual, a good rule of thumb is to tighten them snugly but not excessively.
- Reconnect the brake line to the slave cylinder. Make sure the fitting is properly seated and tighten it securely using a flare nut wrench or a regular wrench. Do not overtighten.
Step 4: Bleeding the Clutch System
Bleeding the clutch system is essential to remove air bubbles that may have entered the system during the replacement process. Air bubbles can cause a soft or spongy clutch pedal.
- Locate the bleeder screw on the clutch slave cylinder.
- Attach a length of clear tubing to the bleeder screw.
- Submerge the other end of the tubing in a container filled with a small amount of brake fluid. This prevents air from being drawn back into the system.
- Have a helper slowly pump the clutch pedal several times and hold it down.
- While your helper holds the pedal down, open the bleeder screw. Air bubbles and brake fluid will flow through the tubing.
- Close the bleeder screw before your helper releases the clutch pedal.
- Repeat steps 4 and 5 until no more air bubbles are seen in the tubing.
- Check the brake fluid level in the reservoir and top it off as needed.
Step 5: Final Checks and Reassembly
- Ensure that the brake line fitting and bleeder screw are properly tightened.
- Inspect the area around the slave cylinder for any leaks.
- Top off the brake fluid reservoir to the "MAX" line.
- Reinstall the front wheels and tighten the lug nuts to the specified torque.
- Lower the car and remove the jack stands.
- Tighten the lug nuts to the final torque specification.
Troubleshooting
After replacing the clutch slave cylinder, you may encounter some issues. Here are some common problems and their solutions:
- Clutch pedal still feels soft or spongy: This indicates that there is still air in the system. Repeat the bleeding process until all air bubbles are removed. You may also have a leak in the system.
- Difficulty shifting gears: This could be due to insufficient clutch disengagement. Double-check that the slave cylinder is properly installed and that the clutch system is properly bled. Also, check the clutch master cylinder for proper function.
- Brake fluid leaks: Check all connections for leaks. Make sure the brake line fitting and bleeder screw are properly tightened. If a leak persists, you may need to replace the brake line or slave cylinder.
Preventative Maintenance
To extend the life of your clutch slave cylinder and prevent future problems, consider the following preventative maintenance tips:
- Use high-quality brake fluid: Using the correct type of brake fluid is crucial for proper clutch system operation. Refer to your owner's manual for the recommended specification.
- Flush the brake fluid regularly: Brake fluid absorbs moisture over time, which can lead to corrosion and reduced performance. Flush the brake fluid every two years or 30,000 miles.
- Inspect the clutch system regularly: Check for leaks, damage, and unusual wear. Address any issues promptly to prevent further damage.
- Avoid riding the clutch: Riding the clutch can cause excessive wear on the clutch disc and pressure plate, which can eventually lead to premature failure of the slave cylinder.
Replacing the clutch slave cylinder on your 240SX is a relatively straightforward task that can be accomplished with basic tools and some mechanical knowledge. By following these steps and taking preventative measures, you can keep your clutch system in good working order and enjoy the performance of your 240SX for years to come.