240sx Cold Air Intake Install: A Step-by-step Guide
So, you're looking to give your 240SX a bit of a performance boost and maybe add a little more engine noise? A cold air intake (CAI) is a popular and relatively straightforward modification that can help. By relocating the air intake away from the hot engine bay, you’ll be feeding your engine cooler, denser air, which can translate to improved horsepower and throttle response. This guide walks you through a typical CAI installation on an S13 or S14 240SX equipped with an SR20DET or KA24DE engine. Keep in mind that specific steps may vary slightly depending on the intake kit you purchased, so always refer to the manufacturer’s instructions first.
Tools and Materials You'll Need
Before you even crack the hood, make sure you have everything on hand. A little preparation goes a long way in making this a smooth process.
- New Cold Air Intake Kit (make sure it's compatible with your engine)
- Socket set (metric)
- Wrench set (metric)
- Screwdrivers (Phillips and flathead)
- Pliers (especially hose clamp pliers)
- Cutting tool (Dremel or similar, possibly needed for minor adjustments)
- Shop towels
- Penetrating oil (like PB Blaster, helpful for stubborn bolts)
- Safety glasses
- Gloves
Optional but Recommended:
- Throttle body cleaner
- MAF sensor cleaner (specifically designed for MAF sensors)
- New air filter (if the provided filter isn't high quality)
Step 1: Disconnecting the Battery
Safety first! Disconnect the negative (-) terminal of your battery. This prevents any accidental electrical shorts while you're working. Use a wrench to loosen the nut on the terminal clamp and carefully remove the clamp. Tuck the cable away so it can't accidentally reconnect.
Step 2: Removing the Stock Airbox
This is where you start dismantling the old system. The stock airbox and intake piping need to be removed to make way for the new CAI. The exact steps will vary depending on whether you have an SR20DET or a KA24DE, but the general principles are the same:
KA24DE Airbox Removal:
The KA24DE's airbox is usually a fairly bulky plastic piece.
- Locate the airbox. It's usually on the passenger side of the engine bay, near the front.
- Loosen the hose clamp connecting the airbox to the throttle body. Use a screwdriver or hose clamp pliers.
- Disconnect the Mass Air Flow (MAF) sensor wiring harness. This is a crucial step. Be gentle and don't force anything. Usually, there's a clip you need to depress before you can pull the connector off.
- Remove any vacuum lines connected to the airbox or intake piping. Note their original locations; you might need to reconnect them later.
- Unbolt the airbox from the chassis. There are usually a few bolts holding it in place.
- Carefully remove the entire airbox and intake piping assembly. You might need to wiggle it around to get it free.
SR20DET Airbox Removal:
The SR20DET's setup is generally similar to the KA24DE, but sometimes more compact.
- Locate the airbox. Often on the driver's side.
- Loosen the hose clamp connecting the airbox to the turbo inlet pipe or directly to the turbo.
- Disconnect the MAF sensor wiring harness. Again, be careful.
- Remove any vacuum lines. Take note of their positions.
- Unbolt the airbox from the chassis.
- Remove the airbox and piping.
Important: Once the airbox is removed, inspect the throttle body (KA24DE) or turbo inlet (SR20DET) for any debris. It's a good idea to clean it with throttle body cleaner at this point. Be careful not to spray cleaner into the engine. Wipe down any excess.
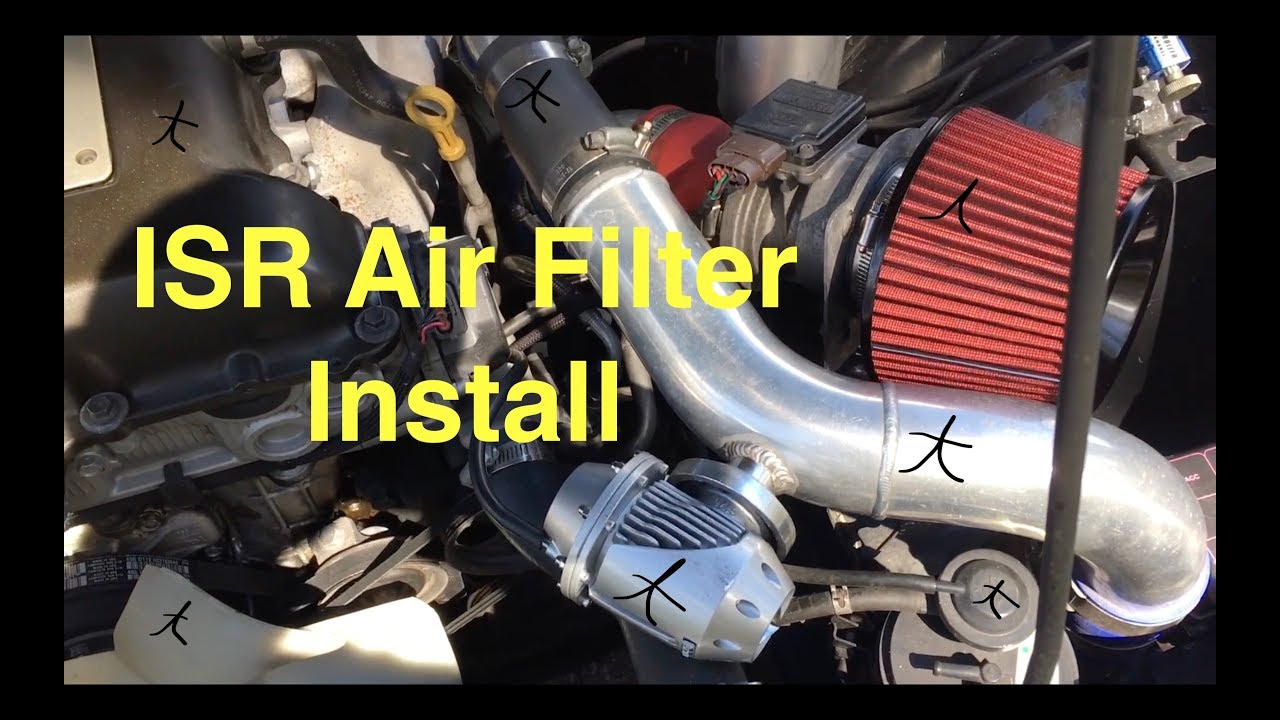
Step 3: Installing the New Cold Air Intake
Now for the exciting part! Installing the CAI. This is where following the manufacturer's instructions for your specific kit is absolutely critical. The following steps are a general guide, but your kit might have slight variations.
- Assemble the intake piping. Most CAI kits come with multiple pieces of piping that need to be connected with couplers (usually silicone hoses) and clamps. Make sure all the clamps are snug but not overtightened.
- Install the MAF sensor. The MAF sensor will need to be installed into the new intake piping. Be very careful when handling the MAF sensor; it's delicate and expensive. Use the provided screws and tighten them gently. Overtightening can damage the sensor. Ensure the MAF sensor is installed in the correct orientation, following the instructions in your kit.
- Mount the intake piping. Now, install the assembled intake piping into the engine bay. Connect it to the throttle body (KA24DE) or turbo inlet (SR20DET) using the provided coupler and clamps. Secure the piping to the chassis using any brackets or mounting points provided in the kit.
- Install the air filter. Attach the air filter to the end of the intake piping. Make sure it's securely clamped. Some filters require oiling; follow the filter manufacturer's instructions if yours is an oiled filter.
- Reconnect any vacuum lines. Carefully reconnect any vacuum lines that were disconnected from the original airbox or intake piping. Consult photos you took earlier or vacuum line diagrams if you're unsure of their original locations. Incorrect vacuum line connections can cause engine problems.
Step 4: Double-Checking and Final Adjustments
Before you reconnect the battery, give everything a thorough inspection.
- Check all clamps. Make sure all hose clamps are snug and secure.
- Inspect all connections. Verify that all piping connections are tight and there are no leaks.
- Ensure the MAF sensor is properly connected and secured.
- Verify that all vacuum lines are correctly connected.
- Check for clearance. Make sure the intake piping isn't rubbing against anything that could damage it or cause vibrations.
If everything looks good, you're ready to reconnect the battery.
Step 5: Reconnecting the Battery and Starting the Engine
Reconnect the negative (-) terminal of the battery. Tighten the nut on the terminal clamp.
Now, start the engine. Let it idle for a few minutes and listen for any unusual noises or leaks. Watch the engine for any signs of hesitation or stalling. A slight change in engine sound is normal, but anything excessive could indicate a problem.
Step 6: Test Drive and Monitoring
Take the car for a short test drive. Pay attention to how the engine responds to throttle input. You should notice a slight improvement in throttle response and possibly a small increase in power, especially at higher RPMs. Listen for any unusual noises or vibrations.
After the test drive, check under the hood again. Look for any leaks or loose connections. Ensure the intake piping hasn't shifted or come into contact with anything.
Troubleshooting Tips
Sometimes, things don't go perfectly. Here are some common issues and how to address them:
- Check Engine Light (CEL): A CEL after installing a CAI is often caused by a MAF sensor issue or a vacuum leak. Double-check the MAF sensor connection and all vacuum lines. Use an OBD-II scanner to read the trouble code and pinpoint the problem. Sometimes, the ECU needs to relearn the new airflow characteristics, and the light will go away after a few drive cycles.
- Rough Idling: Rough idling can also be caused by a MAF sensor issue or a vacuum leak. Inspect all connections and vacuum lines. Consider cleaning the MAF sensor with MAF sensor cleaner.
- Hesitation or Stalling: These issues can also be related to the MAF sensor or vacuum leaks. In rare cases, the CAI might be causing turbulence in the airflow that the MAF sensor is misinterpreting. Some kits include a MAF sensor adapter to address this.
- Fitment Issues: Sometimes, CAI kits don't fit perfectly. Minor adjustments might be necessary. Use a Dremel or similar cutting tool to trim the piping if needed. Be careful not to cut too much!
Final Thoughts
Installing a cold air intake on your 240SX is a relatively easy way to improve performance and add a more aggressive engine sound. By following these steps carefully and paying attention to detail, you can successfully install a CAI and enjoy the benefits. Remember to always consult the manufacturer’s instructions for your specific kit and take your time. Happy modding!