240sx Exhaust Manifold Gasket: Replacement And Repair
Okay, so you're hearing that tell-tale ticking sound, or maybe you're smelling exhaust fumes inside the cabin of your 240SX. Chances are, you've got an exhaust manifold gasket leak. It's a common issue with these cars, especially as they get older, but don't worry, it's something that can be tackled with a bit of patience and the right tools. Let's break down what's happening and how to get it fixed.
Understanding the Problem: Exhaust Manifold Gasket Failure
The exhaust manifold gasket sits between the exhaust manifold (the part that collects exhaust gases from the engine) and the cylinder head. Its job is to create a seal, preventing those hot, noxious gases from escaping. Over time, these gaskets can fail for a few reasons:
- Age and Heat Cycling: Constant exposure to extreme temperatures and repeated heating and cooling cycles cause the gasket material to degrade, harden, and eventually crack.
- Corrosion: Especially in areas with harsh weather conditions, corrosion can eat away at the gasket material, leading to leaks.
- Improper Installation: If the gasket wasn't installed correctly in the first place, or if the manifold bolts weren't torqued to the correct specifications, it can lead to premature failure.
- Warped Manifold: A warped exhaust manifold won't sit flush against the cylinder head, making it nearly impossible for the gasket to seal properly.
So, what are the symptoms that tell you it's time for a new gasket?
Common Symptoms of a Leaking Exhaust Manifold Gasket
- Ticking Noise: This is often the first sign. You'll hear a distinct ticking sound, especially when the engine is cold. The sound usually diminishes as the engine warms up and the metal expands, partially sealing the leak.
- Exhaust Fumes: You might smell exhaust fumes inside the cabin, particularly when idling or at low speeds. This is a major indicator of a leak.
- Reduced Fuel Economy: A leak can affect the engine's air/fuel mixture, leading to decreased fuel efficiency.
- Poor Engine Performance: In severe cases, a significant exhaust leak can affect engine performance, causing hesitation, reduced power, and even misfires.
- Visible Soot: You might see black soot around the exhaust manifold where it meets the cylinder head. This is a clear sign of escaping exhaust gases.
- Failed Emissions Test: A leaking exhaust manifold gasket can cause your vehicle to fail an emissions test.
The Solution: Exhaust Manifold Gasket Replacement
Replacing the exhaust manifold gasket is a job that can be done at home with the right tools and a bit of mechanical know-how. However, it can be challenging, especially if you're dealing with rusty or seized bolts. If you're not comfortable tackling this yourself, don't hesitate to take it to a qualified mechanic.
Tools and Materials Needed:
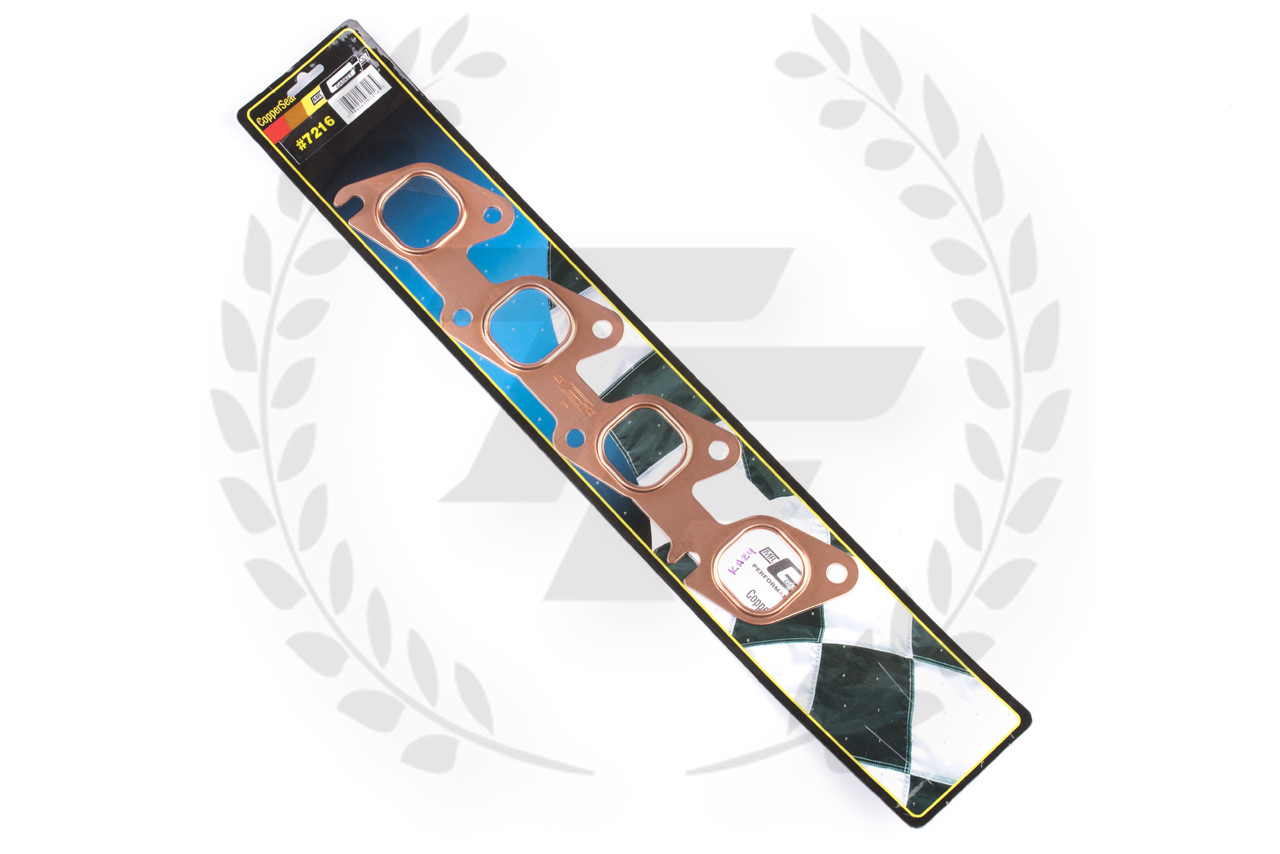
- New Exhaust Manifold Gasket: Make sure you get the correct gasket for your specific 240SX model (KA24E or KA24DE).
- Socket Set: A good set of sockets, including deep sockets and extensions, is essential. Metric sizes are a must.
- Wrench Set: Open-end and box-end wrenches will be needed.
- Torque Wrench: Crucial for properly tightening the manifold bolts to the correct specifications.
- Penetrating Oil: This is your best friend when dealing with rusty bolts. Spray liberally and let it soak in before attempting to loosen anything.
- Breaker Bar: For stubborn bolts that just won't budge.
- Jack and Jack Stands: To safely lift and support the vehicle.
- Safety Glasses and Gloves: Always protect your eyes and hands.
- Scraper: To clean the old gasket material off the cylinder head and manifold.
- Gasket Scraper/Razor Blade: For those really stubborn bits of gasket.
- New Exhaust Manifold Bolts (Optional): If your old bolts are corroded or damaged, it's a good idea to replace them.
- Anti-Seize Compound: Apply a small amount to the threads of the manifold bolts to prevent them from seizing in the future.
- Shop Rags: For cleaning up messes.
Step-by-Step Replacement Guide:
- Safety First: Disconnect the negative battery terminal. Jack up the front of the car and securely support it with jack stands.
- Access the Manifold: You may need to remove various components to gain access to the exhaust manifold. This could include heat shields, air intake components, and other parts. Take pictures as you go so you can remember how everything goes back together.
- Spray with Penetrating Oil: Generously spray all the exhaust manifold bolts with penetrating oil and let it soak in for at least 30 minutes, or even overnight if possible.
- Loosen the Bolts: Using the appropriate socket or wrench, carefully loosen the exhaust manifold bolts. Be patient! If a bolt feels like it's going to break, stop and apply more penetrating oil. You might need to use a breaker bar for extra leverage. Work slowly and try to "wiggle" the bolts back and forth to help break them free.
- Remove the Manifold: Once all the bolts are loosened, carefully remove the exhaust manifold. It might be a bit stuck, so gently tap it with a rubber mallet if needed.
- Clean the Surfaces: This is a crucial step. Use a scraper and gasket remover to thoroughly clean the cylinder head and exhaust manifold surfaces. Remove all traces of the old gasket material. A clean, smooth surface is essential for a proper seal. Use a razor blade carefully for stubborn areas, but avoid gouging the metal.
- Inspect the Manifold: Carefully inspect the exhaust manifold for any signs of warping or cracks. If it's warped, you'll need to have it professionally resurfaced or replaced.
- Install the New Gasket: Carefully position the new exhaust manifold gasket onto the cylinder head. Make sure it's aligned correctly.
- Reinstall the Manifold: Carefully reinstall the exhaust manifold, making sure the gasket stays in place.
- Tighten the Bolts: This is where the torque wrench comes in. Refer to your vehicle's service manual for the correct torque specifications for the exhaust manifold bolts. Tighten the bolts in a criss-cross pattern, gradually increasing the torque to the specified value. This ensures even pressure and a proper seal. Do not overtighten! You risk stripping the threads or warping the manifold.
- Reassemble: Reinstall any components you removed to access the manifold, such as heat shields or air intake parts.
- Reconnect Battery: Reconnect the negative battery terminal.
- Start the Engine: Start the engine and listen for any exhaust leaks. If you still hear a ticking sound, double-check the torque on the manifold bolts.
- Test Drive: Take the car for a test drive and monitor for any issues.
Preventative Measures and Important Considerations
- Regular Inspection: Periodically inspect the exhaust manifold area for signs of leaks, such as soot or exhaust fumes.
- Proper Torque: Always use a torque wrench and follow the correct torque specifications when tightening the exhaust manifold bolts.
- Anti-Seize: Apply a small amount of anti-seize compound to the threads of the manifold bolts to prevent them from seizing in the future.
- Quality Gaskets: Use a high-quality exhaust manifold gasket from a reputable brand.
- Manifold Condition: If your exhaust manifold is warped or cracked, have it professionally resurfaced or replaced before installing a new gasket.
- Broken Bolts: If you break an exhaust manifold bolt, don't panic! It's a common problem. You can try using a bolt extractor or, if necessary, have a professional remove it.
- Don't skip the cleaning step! A clean surface ensures proper gasket seating and sealing.
Estimated Repair Costs
The cost of replacing an exhaust manifold gasket can vary depending on whether you do it yourself or take it to a mechanic. Here's a general idea:
- DIY: The cost of the gasket itself typically ranges from $20 to $50. If you need to buy any tools, that will add to the cost.
- Mechanic: Labor costs can vary, but you can expect to pay anywhere from $200 to $500 for the entire job, including parts and labor. The exact cost will depend on the shop's hourly rate and the complexity of the job.
Important Note: These are just estimates. It's always a good idea to get a quote from a local mechanic before proceeding with the repair.
Replacing your 240SX's exhaust manifold gasket can seem daunting, but by following these steps and taking your time, you can restore your car's performance and eliminate those pesky exhaust leaks. Remember to prioritize safety, use the right tools, and don't be afraid to seek professional help if needed. Good luck!