240sx Front Wheel Bearing Replacement
So, you're hearing some unsettling noises coming from the front of your 240sx? A rhythmic hum, a growling sound that changes with speed, or maybe even a concerning wobble? Chances are, you might be dealing with a worn-out front wheel bearing. Don't worry, it's a fairly common issue with older cars, especially ones that have seen their fair share of spirited driving or track days. This article will walk you through diagnosing the problem and, more importantly, how to replace that troublesome bearing.
Diagnosis: Is it Really the Wheel Bearing?
Before you start tearing things apart, it's crucial to confirm that the noise is indeed coming from the wheel bearing. Misdiagnosis can lead to wasted time and money, so let's run through some tests:
- The "Spin Test": Safely jack up the car, ensuring it's securely supported on jack stands. Grab the tire at the 12 and 6 o'clock positions and try to rock it back and forth. Any noticeable play or clunking indicates a worn bearing. Repeat this at the 3 and 9 o'clock positions to rule out tie rod issues.
- The "Sound Test": While the car is jacked up, spin the wheel by hand. Listen closely. A healthy bearing should spin smoothly and quietly. A bad bearing will often make a grinding, rumbling, or clicking noise. You can even use a stethoscope (or a long screwdriver placed against the spindle with your ear to the handle) to listen more closely.
- The "On-Road Test": If you're still unsure, take the car for a short, slow test drive. Listen carefully to the noise. Does it get louder or change pitch as your speed increases? Does it change when you turn the steering wheel slightly from left to right? Often, the noise will get louder when you turn away from the bad bearing (e.g., if the left front bearing is bad, the noise will increase when turning right).
Important Note: It's always a good idea to check for other potential sources of noise, such as worn tires, loose suspension components, or even brake issues before definitively blaming the wheel bearing.
Tools and Materials You'll Need
Replacing a wheel bearing isn't the simplest DIY task, but with the right tools and a bit of patience, it's definitely manageable. Here's what you'll need:
- Jack and Jack Stands: Safety first! Make sure your jack is rated for the weight of your car and that you have sturdy jack stands to support it.
- Wheel Chocks: Chock the rear wheels to prevent the car from rolling.
- Socket Set: You'll need a variety of sockets, including the specific size for the axle nut (usually 30mm or 32mm).
- Wrenches: A set of standard wrenches will come in handy for various bolts and fasteners.
- Hammer: A dead blow hammer is preferred to minimize damage.
- Punch and Chisel: For removing stubborn components.
- Bearing Press or Hub Tamer Kit: This is the most critical tool. While it's possible to hammer the bearing in and out, it's highly discouraged as it can damage the new bearing or the hub. A bearing press provides controlled force for proper installation. You can often rent these from auto parts stores. A hub tamer is an on-the-car bearing press.
- Torque Wrench: Essential for properly tightening the axle nut and other fasteners. Consult your service manual for the correct torque specifications.
- Penetrating Oil: Spray this liberally on any rusty or seized bolts. PB Blaster or Liquid Wrench are good choices.
- Brake Cleaner: For cleaning the hub and spindle.
- Grease: High-temperature bearing grease for packing the new bearing.
- New Wheel Bearing: Make sure you get the correct bearing for your 240sx model year and trim.
- New Axle Nut: It's always a good idea to replace the axle nut as they are often one-time use and designed to deform.
- Gloves and Eye Protection: Safety is paramount!
- Shop Rags: For cleaning up messes.
- Service Manual: A repair manual specific to your 240sx is invaluable for torque specs and detailed instructions.
Step-by-Step Replacement Guide
Alright, let's get to work! This is a general guide, and specific steps may vary slightly depending on your 240sx model year and modifications. Always refer to your service manual for detailed instructions and torque specifications.
- Loosen the Axle Nut: Before jacking up the car, use a breaker bar and socket to loosen the axle nut. It's often very tight, so you might need some leverage.
- Raise and Secure the Vehicle: Jack up the car and securely support it with jack stands. Remove the wheel.
- Remove the Brake Caliper: Unbolt the brake caliper and carefully suspend it out of the way using a bungee cord or wire. Do not let it hang by the brake hose.
- Remove the Brake Rotor: Remove the brake rotor. It may be held in place by a small screw or it may be seized on from rust. Use penetrating oil and a few gentle taps with a hammer to loosen it if necessary.
- Disconnect the ABS Sensor (if equipped): Carefully disconnect the ABS sensor wire and remove the sensor from the hub. Be very careful not to damage the sensor.
- Remove the Steering Knuckle/Hub Assembly: This step involves disconnecting the tie rod end, the lower ball joint, and possibly the upper control arm (depending on your suspension setup). Use a ball joint separator or pickle fork to separate the ball joints. Be cautious as the spring can release suddenly when separating the ball joints.
- Remove the Hub from the Steering Knuckle: This is where the bearing press comes in. Place the steering knuckle in the press and use the appropriate adapters to press the hub out of the bearing. This may require a significant amount of force.
- Remove the Old Bearing Races: The old bearing races will likely be stuck in the steering knuckle. Use a punch and hammer to carefully drive them out from the inside. Be sure to work evenly around the race to avoid binding.
- Install the New Bearing Races: Carefully press the new bearing races into the steering knuckle using the bearing press and the appropriate adapters. Ensure they are fully seated.
- Install the Hub into the New Bearing: Use the bearing press to carefully press the hub into the new bearing. Make sure the bearing is properly supported to avoid damaging it.
- Reinstall the Steering Knuckle/Hub Assembly: Reconnect the tie rod end, lower ball joint, and upper control arm, torquing the fasteners to the manufacturer's specifications.
- Reinstall the ABS Sensor (if equipped): Reinstall the ABS sensor and connect the wiring.
- Reinstall the Brake Rotor: Reinstall the brake rotor.
- Reinstall the Brake Caliper: Reinstall the brake caliper and torque the bolts to the manufacturer's specifications.
- Install the Wheel: Install the wheel and lug nuts, tightening them to the correct torque specifications.
- Lower the Vehicle: Lower the vehicle and remove the jack stands.
- Tighten the Axle Nut: Tighten the axle nut to the manufacturer's specifications using a torque wrench. This is a critical step, as the axle nut preload affects bearing life.
- Test Drive: Take the car for a short test drive and listen for any unusual noises.
Important Considerations and Practical Tips
- Penetrating Oil is Your Friend: Apply penetrating oil liberally to any rusty or seized bolts several hours (or even the day before) you plan to start the job.
- Don't Force Anything: If something isn't coming apart easily, don't force it. Double-check that you've removed all the necessary fasteners and try applying more penetrating oil.
- Keep Track of Parts: Use labeled containers or bags to keep track of all the bolts and nuts you remove. This will make reassembly much easier.
- Take Pictures: Before you start disassembling anything, take pictures. This will help you remember how everything goes back together.
- Work Cleanly: Keep your work area clean and organized. This will help prevent you from losing parts or contaminating the new bearing.
- Torque Specifications are Critical: Always use a torque wrench to tighten fasteners to the manufacturer's specifications. Overtightening can damage parts, and undertightening can lead to component failure.
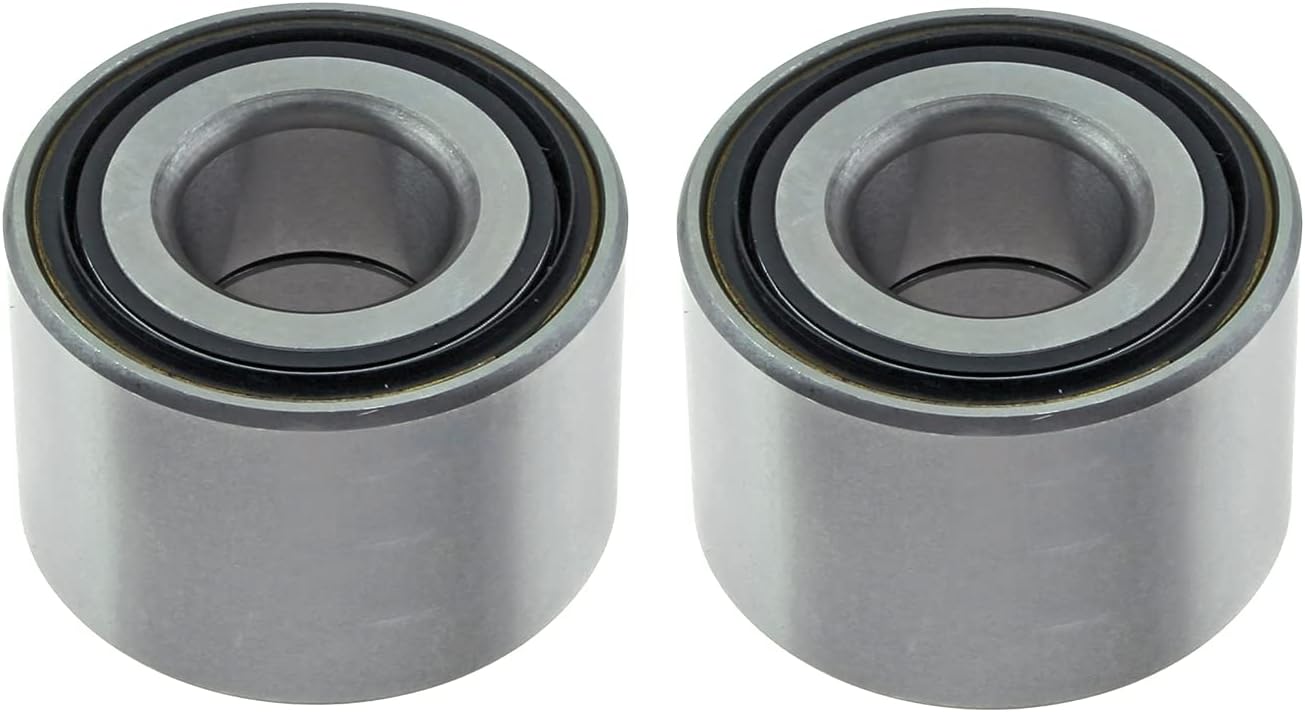
- Consider Replacing Both Bearings: If one wheel bearing is bad, the other one is likely not far behind. Consider replacing both front wheel bearings at the same time to save yourself time and labor in the long run.
- ABS Sensors Can Be Fragile: Be extremely careful when handling the ABS sensors. They are easily damaged, and replacement can be expensive.
Estimated Cost
The cost of replacing a 240sx front wheel bearing can vary depending on several factors, including the price of the bearing itself, whether you rent or buy a bearing press, and whether you do the work yourself or hire a mechanic.
- Wheel Bearing: A quality aftermarket wheel bearing can range from $30 to $80 per bearing. OEM bearings will generally be more expensive.
- Bearing Press Rental: Renting a bearing press can cost around $50 to $100. Some auto parts stores will loan them out for free with a deposit.
- Labor (if hiring a mechanic): Labor costs can vary widely depending on your location and the shop's hourly rate. Expect to pay anywhere from $200 to $400 per wheel for labor.
Therefore, the total cost can range from $80 to $500+ per wheel, depending on your choices.
When to Seek Professional Help
While replacing a wheel bearing is a manageable DIY task for many, there are situations where it's best to seek professional help:
- You're Not Comfortable with the Work: If you're not confident in your mechanical skills, it's always best to leave the job to a professional.
- You Don't Have the Necessary Tools: A bearing press is essential for this job, and renting one can be a hassle.
- You Encounter Problems: If you run into unexpected problems, such as seized bolts or damaged parts, a professional mechanic will have the experience and tools to handle them.
- You're Short on Time: Replacing a wheel bearing can take several hours, so if you're short on time, it might be worth paying a mechanic to do the job.
By following these steps and tips, you should be able to successfully replace the front wheel bearing on your 240sx. Remember to prioritize safety and take your time. A little patience and attention to detail will go a long way in ensuring a successful repair and a smoother, quieter ride. Good luck, and happy wrenching!