240sx Fuel Line Replacement: When And How To Do It
The Nissan 240SX, a beloved icon of the drift scene and a popular platform for engine swaps and modifications, often sees its fair share of abuse and age-related wear. One critical system often overlooked is the fuel system. Deteriorated fuel lines can lead to a variety of problems, from poor performance and fuel leaks to potentially catastrophic engine damage. This guide delves into the when, why, and how of replacing fuel lines on a 240SX, offering a comprehensive understanding of the process.
When to Replace Your 240SX Fuel Lines
Knowing when to replace your fuel lines is just as important as knowing how. There isn't a single magic number for lifespan, as factors like climate, fuel quality, and the lines' material all play a role. However, here are some key indicators that your 240SX fuel lines need attention:
- Visual Inspection: This is the most straightforward method. Regularly inspect your fuel lines for signs of cracking, swelling, or dry rot. Pay particular attention to areas near fittings and bends, as these are common points of failure. A line that feels brittle or sticky is also a red flag.
- Fuel Smell: A persistent fuel smell, especially in the engine bay or near the fuel tank, is a strong indicator of a leak. Even small leaks can create a noticeable odor.
- Poor Performance: Fuel starvation due to a collapsed or partially blocked fuel line can manifest as hesitation, poor acceleration, or even stalling, especially under load.
- Fuel Leaks: Obvious fuel leaks are, of course, a critical issue requiring immediate attention. Even a small drip can be a fire hazard.
- Age: As a general rule, consider replacing rubber fuel lines every 10-15 years, regardless of their apparent condition. The rubber degrades over time, becoming less pliable and more prone to cracking. Cars that sit for extended periods are especially prone to fuel system deterioration.
- Fuel Filter Condition: A consistently dirty fuel filter, especially if you're using quality fuel, could indicate that your fuel lines are deteriorating internally and shedding debris.
- Aftermarket Modifications: If you've recently upgraded your fuel pump or injectors, consider upgrading your fuel lines as well to handle the increased fuel pressure and flow. The stock lines may be inadequate for significantly increased horsepower.
If you observe any of these signs, don't delay! A fuel leak can quickly escalate into a dangerous situation. It's better to be proactive and replace the lines before they fail completely.
Understanding the 240SX Fuel System
Before diving into the replacement process, it's beneficial to understand the basic layout of the 240SX fuel system. The key components include:
- Fuel Tank: Stores the fuel.
- Fuel Pump: Draws fuel from the tank and pressurizes it. Located either inside or outside the fuel tank, depending on the model year.
- Fuel Filter: Removes contaminants from the fuel before it reaches the injectors.
- Fuel Lines: Carry fuel from the tank to the engine and back (for return-style systems).
- Fuel Rail: Distributes fuel to the injectors.
- Fuel Pressure Regulator: Maintains a constant fuel pressure in the fuel rail.
- Injectors: Spray fuel into the intake manifold.
- Fuel Return Line (if applicable): Returns excess fuel from the fuel pressure regulator back to the fuel tank.
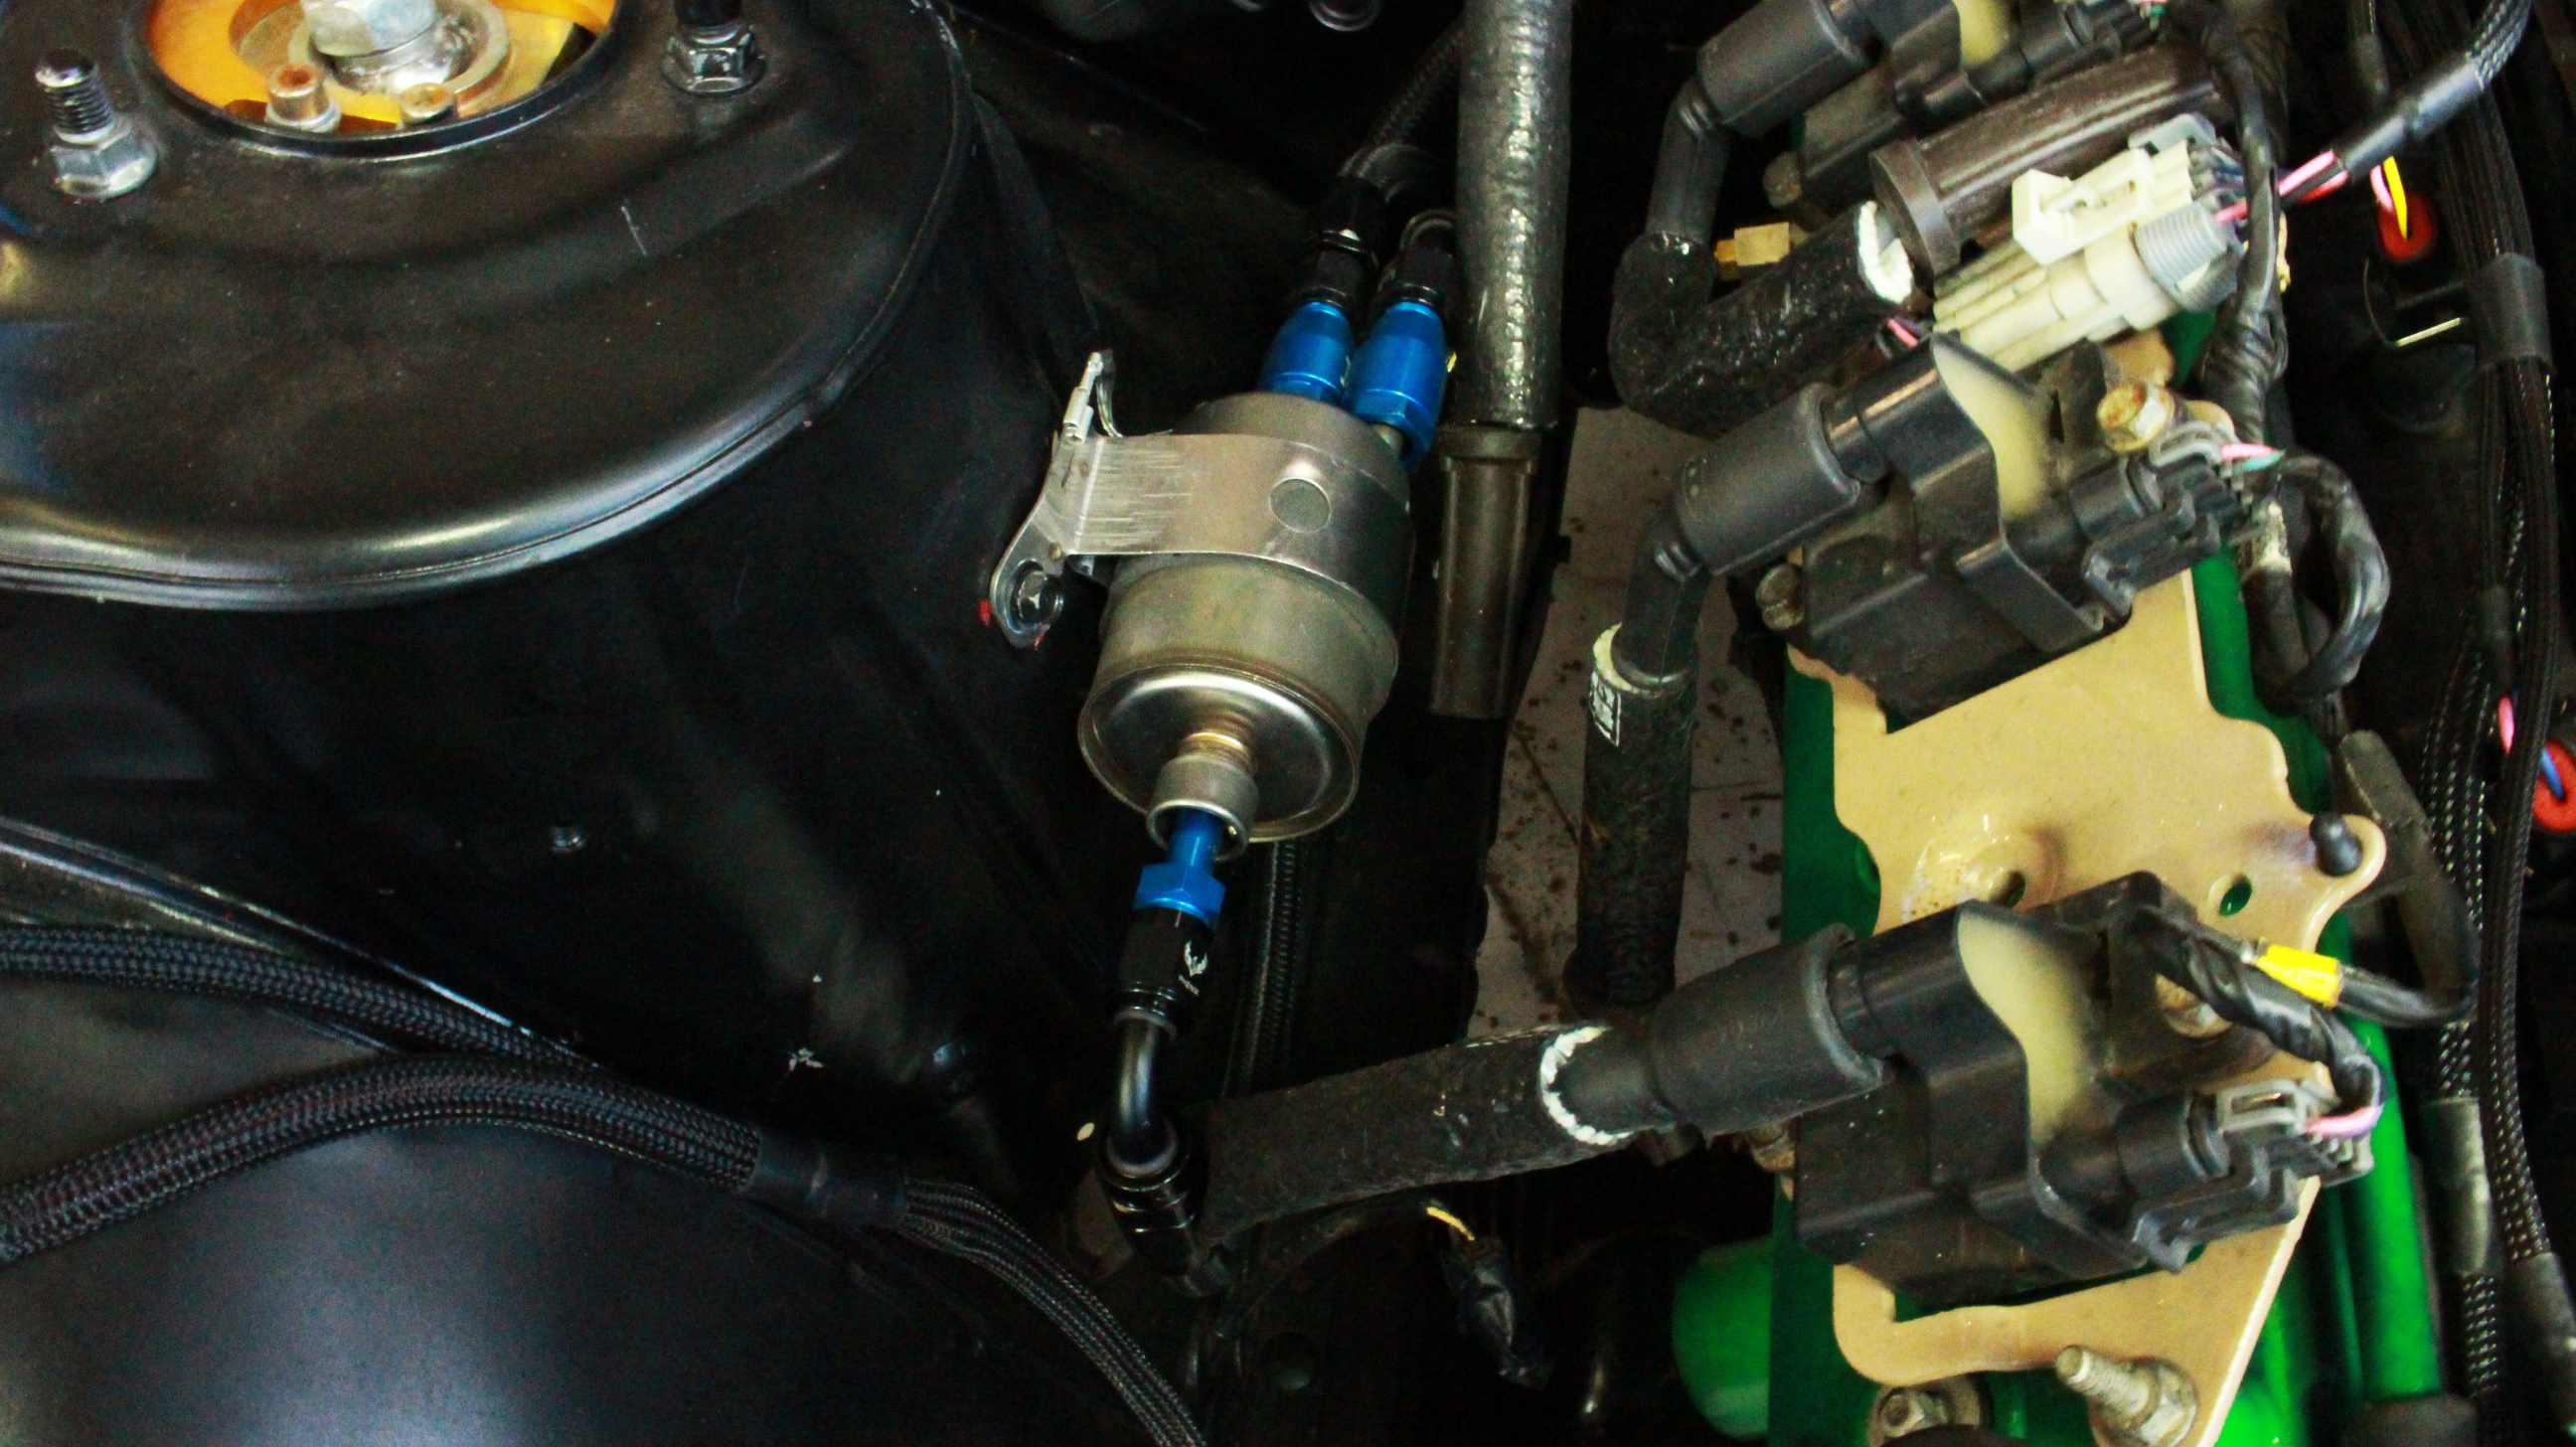
The fuel lines themselves are typically made of rubber or a combination of rubber and metal. The 240SX typically uses a rubber fuel line with a braided outer layer for added protection. Understanding how these components are interconnected will help you identify the correct fuel lines and plan your replacement strategy.
Choosing the Right Fuel Lines
Selecting the appropriate fuel lines is crucial for performance, safety, and longevity. Here are the key considerations:
- Material: There are several options, each with its pros and cons:
- Rubber: The most common and affordable option. However, standard rubber deteriorates more quickly than other materials, especially when exposed to ethanol-blended fuels.
- Reinforced Rubber (e.g., SAE 30R9): Offers better resistance to fuel and heat compared to standard rubber. A good choice for stock or mildly modified applications.
- Braided Stainless Steel (PTFE or Teflon lined): The most durable and fuel-resistant option. PTFE/Teflon lined hoses are compatible with all types of fuel, including ethanol blends, and offer excellent heat resistance. Braided stainless steel provides added protection against abrasion and punctures. However, this is the most expensive option.
- Nylon Braided: Lighter than stainless steel, but still provides excellent protection and fuel resistance.
- Size: The fuel line's inner diameter (ID) is critical. Using a line that's too small can restrict fuel flow, while a line that's too large can lead to fuel pressure fluctuations. Consult your vehicle's service manual or a reputable performance shop to determine the correct size for your application. Common sizes for 240SX fuel lines are 5/16" (8mm) or 3/8" (9.5mm) for the main feed and return lines.
- Pressure Rating: Ensure the fuel lines you choose have a pressure rating that exceeds the maximum fuel pressure in your system. Consult your vehicle's service manual or the specifications of your fuel pump and regulator.
- Fittings: Choose compatible fittings for your fuel lines. AN (Army-Navy) fittings are a common choice for aftermarket fuel systems, offering a secure and leak-free connection. Ensure the fittings are made of a fuel-resistant material, such as aluminum or stainless steel.
- Ethanol Compatibility: With the widespread use of ethanol-blended fuels, it's crucial to choose fuel lines that are compatible with ethanol. PTFE/Teflon lined hoses are the best choice for ethanol compatibility.
For most 240SX applications, a reinforced rubber (SAE 30R9) or braided stainless steel (PTFE/Teflon lined) fuel line is recommended. If you're running high fuel pressures or using ethanol-blended fuels, braided stainless steel is the superior choice. Always prioritize quality and compatibility when selecting fuel lines.
Tools and Materials
Before you begin, gather the necessary tools and materials:
- New fuel lines
- New fuel filter
- Fuel line disconnect tool (if needed)
- Wrenches (various sizes)
- Screwdrivers (Phillips and flathead)
- Pliers
- Hose clamps (if needed)
- Jack and jack stands
- Safety glasses
- Gloves
- Drain pan
- Fire extinguisher
- Rags or shop towels
- Fuel-resistant sealant (e.g., Teflon tape or liquid sealant)
- Penetrating oil (e.g., PB Blaster)
Having the right tools will make the job significantly easier and safer.
Step-by-Step Fuel Line Replacement
Safety First! Working with fuel is inherently dangerous. Ensure the engine is cool, disconnect the negative battery cable, and work in a well-ventilated area away from open flames or sparks. Have a fire extinguisher readily available.
- Depressurize the Fuel System: This is a crucial step to prevent fuel from spraying everywhere when you disconnect the lines. The easiest way to do this is to remove the fuel pump fuse and start the engine. Let the engine run until it stalls. Crank the engine a few more times to ensure the fuel system is fully depressurized.
- Raise and Secure the Vehicle: Use a jack and jack stands to safely raise the vehicle. Ensure the vehicle is securely supported before working underneath it.
- Locate the Fuel Lines: Identify the fuel lines you'll be replacing. Trace them from the fuel tank to the fuel rail and back (if applicable).
- Disconnect the Fuel Lines: Use a fuel line disconnect tool (if needed) to disconnect the fuel lines at each connection point. Some connections may require wrenches to loosen fittings. Be prepared for some fuel spillage, even after depressurizing the system. Have a drain pan and rags handy.
- Remove the Old Fuel Lines: Carefully remove the old fuel lines, noting their routing for reference when installing the new lines.
- Install the New Fuel Lines: Route the new fuel lines in the same manner as the old lines. Secure them using hose clamps or AN fittings, ensuring a tight and leak-free seal.
- Replace the Fuel Filter: This is a good opportunity to replace the fuel filter as well. Follow the manufacturer's instructions for replacing the fuel filter.
- Reconnect the Fuel Lines: Reconnect the fuel lines at each connection point, ensuring the fittings are properly tightened. Use fuel-resistant sealant on threaded fittings to prevent leaks.
- Inspect for Leaks: Before starting the engine, inspect all connections for leaks. Turn the ignition key to the "on" position (without starting the engine) to allow the fuel pump to prime the system. Check for any signs of fuel leakage.
- Start the Engine: If there are no leaks, start the engine and let it run for a few minutes. Again, inspect all connections for leaks.
- Lower the Vehicle: Once you're confident that there are no leaks, lower the vehicle.
Important Note: When working with AN fittings, be sure to use the correct wrenches and torque specifications. Over-tightening can damage the fittings, while under-tightening can lead to leaks.
Post-Replacement Checks
After replacing the fuel lines, perform the following checks to ensure everything is working correctly:
- Fuel Pressure: Verify that the fuel pressure is within the specified range. You can use a fuel pressure gauge to check this.
- Idle Quality: Check the engine's idle quality. A smooth and stable idle indicates proper fuel delivery.
- Driving Performance: Take the vehicle for a test drive and monitor its performance. Pay attention to acceleration, fuel economy, and any signs of hesitation or stalling.
- Leak Check: Continue to monitor the fuel lines for leaks in the days and weeks following the replacement.
Conclusion
Replacing the fuel lines on a 240SX is a critical maintenance task that can improve performance, prevent fuel leaks, and ensure the safety of your vehicle. By following this guide and paying attention to detail, you can confidently tackle this project and keep your 240SX running smoothly for years to come. Remember to prioritize safety and use high-quality components for a reliable and long-lasting repair. Don't hesitate to consult a professional mechanic if you're unsure about any aspect of the process.