240sx Fuel Pump Replacement: Step-by-step Guide
Okay, so your 240SX is acting up, and you suspect the fuel pump. It's a common issue with these cars, especially if they're getting on in years or have been modified. A failing fuel pump can cause a range of problems, from rough idling and hesitation under acceleration to complete engine stall. Replacing it yourself is definitely doable if you've got some wrenching experience and are comfortable working around fuel systems. This guide will walk you through the process, step-by-step. Remember, safety first – fuel is flammable and its vapors are explosive. Work in a well-ventilated area, disconnect the battery, and have a fire extinguisher nearby.
Tools and Materials You'll Need
Before you even think about turning a wrench, gather everything you'll need. This will save you a lot of frustration and back-and-forth trips to the parts store. Here’s a comprehensive list:
- New fuel pump assembly (ensure it's the correct one for your 240SX model year – S13 or S14). Double-check the part number!
- New fuel filter (might as well replace this while you're in there; it’s good preventative maintenance).
- Fuel line disconnect tool (the specific size needed will depend on your car's fuel lines; a universal kit usually covers it).
- Socket set (metric).
- Wrench set (metric).
- Screwdrivers (Phillips and flathead).
- Pliers (regular and possibly fuel line clamp pliers).
- Hammer (for persuasion… carefully!).
- Penetrating oil (PB Blaster, Liquid Wrench, etc.).
- Clean rags or shop towels.
- Safety glasses.
- Gloves (nitrile or chemical-resistant).
- Jack and jack stands.
- Wheel chocks.
- Fuel-safe container (to collect spilled fuel).
- Flashlight or work light.
- Torque wrench (for tightening fuel line fittings and the fuel pump assembly).
Step 1: Preparation and Safety
This is arguably the most crucial step. Get it wrong, and you could end up with a dangerous situation. Here's what to do:
- Disconnect the Negative Battery Terminal: This is non-negotiable. Use a wrench to loosen the nut on the negative (-) battery terminal and carefully remove the cable. Tuck it away so it doesn’t accidentally reconnect. This prevents any electrical sparks while working with the fuel system.
- Relieve Fuel System Pressure: Locate the fuel pump fuse (check your owner's manual). Start the engine and let it run until it stalls. This will help reduce the fuel pressure in the lines. Attempting to start the engine a few more times after it stalls can help bleed off even more pressure. Alternatively, you can use a fuel pressure gauge connected to the fuel rail to check the pressure, and carefully relieve the pressure through the Schrader valve (if equipped) into a fuel-safe container.
- Secure the Vehicle: Chock the rear wheels. Loosen the lug nuts on the driver’s side rear wheel. Jack up the rear of the car and securely place it on jack stands. Never work under a vehicle supported only by a jack. Remove the rear driver's side wheel. This gives you much better access to the fuel pump access panel.
- Ventilate the Area: Open the garage door or work outside to ensure adequate ventilation. Fuel vapors are heavier than air and can accumulate in enclosed spaces.
- Prepare for Spills: Have your fuel-safe container and plenty of rags readily available. Spills are inevitable.
Step 2: Accessing the Fuel Pump
Now it's time to get to the fuel pump itself. The 240SX fuel pump is located inside the fuel tank, accessed through an access panel under the rear seat (S13) or in the trunk (S14) - depending on the model year. In this case we are accessing through the access panel under the rear seat.
- Remove the Rear Seat: The rear seat cushion is usually held in place by clips or bolts. Locate these and release them to remove the seat cushion.
- Locate the Access Panel: Under the carpet, you'll find a metal access panel held in place by screws or bolts. Remove these fasteners.
- Remove the Access Panel: Carefully lift off the access panel. You should now see the top of the fuel pump assembly.
Step 3: Disconnecting Fuel Lines and Electrical Connectors
This is where the fuel line disconnect tool comes into play. Take your time and be gentle to avoid damaging the fuel lines.
- Clean the Area: Use a clean rag to wipe down the top of the fuel pump assembly. This prevents dirt and debris from falling into the fuel tank when you disconnect the lines.
- Disconnect Fuel Lines: Using the appropriate fuel line disconnect tool, carefully disconnect the fuel lines from the fuel pump assembly. There are usually two lines: a supply line and a return line. Some fuel will likely spill, so have your container and rags ready. Take photos of the fuel line routing before disconnecting them – this will help you reconnect them correctly later.
- Disconnect the Electrical Connector: Unplug the electrical connector from the fuel pump assembly. There's often a retaining clip that needs to be depressed before you can pull the connector off.
Step 4: Removing the Old Fuel Pump Assembly
This step requires some finesse, as the fuel pump assembly is often held in place by a retaining ring that can be a bit stubborn.
- Loosen the Retaining Ring: The fuel pump assembly is typically secured to the fuel tank with a large retaining ring. This ring has tabs that you'll need to tap with a hammer and punch (or a large screwdriver) to rotate it counter-clockwise and loosen it. Be patient and work your way around the ring, tapping gently but firmly. Penetrating oil can help if it's really stuck.
- Remove the Fuel Pump Assembly: Once the retaining ring is loose, carefully lift the fuel pump assembly out of the fuel tank. Be mindful of the fuel level in the tank and try not to slosh fuel around. The assembly might be a bit tight due to the rubber seal around the opening.
- Inspect the Fuel Tank: Take a quick look inside the fuel tank. Check for any debris or rust. If you find anything, try to clean it out as best you can with a clean rag.
Step 5: Installing the New Fuel Pump Assembly
Now it's time to reverse the removal process, installing the new fuel pump assembly.
- Install the New Fuel Filter (Optional but Recommended): Before installing the new fuel pump assembly, replace the fuel filter if you haven't already. This is usually attached to the fuel pump assembly itself.
- Install the New Fuel Pump Assembly: Carefully lower the new fuel pump assembly into the fuel tank, making sure the rubber seal is properly seated. Align the fuel lines and electrical connector in the same orientation as they were on the old assembly (refer to your photos).
- Secure the Retaining Ring: Place the retaining ring over the fuel pump assembly and rotate it clockwise until it's snug. Use a hammer and punch (or screwdriver) to tap the tabs on the retaining ring until it's securely locked in place.
- Connect Fuel Lines and Electrical Connector: Reconnect the fuel lines to the fuel pump assembly, ensuring they click into place securely. Reconnect the electrical connector.
Step 6: Reassembly and Testing
Almost there! Now it's time to put everything back together and test your work.
- Reinstall the Access Panel: Place the access panel back over the fuel pump assembly and secure it with the screws or bolts you removed earlier.
- Reinstall the Rear Seat: Place the rear seat cushion back into position and secure it with the clips or bolts.
- Reinstall the Wheel: Mount the wheel back on the hub, tighten the lug nuts by hand, lower the vehicle, and then torque the lug nuts to the manufacturer's specified torque.
- Reconnect the Battery: Reconnect the negative (-) battery terminal.
- Prime the Fuel System: Turn the ignition key to the "ON" position (but don't start the engine) for a few seconds. This will allow the fuel pump to prime the fuel system. Repeat this a few times.
- Start the Engine: Start the engine. It might take a few tries, especially if the fuel system was completely empty.
- Check for Leaks: Once the engine is running, carefully inspect all fuel line connections and the fuel pump assembly for any signs of leaks. If you find any leaks, immediately shut off the engine and tighten the connections.
- Test Drive: Take the car for a short test drive to make sure the engine is running smoothly and there are no issues.
Important Considerations
- Fuel Pressure Regulator: If your 240SX has a separate fuel pressure regulator (some models do), it's a good idea to check its condition as well. A faulty regulator can also cause fuel-related problems.
- Fuel Injectors: If you're still experiencing fuel-related issues after replacing the fuel pump, consider checking your fuel injectors. They may be clogged or faulty.
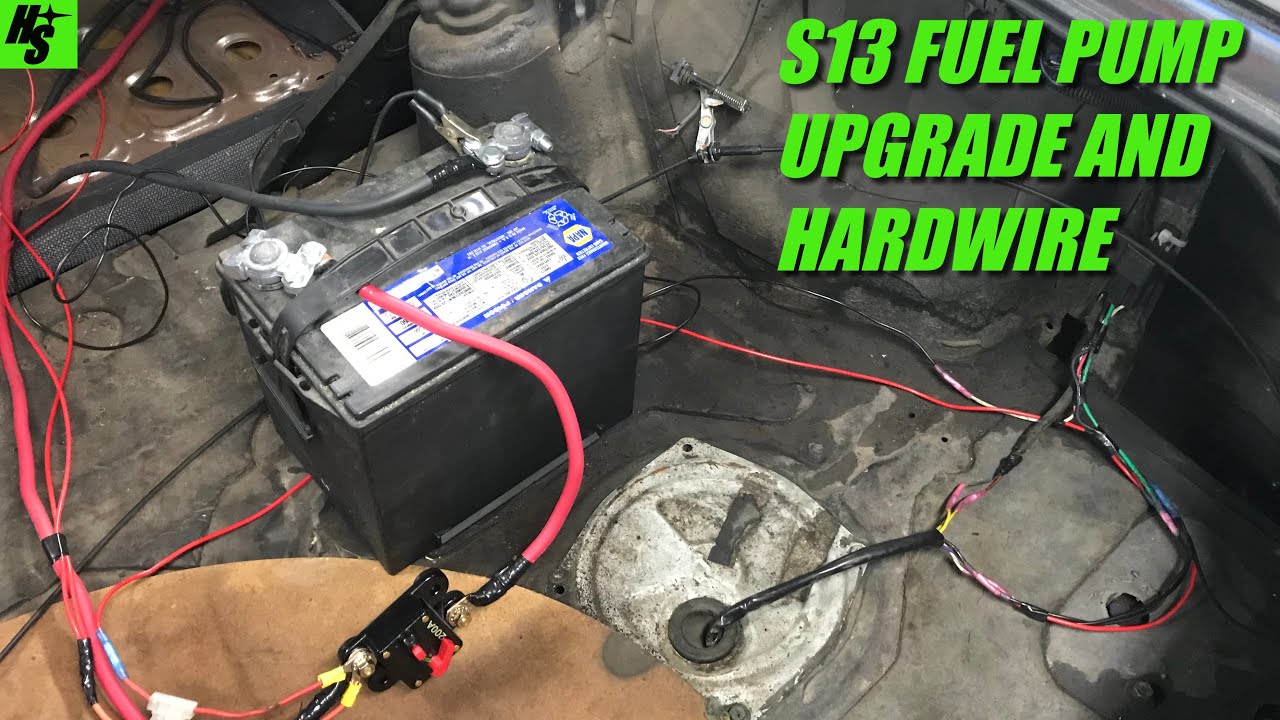
- Aftermarket Fuel Pumps: If you're installing an aftermarket fuel pump (e.g., a higher-flow pump for performance upgrades), make sure it's compatible with your car's fuel system and that you have the appropriate supporting modifications (e.g., larger fuel lines, a fuel pressure regulator).
Replacing the fuel pump on a 240SX can be a satisfying DIY project. Just remember to prioritize safety, take your time, and double-check your work. If you're not comfortable with any of these steps, it's always best to consult a professional mechanic.