240sx Rear 5 Lug Conversion: Complete Guide
So, you're thinking about upgrading your 240SX to a 5-lug setup in the rear? Excellent choice! It's a popular modification that offers several benefits, including access to a wider range of aftermarket wheels, increased strength, and the potential for better braking performance when paired with larger rotors. This guide will walk you through the process, highlighting the different options, parts you'll need, and potential pitfalls along the way. We'll assume you're already comfortable with basic automotive tasks like removing wheels, brake calipers, and suspension components.
Why 5-Lug Conversion?
Before diving in, let's briefly touch on why you might want to do this. The stock 4-lug setup on the 240SX, while perfectly adequate for normal driving, can become a limiting factor when you start increasing power and pushing the car harder. A 5-lug conversion provides:
- Wider Wheel Selection: Huge range of 5-lug wheels are available.
- Increased Strength: More studs provide a stronger wheel mounting surface, crucial for high-performance applications.
- Brake Upgrade Potential: Many larger brake rotors and caliper options are designed for 5-lug hubs.
- Aesthetics: Let's be honest, many enthusiasts simply prefer the look of 5-lug wheels.
Understanding Your Options
There are a few different approaches to a 5-lug conversion on a 240SX. The most common involve swapping the rear hubs/spindles with those from another Nissan vehicle that already has a 5x114.3 bolt pattern (the standard 5-lug pattern for most Nissans and many other Japanese cars). Let's look at the most popular candidates:
Z32 (300ZX) Rear Hubs
This is arguably the most straightforward and widely used option. Z32 (300ZX, specifically the Turbo model) rear hubs are a direct bolt-on affair to the S13 or S14 240SX rear upright.
Key Benefit: Simple installation with minimal modifications. It's the closest thing to a "plug-and-play" 5-lug conversion you'll find. Also, they're generally cost-effective, although prices have been creeping up lately.
Things to Consider:
- You'll need Z32 rear wheel bearings, available new from various auto parts retailers. Always replace the bearings when doing this conversion.
- You'll likely need to address the e-brake setup. The Z32 e-brake cables are different. You can either use Z32 e-brake cables (which may require some adjustment at the handle) or find adapter brackets that allow you to retain your 240SX e-brake cables.
- The Z32 hubs have a slightly different offset than the stock 240SX hubs. This may require you to adjust your wheel fitment accordingly, potentially with spacers.
- Ensure you are sourcing Turbo model Z32 hubs. Non-turbo models did not always come with the larger brakes.
S14 5-Lug Hubs (JDM or Converted)
If you have an S14 240SX (1995-1998), you may already have a 5-lug setup if it's a Japanese Domestic Market (JDM) model. Alternatively, you can find aftermarket 5-lug hubs designed specifically for the S14. These aftermarket hubs are also available for the S13 models.
Key Benefit: Potentially no need to source parts from another vehicle (if you already have a JDM S14). Aftermarket hubs may offer improved strength and performance.
Things to Consider:
- JDM S14 parts can be more difficult to source and potentially more expensive.
- Aftermarket hubs vary in quality. Do your research and choose reputable brands. Cheaper options may not be as durable.
- S14 hubs are usually a direct swap (obviously) for an S14 but may require some changes if you're installing them on an S13 such as different brake lines.
Q45/Infiniti/Other Nissan Hubs
While less common, some people have adapted hubs from other Nissan models like the Infiniti Q45. This usually involves more custom work and isn't recommended unless you have significant fabrication skills and access to detailed information.
Key Benefit: Potentially cheaper if you can source the parts cheaply, and good if you prefer the challenge of custom work. Not recommended for beginners.
Things to Consider:
- Requires significant modification and fabrication.
- Finding reliable information and documentation can be difficult.
- May require custom axles or other components.
Parts List (Z32 Example - Most Common)
Here's a comprehensive parts list based on using Z32 (300ZX Turbo) rear hubs. This is the most common conversion, so we'll use it as our primary example:
- Z32 (300ZX Turbo) Rear Hubs (Left and Right)
- New Z32 Rear Wheel Bearings (Left and Right)
- Z32 Rear E-Brake Cables OR E-Brake Cable Adapter Brackets
- New Rear Wheel Studs (Extended studs are often recommended, depending on your wheels)
- Rear Brake Rotors (compatible with Z32 hubs - Z32 rotors are a common choice)
- Rear Brake Pads (compatible with your chosen rotors)
- New Cotter Pins (for the axle nuts)
- Brake Cleaner
- Anti-Seize Compound
- Threadlocker (e.g., Loctite)
- Penetrating Oil (e.g., PB Blaster)
Tools Required
- Jack and Jack Stands
- Wheel Chocks
- Socket Set (Metric)
- Wrench Set (Metric)
- Torque Wrench
- Hammer
- Punch
- Bearing Press (or access to one)
- E-brake Pliers (optional, but helpful for installing e-brake cables)
- Brake Caliper Tool (for retracting brake pistons)
- Wire Brush
- Safety Glasses
- Gloves
Step-by-Step Installation (Z32 Example)
Important Safety Note: Always work on a level surface and use jack stands to support the vehicle. Never rely solely on a jack.
- Preparation: Chock the front wheels. Loosen the rear lug nuts before lifting the car.
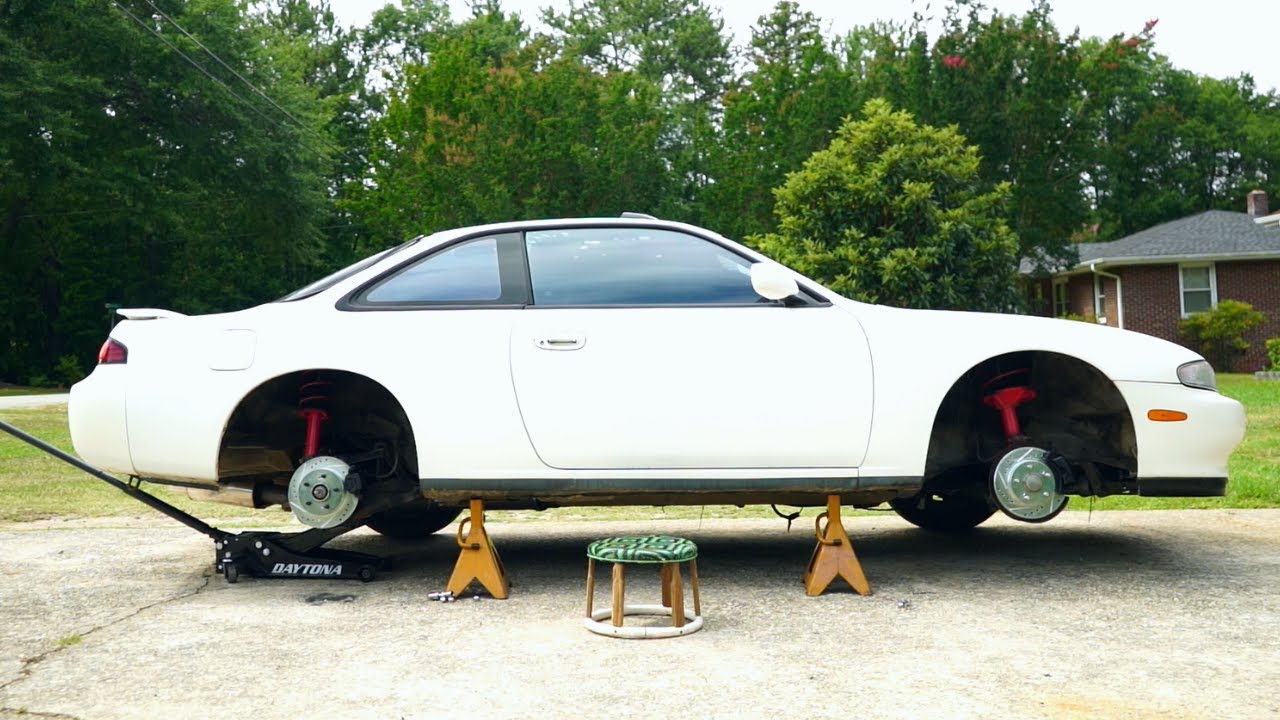
- Lift and Support: Jack up the rear of the car and securely place it on jack stands. Remove the rear wheels.
- Disconnect Brakes: Disconnect the rear brake calipers from the spindles. Hang the calipers out of the way, being careful not to damage the brake lines. Do not let them hang by the brake lines!
- Remove Axle Nut: Remove the axle nut. This may require some force and penetrating oil.
- Disconnect Suspension: Disconnect the necessary suspension components to allow the upright to pivot outwards and allow the axle shaft to slide out of the hub. This will likely involve disconnecting the lower control arm and possibly other components. Take pictures or make notes of how everything goes together.
- Remove Hub/Spindle Assembly: Carefully remove the entire hub/spindle assembly from the car.
- Remove Old Wheel Bearings: If you're reusing your old uprights, remove the old wheel bearings from the spindles. This is best done with a bearing press. If you don't have one, you can often rent one from an auto parts store or take the spindles to a machine shop.
- Install New Wheel Bearings: Press the new wheel bearings into the spindles. Ensure they are seated correctly and that you're pressing on the outer race of the bearing.
- Install Z32 Hubs: Install the Z32 hubs onto the spindles.
- Reinstall Upright Assembly: Reinstall the upright assembly back onto the car. Reconnect the suspension components, torquing the bolts to the manufacturer's specifications.
- Install Axle: Slide the axle shaft back into the hub.
- Install Axle Nut: Install the axle nut and torque it to the manufacturer's specifications. Install a new cotter pin.
- Install Brakes: Install the Z32-compatible brake rotors and pads. Reinstall the brake calipers. Bleed the brake system to remove any air.
- E-Brake Cables: Install the Z32 e-brake cables (or adapter brackets). Adjust the e-brake cable tension as needed.
- Reinstall Wheels: Reinstall the rear wheels.
- Lower Vehicle: Lower the vehicle and torque the lug nuts to the proper specification.
- Test Drive: Take the car for a test drive and check for any unusual noises or vibrations. Double-check the lug nuts after a short drive.
Important Considerations and Troubleshooting
- Wheel Fitment: The Z32 hubs have a slightly different offset, so you may need to use wheel spacers to achieve the desired fitment. Test fit your wheels before completing the installation.
- E-Brake: Getting the e-brake to work correctly can be tricky. Take your time and be patient. Make sure the cables are properly routed and adjusted.
- Wheel Bearing Installation: Installing wheel bearings incorrectly can damage them. If you're not comfortable with this step, have a professional do it.
- ABS: If your 240SX has ABS, you may need to address the ABS sensors and tone rings to ensure the ABS system functions correctly. This may require additional parts or modifications.
- Rust: Check for rust on the spindles and other components. Clean up any rust before reinstalling the parts.
- Torque Specs: Use a torque wrench to torque all bolts and nuts to the manufacturer's specifications.
- Extended Wheel Studs: Strongly recommended if you plan to use thicker wheel spacers or wheels with a thicker mounting pad. They are a good idea even without spacers, as they provide more thread engagement.
Conclusion
A 5-lug conversion is a worthwhile upgrade for any 240SX enthusiast looking to improve performance and expand their wheel options. By carefully planning, gathering the necessary parts, and following these instructions, you can successfully complete this modification yourself. Remember to take your time, double-check your work, and don't hesitate to consult a professional if you encounter any difficulties. Good luck, and happy modding!