240sx S13 Bolt-in Roll Cage: Safety Upgrade Guide
So, you're thinking about putting a bolt-in roll cage in your S13 240SX? Excellent choice! Whether you're hitting the track more often, building a dedicated drift car, or simply looking for some added safety and chassis stiffening, a roll cage is a worthwhile investment. But the installation process can seem daunting. This guide is designed to walk you through common challenges and offer solutions to ensure a smooth and successful install.
Understanding the Challenges
Bolt-in roll cages, while generally less complex than weld-in cages, still require careful planning and execution. Here are some common hurdles you might encounter:
- Fitment Issues: Not all bolt-in cages are created equal. Variations in chassis manufacturing, previous repairs, and even the cage's design can lead to fitment problems. This is the most common challenge.
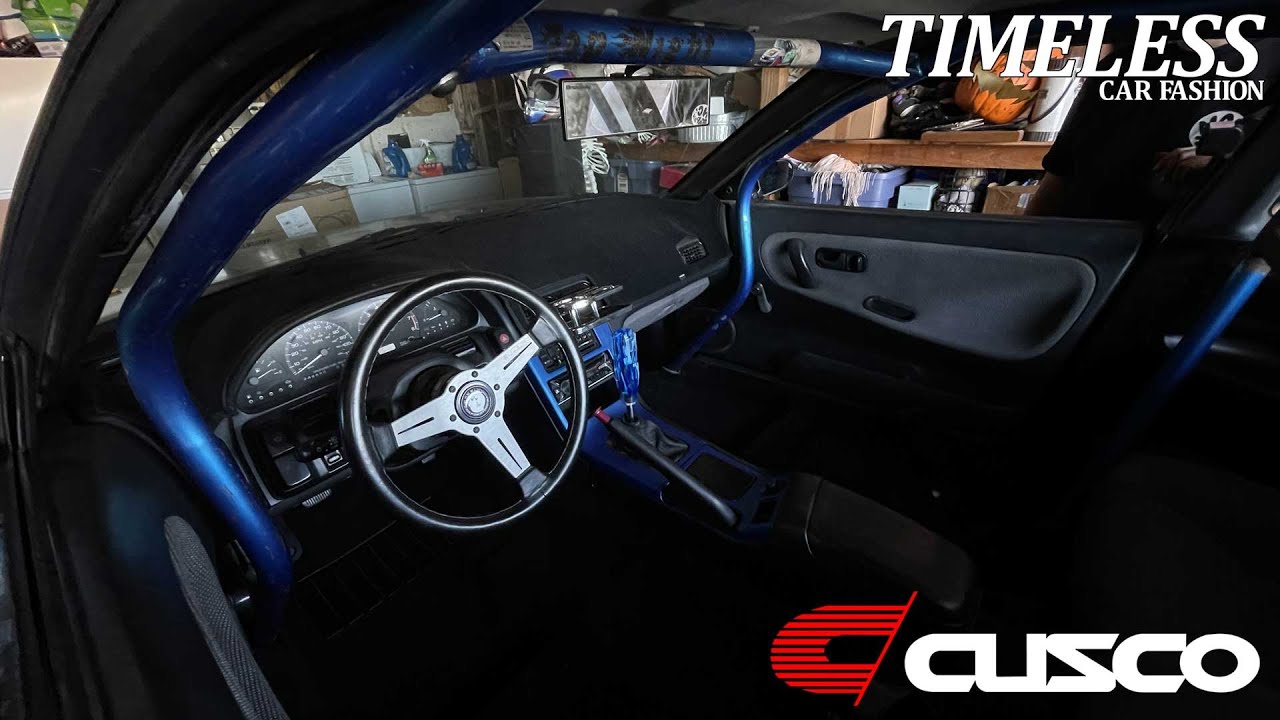
- Interior Modifications: Roll cages often require trimming or removal of interior panels, carpet, and sometimes even parts of the dashboard.
- Drilling and Hardware: You'll likely need to drill holes in your chassis to mount the cage. This requires precision and the right tools. Finding the correct torque specs for the hardware is also crucial.
- Headroom and Comfort: A roll cage will inevitably reduce headroom, particularly for taller drivers. Consider this when choosing a cage and adjusting your seat.
- Rust and Corrosion: Especially on older S13s, rust can be a major obstacle. You'll need to address any rust before installing the cage to ensure proper mounting and structural integrity.
Troubleshooting and Solutions
1. Fitment Problems: The Cage Just Won't Line Up!
This is where patience and a systematic approach are key. Here's a breakdown of potential causes and solutions:
- Check for Chassis Damage: Carefully inspect your chassis, particularly the floor pan, for signs of damage or previous repairs. Even minor bends can throw off the cage's alignment. If you find damage, you may need to have it professionally repaired before proceeding.
- Loosen Everything: Before forcing anything, loosely assemble the cage components within the car. This allows for some wiggle room to find the optimal position. Don't tighten any bolts until you're sure everything aligns properly.
- Use a Ratchet Strap or Come-Along: Sometimes, gentle persuasion is needed. A ratchet strap or come-along can be used to carefully pull or push sections of the cage into alignment. Be extremely cautious not to overstress the cage or the chassis. Work slowly and incrementally.
- Shim Where Necessary: If you're still struggling to achieve perfect alignment, consider using shims between the cage mounting plates and the chassis. High-strength washers can work well as shims. Make sure to use enough shims to distribute the load evenly.
- Enlist a Helper: Having a second set of hands can be invaluable for holding parts in place and providing leverage.
- Consult the Manufacturer: If you're completely stumped, contact the cage manufacturer for assistance. They may have specific recommendations or know of common issues with their product on the S13 chassis.
2. Interior Interference: Making Room for the Cage
Expect to modify your interior. Here's how to tackle it:
- Careful Planning: Before you start cutting, carefully plan out what needs to be trimmed or removed. Use masking tape to mark the areas you intend to modify.
- Sharp Tools: Use sharp tools to avoid tearing or damaging the interior panels. A sharp utility knife, rotary tool (Dremel), or even a small saw can be useful.
- Heat Gun for Molding: A heat gun can be used to carefully mold plastic panels around the cage bars. Be careful not to overheat the plastic, as it can melt or become brittle.
- Consider Aftermarket Options: For a cleaner look, consider aftermarket interior panels designed to work with a roll cage. These can often be found online.
- Document Everything: Take pictures of the original interior before you start modifying it. This can be helpful for reassembly or future reference.
3. Drilling and Mounting: Precision is Key
Drilling into your chassis can be nerve-wracking, but with the right approach, it's manageable:
- Accurate Marking: Use the cage mounting plates as templates to mark the drilling locations on the chassis. Double-check your measurements to ensure accuracy.
- Pilot Holes: Start with small pilot holes to prevent the drill bit from wandering. Gradually increase the size of the drill bit until you reach the required diameter.
- Proper Drill Bits: Use high-quality drill bits designed for drilling through steel. Dull drill bits will make the job much harder and can damage the chassis.
- Cutting Fluid: Use cutting fluid (e.g., WD-40 or dedicated cutting oil) to lubricate the drill bit and prevent overheating. This will also extend the life of the drill bit.
- Reinforcement Plates: For added strength, consider using reinforcement plates on the underside of the chassis where the cage mounts. This is particularly important in areas that are prone to rust or fatigue.
- Correct Torque Specs: Use a torque wrench to tighten the mounting bolts to the manufacturer's specified torque. Overtightening can damage the bolts or the chassis. Consult your cage's installation manual or the manufacturer for torque specifications.
4. Addressing Rust: A Critical Step
Ignoring rust can compromise the safety and integrity of your roll cage installation. Here's how to deal with it:
- Thorough Inspection: Carefully inspect the areas where the cage will be mounted for any signs of rust. Use a wire brush or sandpaper to remove any loose rust and expose the underlying metal.
- Rust Removal: Treat any rust with a rust converter or rust remover. Follow the manufacturer's instructions carefully.
- Welding (If Necessary): If the rust is severe and has weakened the chassis, you may need to have it professionally repaired by a welder. Welding in new metal is often necessary to restore structural integrity.
- Primer and Paint: After treating the rust, apply a coat of primer and paint to protect the metal from further corrosion. Use a high-quality primer and paint designed for automotive applications.
- Rust Prevention: Consider applying a rust inhibitor or undercoating to the chassis after the cage is installed to prevent future rust problems.
5. Headroom and Comfort: Making it Livable
Roll cages inherently reduce headroom, but there are ways to mitigate this:
- Seat Adjustment: Lower your seat as much as possible. Some aftermarket seats are designed to sit lower than the factory seats.
- Helmet Considerations: Always wear a helmet when driving with a roll cage. Ensure that your helmet doesn't interfere with the cage bars.
- Padding: Use roll cage padding to protect your head in the event of an impact. Choose padding that meets safety standards.
- Careful Cage Selection: Some cage designs are more intrusive than others. Consider the cage's design and how it will impact headroom before making a purchase.
Tools and Estimated Costs
Here's a list of tools you'll likely need and an approximate cost breakdown:
Tools:- Socket set and wrench set
- Torque wrench
- Drill and drill bits (including metal-specific bits)
- Cutting fluid
- Utility knife or rotary tool
- Heat gun (optional)
- Wire brush or sandpaper
- Rust converter or remover
- Primer and paint
- Masking tape
- Measuring tape
- Ratchet straps or come-along (optional)
- Safety glasses and gloves
- Bolt-in Roll Cage: $800 - $2500 (depending on brand and features)
- Drill Bits and Cutting Fluid: $30 - $50
- Rust Treatment Supplies: $20 - $50
- Primer and Paint: $30 - $50
- Reinforcement Plates (optional): $20 - $40
- Roll Cage Padding: $50 - $100
- Professional Welding (if needed): $200 - $500+ (highly variable)
These costs are estimates and may vary depending on your location, the specific products you choose, and the condition of your vehicle.
Final Thoughts
Installing a bolt-in roll cage in your S13 240SX is a challenging but rewarding project. By understanding the potential problems and taking a methodical approach, you can achieve a safe and professional-looking installation. Remember to prioritize safety, take your time, and don't hesitate to seek professional help if needed. A well-installed roll cage will not only enhance the safety of your vehicle but also improve its handling and structural rigidity, making it a more enjoyable and capable machine on the track or on the street.