240sx Window Motor Replacement
The Nissan 240SX, a darling of the drift scene and a capable sports coupe in its own right, is getting on in years. Consequently, components that were once robust are now showing their age, and the window motor is no exception. A sluggish or completely non-functional window is a common ailment. While professional repair is always an option, replacing the motor yourself is a manageable task for the mechanically inclined, provided you approach it methodically and understand the underlying principles at play.
This guide dissects the 240SX window motor replacement process, not just providing a "how-to," but explaining the rationale behind each step. This will empower you with the knowledge to troubleshoot similar issues and tackle future automotive projects with greater confidence.
Understanding the Window Regulator and Motor
Before diving into the replacement, let's establish a fundamental understanding of the window regulator system. The window doesn't simply slide up and down within the door frame. Instead, it's guided by a regulator, a mechanical linkage designed to translate rotational motion from the motor into linear motion for the window.
There are typically two types of regulator designs found in the 240SX, depending on the year and model: the scissor-type and the cable-operated type. The scissor-type uses a system of pivoting arms connected by a central scissor joint. The motor turns a gear that moves one of the arms, causing the scissor to open or close, raising or lowering the window. The cable-operated type uses a spool and cables attached to the window to raise and lower the window.
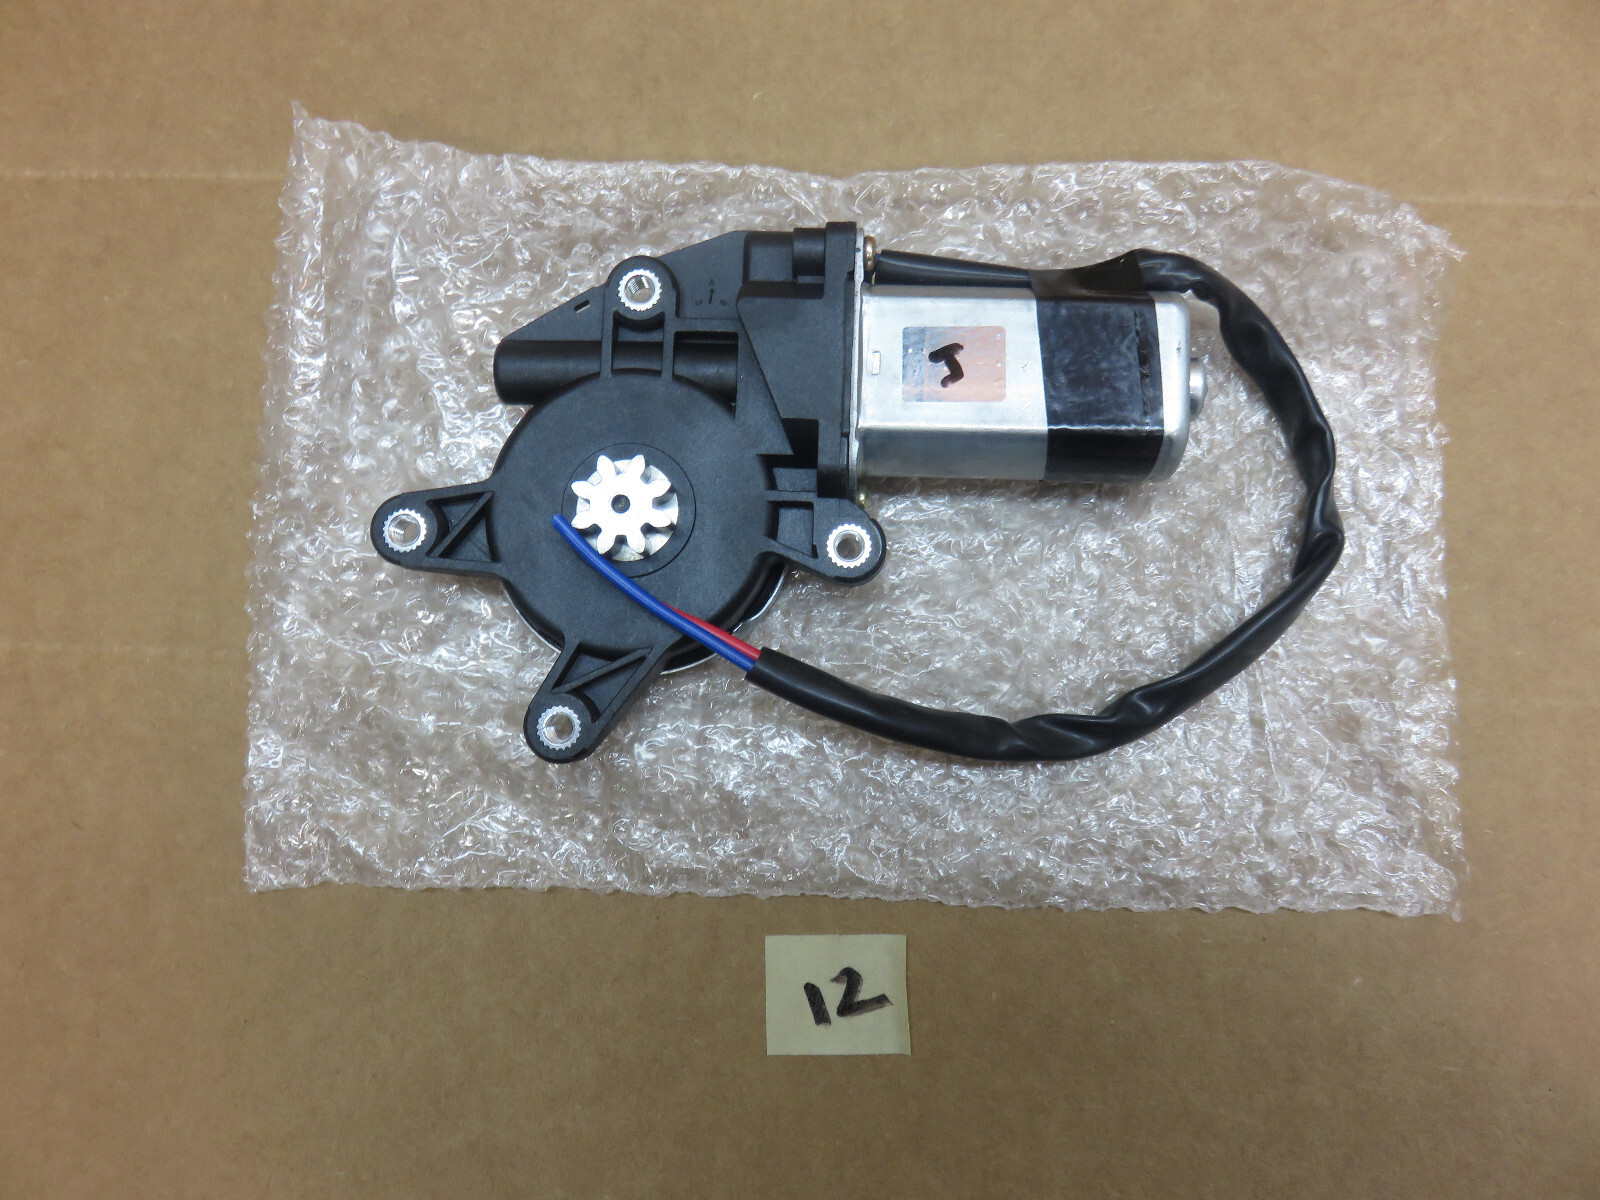
The window motor itself is a simple DC electric motor, usually a permanent magnet type. It receives power from the car's electrical system when the window switch is activated. A gearbox, often integrated into the motor housing, reduces the motor's high RPM output to a more manageable speed while increasing torque. This higher torque is necessary to overcome the friction and weight of the window during operation. A failing motor might exhibit symptoms like slow operation, intermittent function, grinding noises, or complete failure. Note that a *completely* seized motor can also blow the circuit breaker for the electric windows, disabling all windows simultaneously.
Tools and Materials Required
Before commencing the replacement, gather the necessary tools and materials. Having everything readily available will streamline the process and minimize frustration.
- New Window Motor: Ensure you purchase the correct motor for your specific 240SX model and year.
- Socket Set: Metric sockets in various sizes, including 10mm, 12mm, and possibly larger.
- Wrench Set: Complementary to the socket set, for accessing nuts and bolts in confined spaces.
- Screwdrivers: Both Phillips head and flathead screwdrivers.
- Trim Removal Tools: Plastic tools specifically designed to remove interior trim panels without causing damage.
- Pliers: For gripping and manipulating small parts.
- Multimeter: For electrical testing, particularly to confirm power is reaching the motor.
- Work Gloves: To protect your hands.
- Safety Glasses: Essential for eye protection.
- Penetrating Oil: For loosening stubborn bolts.
- Shop Rags: For cleaning and wiping surfaces.
- Masking Tape: To secure the window in the raised position.
Step-by-Step Window Motor Replacement
Now, let's delve into the step-by-step process of replacing the window motor. Remember to work methodically and take your time. Rushing can lead to mistakes and potential damage.
1. Disconnecting the Battery
Safety first! Always disconnect the negative terminal of the battery before working on any electrical component in your vehicle. This prevents accidental short circuits and potential injury.
2. Removing the Door Panel
This is the first hurdle. The door panel is typically held in place by a combination of screws, clips, and friction. Start by locating and removing any visible screws, often found around the door handle, armrest, and along the bottom edge of the panel. Once the screws are removed, use the trim removal tools to gently pry the panel away from the door frame. Work your way around the perimeter, releasing the clips one by one. Be patient and avoid excessive force, as the clips can break easily. After all clips are undone, lift the door panel from the door lock pin and remove it. Disconnect any electrical connectors attached to the door panel, such as those for the power window switch, door lock switch, and speakers.
3. Removing the Vapor Barrier
Beneath the door panel, you'll find a plastic vapor barrier. This barrier protects the interior from moisture and dust. Carefully peel back the vapor barrier, being mindful of the adhesive. Try to keep the adhesive intact so you can re-seal it later. If the adhesive is damaged, use duct tape to re-seal it properly.
4. Accessing the Window Motor
With the vapor barrier removed, you should have access to the window motor and regulator assembly. The exact location and configuration will vary slightly depending on the specific 240SX model year. Identify the motor and its mounting bolts. Usually, there are three or four bolts holding the motor to the regulator. Some models may require you to unbolt the entire regulator assembly from the door for better access.
5. Securing the Window
Crucially, before removing the motor, secure the window in the fully raised position. If you don't, the window could slide down unexpectedly, potentially damaging the glass or injuring you. Use masking tape to secure the window to the door frame. Apply multiple layers of tape for added security.
6. Disconnecting the Electrical Connector
Disconnect the electrical connector from the window motor. Some connectors have a locking tab that needs to be depressed before you can pull the connector apart.
7. Removing the Window Motor
Using the appropriate socket, remove the bolts holding the window motor to the regulator. Once the bolts are removed, carefully detach the motor from the regulator. Be mindful of the linkage and gears within the regulator. Avoid forcing anything, as you could damage the mechanism. If the motor is difficult to remove, apply some penetrating oil to the mounting points.
8. Installing the New Window Motor
Install the new window motor by reversing the removal process. Align the motor with the regulator and secure it with the mounting bolts. Tighten the bolts to the manufacturer's specified torque (if available). Avoid overtightening, as this could damage the motor or regulator. Connect the electrical connector to the new window motor.
9. Testing the New Motor
Before reassembling everything, test the new motor to ensure it's functioning correctly. Reconnect the battery's negative terminal. Use the window switch to raise and lower the window. Verify that the window moves smoothly and without any unusual noises. If the motor doesn't work, double-check the electrical connections and ensure the switch is functioning properly. If all else fails, use a multimeter to check for voltage at the motor connector when the switch is activated. If there is no voltage, there may be a problem with the wiring or the switch itself.
10. Reassembling the Door
Once you've confirmed that the new motor is working, reassemble the door. Reattach the vapor barrier, ensuring it's properly sealed to prevent moisture intrusion. Reinstall the door panel, aligning the clips and pressing them firmly into place. Reinstall any screws that were removed. Reconnect any electrical connectors that were disconnected from the door panel.
Troubleshooting Common Issues
Even with careful execution, you might encounter some issues during the window motor replacement process. Here are some common problems and potential solutions:
- Window Motor Doesn't Work: Double-check all electrical connections. Use a multimeter to verify voltage at the motor connector. Test the window switch. If the switch is faulty, it will need to be replaced. Check for blown fuses or tripped circuit breakers.
- Window Moves Slowly: This could indicate a weak motor or a binding regulator. Lubricate the regulator mechanism with a silicone-based lubricant. Ensure the window tracks are clean and free of debris.
- Grinding Noises: This usually indicates worn gears within the motor or regulator. Replacing the motor or regulator is typically the best solution.
- Window Falls Down Unexpectedly: This usually indicates a broken window regulator or a slipping motor. A complete regulator replacement is often necessary.
Conclusion
Replacing the window motor in a 240SX, while requiring some patience and mechanical aptitude, is a perfectly achievable task for the DIY enthusiast. By understanding the underlying principles of the window regulator system and following a methodical approach, you can save money on professional repairs and gain valuable experience in automotive maintenance. Remember to prioritize safety, work carefully, and troubleshoot any issues that arise. With the right tools and knowledge, you can restore the functionality of your 240SX's windows and enjoy the open road once again.