240sx Wiring Harness Install: Step-by-step Instructions
240SX Wiring Harness Install: Step-by-Step Instructions
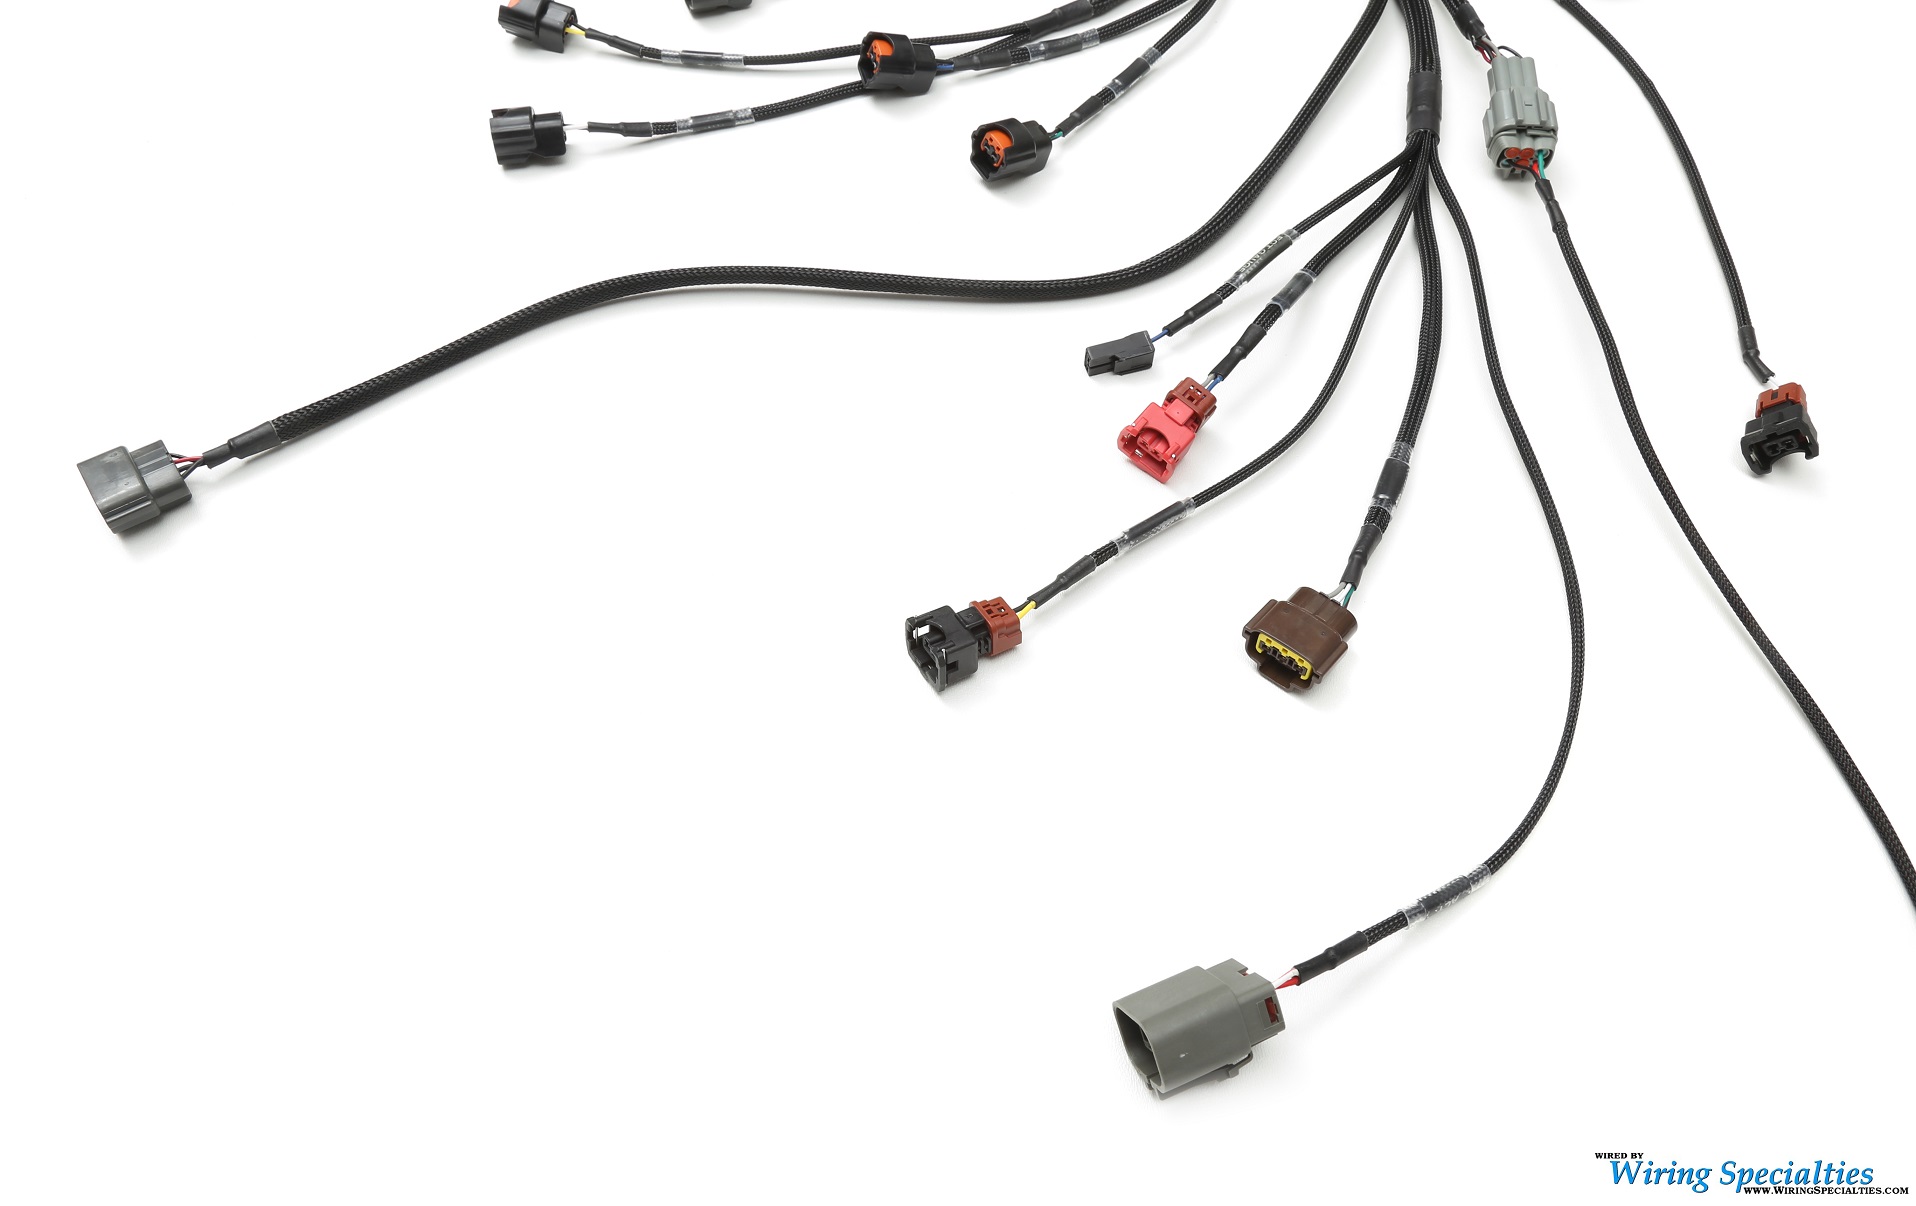
Replacing the wiring harness in your Nissan 240SX can seem like a daunting task, but with careful planning, the right tools, and a methodical approach, it’s a project that many DIY enthusiasts can tackle. Whether you're dealing with damaged wiring from age, modifications, or simply upgrading to a more robust harness, this comprehensive guide will walk you through the process of a 240SX wiring harness install, step-by-step.
Why Replace Your 240SX Wiring Harness?
Before diving into the installation, it's important to understand why you might need a new wiring harness in the first place. Common reasons include:
- Age and Deterioration: Over time, the insulation on wiring can crack and degrade, leading to shorts, malfunctions, and even fires.
- Damage: Accidents, rodents, or poor modifications can physically damage the wiring harness.
- Engine Swaps: Swapping engines often necessitates a different wiring harness to properly interface with the new engine and its associated sensors and systems.
- Upgrades: Some enthusiasts opt for aftermarket wiring harnesses for improved performance, reliability, or to accommodate aftermarket components.
Tools and Materials You'll Need
Gathering the necessary tools and materials before you begin will make the installation process much smoother. Here's a list of essentials:
- New wiring harness (ensure it's compatible with your 240SX year and model)
- Basic hand tools: screwdrivers (Phillips and flathead), pliers, wire strippers, wire crimpers
- Socket set with various sizes
- Wrench set
- Electrical tape or heat shrink tubing
- Multimeter
- Digital camera or smartphone for taking pictures
- Pen and paper for labeling wires
- Zip ties
- Wire connectors (butt connectors, ring terminals, etc.)
- Penetrating oil (for stubborn bolts)
- Work light
- Jack and jack stands (to safely lift the car if needed)
- Wheel chocks
- Safety glasses and gloves
Step-by-Step 240SX Wiring Harness Installation Guide
Now, let's get into the step-by-step process. Remember to work in a well-lit and organized workspace. Safety first!
Step 1: Disconnect the Battery
The very first step is crucial: disconnect the negative terminal of your battery. This will prevent any accidental shorts or electrical shocks during the installation. Tuck the negative cable away from the battery terminal to ensure it doesn't accidentally reconnect.
Step 2: Document the Existing Wiring
This is arguably the most important step. Before you start disconnecting anything, take detailed pictures of the existing wiring harness. Pay close attention to the routing, connectors, and any grounding points. Label everything! Use masking tape and a marker to label each connector and wire run. This will be invaluable when you're installing the new harness.
Step 3: Disconnect the Old Wiring Harness
Now, begin disconnecting the old wiring harness. Start with the easily accessible connectors and work your way through the engine bay and interior. Refer to your pictures and labels to ensure you're disconnecting the correct wires. Be gentle! Avoid yanking on wires, as this can damage connectors or other components. Use a small screwdriver or pick to release the locking tabs on the connectors.
Tip: As you disconnect each connector, immediately attach a label that corresponds to the label you created earlier. This will prevent confusion later on.
Step 4: Remove the Old Wiring Harness
Once all the connectors are disconnected, carefully remove the old wiring harness from the car. This may involve unclipping it from various mounting points or removing it from under the dashboard. Take your time and be careful not to damage any surrounding components.
Step 5: Prepare the New Wiring Harness
Before installing the new wiring harness, inspect it for any damage or defects. Compare it to the old harness to ensure that all the connectors and wire runs are the same. This is a crucial step to prevent issues later. Refer to the wiring diagram that comes with the new harness. If the new harness requires any modifications (such as adding or removing connectors), do so now.
Step 6: Install the New Wiring Harness
Now, begin installing the new wiring harness. Start by routing the main harness through the engine bay and into the interior. Use the existing mounting points and clips to secure the harness in place. Refer to your pictures and labels to ensure that the harness is routed correctly.
Step 7: Connect the New Wiring Harness
Connect each connector to its corresponding component. Again, refer to your pictures and labels to ensure that you're connecting the correct wires. Make sure each connector is securely locked in place. Use a multimeter to test the continuity of each connection to ensure that there are no shorts or breaks in the wiring.
Step 8: Grounding Points
Grounding is critical for proper electrical function. Ensure all grounding points are clean and secure. Clean the metal surfaces where the ground wires attach to ensure a good connection. Use a wire brush or sandpaper to remove any rust or corrosion. Secure the ground wires with the appropriate hardware.
Step 9: Double-Check Everything
Before reconnecting the battery, take a step back and double-check everything. Make sure all connectors are securely connected, all wires are properly routed, and all grounding points are secure. It's better to catch a mistake now than to have problems later.
Step 10: Reconnect the Battery
Reconnect the negative terminal of the battery. Be careful not to overtighten the terminal.
Step 11: Test the Electrical System
Now, it's time to test the electrical system. Start by turning the ignition key to the "on" position (but don't start the engine). Check to see if all the lights, gauges, and accessories are working properly. If you find any problems, use a multimeter to diagnose the issue.
Step 12: Start the Engine
If everything seems to be working properly, start the engine. Listen for any unusual noises and watch for any warning lights. If the engine starts and runs smoothly, congratulations! You've successfully installed a new wiring harness in your 240SX.
Step 13: Secure and Organize
Finally, use zip ties to secure and organize the wiring harness. This will prevent the wires from rubbing against each other or other components. Double-check that the harness is not interfering with any moving parts.
Troubleshooting Tips
Even with careful planning and execution, you may encounter some problems during the wiring harness installation. Here are some troubleshooting tips:
- No Power: Check the battery connection and fuses. Use a multimeter to test for voltage at various points in the electrical system.
- Short Circuits: Look for damaged wires or connectors that may be causing a short circuit. Use a multimeter to test for continuity between the wires and ground.
- Malfunctioning Components: If a specific component is not working, check the wiring and connectors associated with that component. Use a multimeter to test for voltage and continuity.
- Engine Won't Start: Check the fuel system, ignition system, and sensors. Consult a wiring diagram for your specific engine and model.
Important Considerations
- Wiring Diagrams: Having a wiring diagram specific to your 240SX year and model is invaluable. It will help you identify the correct wires and connectors.
- Professional Help: If you're not comfortable working with electrical systems, don't hesitate to seek professional help from a qualified mechanic or electrician.
- Patience: Wiring harness installation can be a time-consuming and challenging task. Be patient and take your time.
Conclusion
Replacing the wiring harness in your 240SX is a significant undertaking, but by following these step-by-step instructions and taking your time, you can successfully complete the project. Remember to prioritize safety, document everything, and double-check your work. With a little patience and perseverance, you can restore your 240SX's electrical system to its former glory. Good luck!