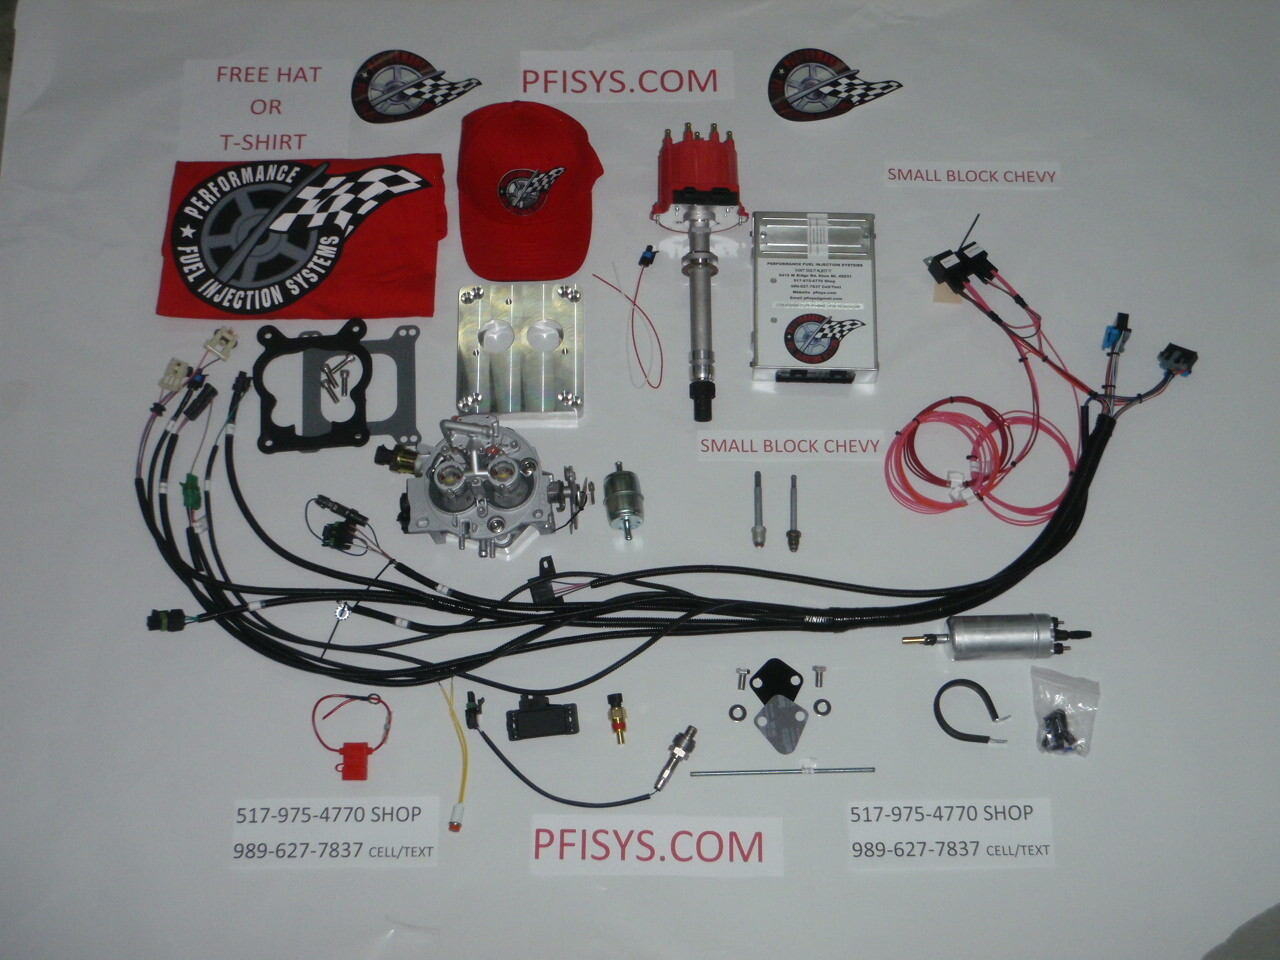
350 Small Block Chevy Swap Kit Adapter Specifications
So, you're tackling a 350 small block Chevy swap, huh? Awesome! It's a classic for a reason – power, reliability, and relatively simple to work on. But let's be honest, sometimes those "bolt-on" swap kits aren't *quite* as bolt-on as the manufacturer would like you to believe. One of the most common headaches revolves around the adapter specifications – making sure everything lines up and works together smoothly. We're going to dive into common issues, troubleshooting, and getting those specs right.
Understanding the Adapter Plate and Its Purpose
First, let's make sure we're on the same page. The adapter plate (or plates, depending on your setup) bridges the gap between your 350 SBC and whatever transmission or engine mounts you're adapting *to*. These plates are critical for proper alignment, preventing vibration, and ensuring that power is transferred efficiently. Think of them as the unsung heroes of your swap. When things go wrong here, you'll feel it in every gear shift and every bump in the road.
Typical swap kits address the following areas:
- Engine Mount Adapters: These allow you to bolt the 350 SBC into a chassis originally designed for a different engine. They usually involve adapting to existing frame mounts or providing new mounting points.
- Transmission Adapters: This is where things can get complex. Different transmissions have different bolt patterns and input shaft depths. The adapter needs to compensate for these differences.
- Exhaust Manifold Adapters: Depending on your vehicle and the headers you choose, you might need adapters to connect the exhaust system correctly.
Common Issues and Troubleshooting
Now, let's get to the nitty-gritty. Here are some common adapter-related issues you might encounter during your 350 SBC swap:
Incorrect Bolt Hole Alignment
This is the most frustrating issue. You've got the adapter, the engine, and the transmission, but the bolt holes just *don't* line up. This can stem from a few causes:
- Incorrect Adapter Plate: Make sure you ordered the correct adapter plate specifically for your engine/transmission/vehicle combination. Double-check the part number and application chart provided by the manufacturer.
- Misidentified Components: It sounds obvious, but are you absolutely sure you've correctly identified your transmission and engine? Casting numbers can sometimes be confusing. A quick Google search with the casting number can save you a lot of grief.
- Deformed Adapter Plate: Less common, but adapter plates can sometimes be warped or damaged during shipping or storage. Check the plate for flatness, especially around the bolt holes.
Solution: Before forcing anything, carefully compare the bolt patterns of the engine, transmission, and adapter plate. Use a ruler or calipers to measure the distances between bolt holes and compare them to the manufacturer's specifications (if available). If the adapter plate is slightly off, you might be able to carefully elongate the holes with a die grinder or file. However, proceed with caution, as removing too much material can weaken the plate. If the adapter is significantly off or warped, you'll need to return it for the correct one.
Input Shaft Depth Issues
The input shaft is the part of the transmission that engages with the engine's crankshaft. If the input shaft is too short or too long, it won't engage properly, leading to clutch slippage, transmission damage, or even a complete inability to shift.
- Incorrect Pilot Bearing/Bushing: The pilot bearing or bushing supports the end of the transmission's input shaft. Make sure you're using the correct pilot bearing for your engine and transmission combination. Different adapters often require specific pilot bearings.
- Adapter Plate Thickness: The adapter plate's thickness affects the overall length of the transmission relative to the engine. Too much thickness can prevent the input shaft from engaging properly.
Solution: Measure the depth of the crankshaft pilot hole and the length of the transmission input shaft. Compare these measurements to the adapter plate's thickness and the required input shaft engagement depth. You might need to use a different pilot bearing or bushing to compensate for any differences. In some cases, a custom-made adapter plate might be necessary, though this is a last resort.
Clearance Problems
Sometimes, even if the adapter plate fits correctly, it can create clearance issues with other components, such as the starter, exhaust system, or transmission tunnel.
- Starter Interference: The adapter plate might position the starter too close to the engine block or exhaust manifold, preventing it from engaging properly.
- Exhaust System Interference: The adapter plate might change the angle of the engine, causing the exhaust manifolds to interfere with the chassis or other components.
- Transmission Tunnel Interference: The adapter plate might move the transmission upward or downward, causing it to rub against the transmission tunnel.
Solution: Carefully inspect the areas around the adapter plate for any potential clearance issues. You might need to use a smaller starter, modify the exhaust system, or even modify the transmission tunnel. In some cases, a different adapter plate with a slightly different offset might be necessary.
Practical Tips and Tools
Here are some practical tips to help you navigate the adapter plate maze:
- Research, Research, Research: Before ordering any parts, do your homework! Read forums, watch videos, and talk to other people who have done similar swaps. Knowing the potential pitfalls beforehand can save you a lot of time and money.
- Double-Check Part Numbers: I can't stress this enough. Make sure you're ordering the correct adapter plate for your specific engine, transmission, and vehicle combination.
- Dry Fit Everything: Before bolting everything together permanently, dry fit the adapter plate and other components to check for any potential clearance issues.
- Use Quality Hardware: Don't skimp on the bolts and fasteners! Use high-quality hardware that is strong enough to withstand the stresses of the engine and transmission.
- Torque Specifications: Always follow the manufacturer's torque specifications when tightening bolts. Over-tightening can damage the adapter plate or other components.
Essential Tools:
- Socket Set and Wrenches: A good-quality set of sockets and wrenches is essential for any automotive project.
- Torque Wrench: To ensure that bolts are tightened to the correct specifications.
- Ruler or Calipers: For measuring bolt patterns and component dimensions.
- Die Grinder or File: For minor modifications to the adapter plate (use with caution!).
- Engine Hoist: To safely lift and position the engine.
- Transmission Jack: To safely lift and position the transmission.
- Penetrating Oil: For loosening stubborn bolts.
Approximate Repair Costs
The cost of resolving adapter plate issues can vary widely depending on the complexity of the problem and the parts required. Here's a rough estimate:
- Incorrect Adapter Plate: $50 - $500 (depending on the adapter and where you purchase it from) + Shipping (both ways)
- Pilot Bearing/Bushing Issues: $10 - $50 for the correct bearing/bushing.
- Minor Modifications (Elongating Holes): $0 (assuming you have the tools) - $50 (if you need to buy a die grinder or file).
- Custom Adapter Plate: $200 - $1000+ (depending on the complexity and materials used). This is best left to professionals.
- Labor Costs: If you're hiring a mechanic, expect to pay $75 - $150+ per hour.
Conclusion
Dealing with adapter plate specifications can be a challenging part of a 350 SBC swap, but with careful planning, attention to detail, and the right tools, you can overcome these hurdles and get your project back on track. Remember to double-check your part numbers, dry fit everything, and don't be afraid to ask for help from experienced mechanics or online communities. Good luck with your swap!
Disclaimer: This information is for general guidance only and should not be considered professional advice. Always consult with a qualified mechanic before performing any automotive repairs.