370z Clutch Master Cylinder Replacement
So, your 370z clutch pedal's feeling soft, sticking, or just plain isn't disengaging the clutch properly? Chances are, your clutch master cylinder (CMC) is on its way out. Replacing the CMC on a 370z isn't the *most* straightforward job, but with the right tools, some patience, and this guide, you can tackle it yourself. We'll walk you through the entire process, explaining the technical aspects along the way.
Understanding the Clutch Master Cylinder
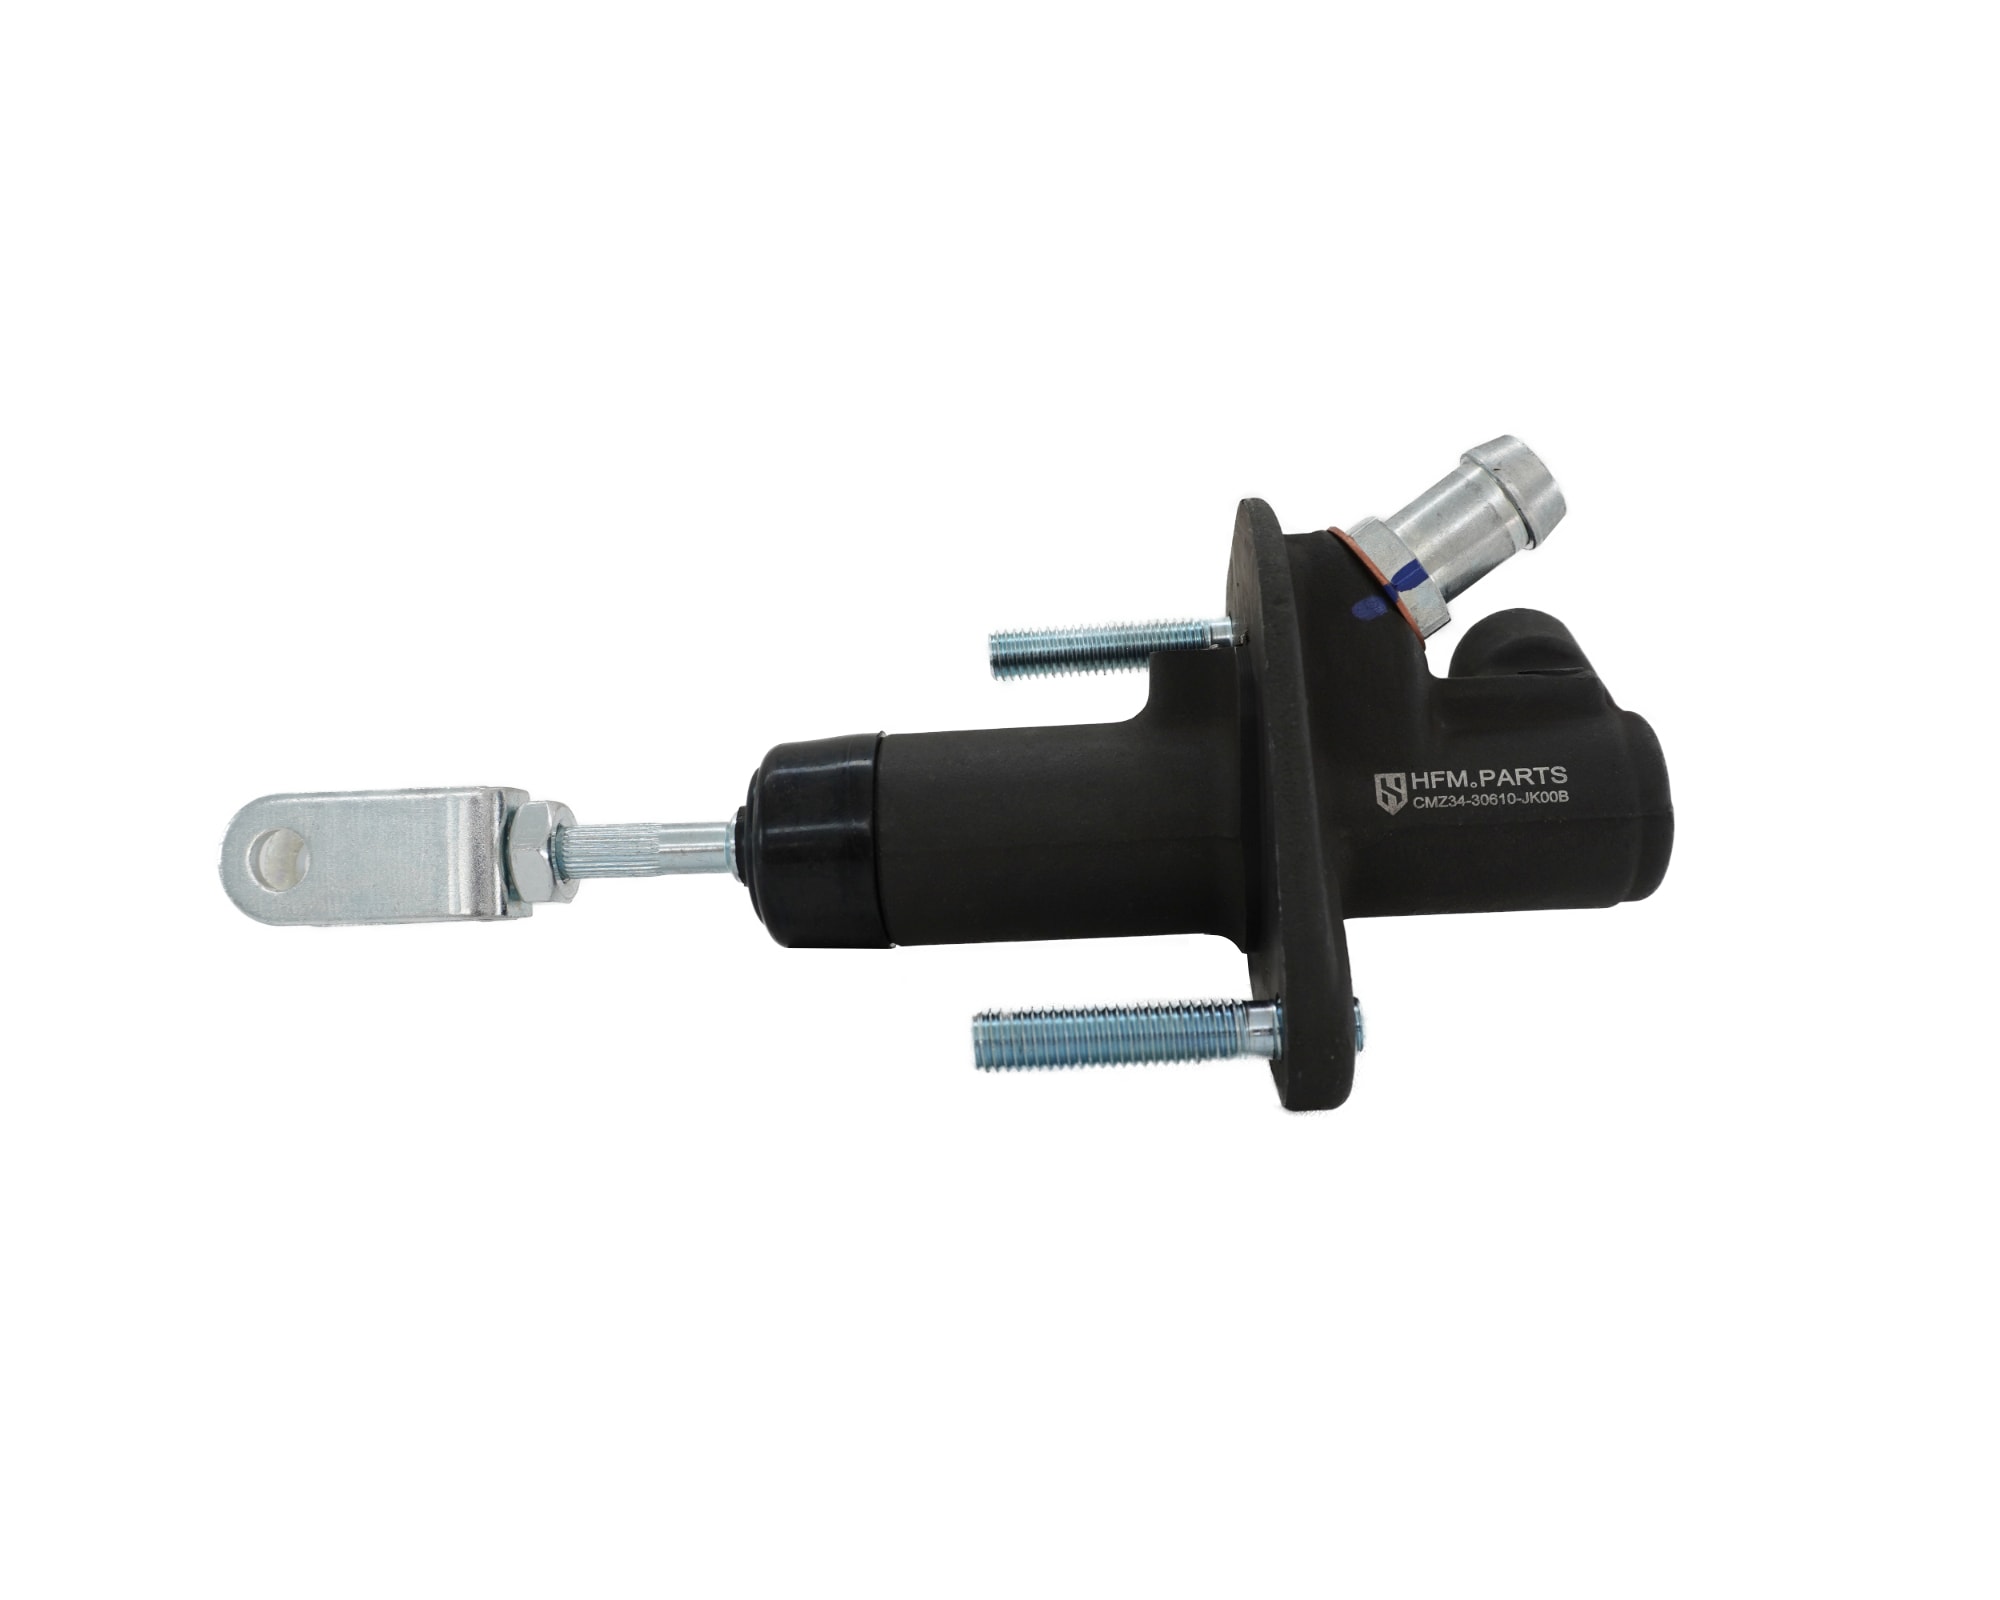
Before we dive in, let's quickly recap what the CMC does. The CMC is a hydraulic pump that converts the mechanical force from your foot pressing the clutch pedal into hydraulic pressure. This pressure is then transmitted via the hydraulic line to the clutch slave cylinder, which in turn actuates the clutch fork and disengages the clutch from the flywheel. Essentially, it's the heart of your clutch actuation system.
When the CMC fails, it's usually due to internal seal degradation. This allows fluid to leak past the piston, resulting in reduced pressure and a loss of clutch pedal feel. Common symptoms include:
- A soft or spongy clutch pedal.
- Difficulty shifting gears, especially at high RPM.
- Clutch pedal sticking to the floor.
- Low brake fluid level (the CMC and brake system often share the same reservoir).
- Clutch slippage (in severe cases).
Tools and Materials You'll Need
Gathering the right tools beforehand will make the job significantly smoother. Here's what you'll need:
- New Clutch Master Cylinder (OEM or reputable aftermarket brand).
- DOT 3 or DOT 4 Brake Fluid (refer to your owner's manual).
- Wrenches: 10mm, 12mm, 14mm (ratcheting wrenches are highly recommended).
- Flare Nut Wrenches: 10mm (essential for loosening the hydraulic line without damaging it).
- Socket Set: 10mm, 12mm, 14mm sockets.
- Socket Extensions (various lengths, including a long extension).
- Pliers (needle-nose and regular).
- Screwdrivers (Phillips head and flathead).
- Turkey Baster or Syringe (for removing old brake fluid from the reservoir).
- Drain Pan (to catch spilled brake fluid).
- Jack and Jack Stands (for safe access to the underside of the car).
- Wheel Chocks (for safety).
- Gloves (brake fluid is corrosive).
- Eye Protection (brake fluid can cause serious eye damage).
- Brake Bleeder Kit (a pressure bleeder or vacuum bleeder is ideal, but a manual bleeder kit will also work).
- Shop Rags or Paper Towels (lots of them!).
- Penetrating Oil (PB Blaster or similar, for loosening stubborn bolts).
- Flashlight or Work Light.
Step-by-Step Clutch Master Cylinder Replacement
1. Preparation and Safety
Safety first! Park your 370z on a level surface, engage the parking brake, and chock the rear wheels. Disconnect the negative battery terminal. This prevents accidental electrical shorts while you're working.
2. Accessing the Clutch Master Cylinder
The CMC is located on the driver's side firewall, inside the engine bay, near the brake master cylinder. It can be a bit cramped to access.
3. Emptying the Brake Fluid Reservoir
Use the turkey baster or syringe to remove as much brake fluid as possible from the brake fluid reservoir. This minimizes spillage when you disconnect the hydraulic line from the CMC. Be extremely careful not to spill brake fluid on painted surfaces, as it will damage the paint. Wipe up any spills immediately with a damp rag.
4. Disconnecting the Hydraulic Line
This is often the trickiest part. Use a 10mm flare nut wrench to loosen the hydraulic line fitting on the CMC. A flare nut wrench is crucial here. A regular open-end wrench is likely to round off the fitting, making it impossible to remove. Apply penetrating oil if the fitting is stubborn. Once loosened, carefully unscrew the fitting. Have a drain pan ready to catch any fluid that spills out. Immediately plug the end of the hydraulic line to prevent fluid from continuously draining and to minimize air entering the system. A small rubber cap or even a clean shop rag stuffed into the line will work.
5. Disconnecting the Clutch Pedal Linkage
Inside the driver's footwell, locate the clutch pedal. You'll see a pushrod connecting the clutch pedal to the CMC. This pushrod is usually held in place by a clip or a retaining pin. Use pliers or a small screwdriver to carefully remove the clip or pin. Once the clip is removed, detach the pushrod from the clutch pedal. Take note of the orientation of the pushrod and any bushings or washers so you can reinstall it correctly.
6. Removing the Old Clutch Master Cylinder
Back in the engine bay, locate the two bolts that secure the CMC to the firewall. These are typically 12mm or 14mm bolts. Use a socket wrench with extensions to reach these bolts. They can be difficult to access, especially the lower bolt. Once the bolts are removed, carefully wiggle the CMC free from the firewall. You may need to rotate or maneuver it slightly to clear any obstructions.
7. Installing the New Clutch Master Cylinder
Install the new CMC in the reverse order of removal. First, position the new CMC on the firewall and secure it with the bolts. Tighten the bolts to the manufacturer's specified torque (consult your service manual if you have one; if not, snug but not overtightened is a good rule). Next, reconnect the clutch pedal pushrod inside the footwell. Make sure the pushrod is properly seated and secure the retaining clip or pin. Finally, reconnect the hydraulic line to the CMC. Make sure the fitting is clean and properly aligned. Tighten the flare nut securely, but don't overtighten it, as you could damage the fitting or the CMC.
8. Bleeding the Clutch System
This is the most critical step to ensure proper clutch operation. Air in the hydraulic system will cause a soft or spongy pedal and prevent the clutch from disengaging fully. There are several methods for bleeding the clutch:
a) Manual Bleeding
This method requires two people. One person operates the clutch pedal, while the other opens and closes the bleeder valve on the clutch slave cylinder (located on the transmission). Here's the procedure:
- Locate the bleeder valve on the clutch slave cylinder.
- Attach a clear hose to the bleeder valve and run the other end of the hose into a container partially filled with brake fluid. This prevents air from being drawn back into the system.
- Have your assistant pump the clutch pedal several times and then hold it down.
- While the pedal is held down, open the bleeder valve briefly. You should see fluid and possibly air bubbles flow through the hose.
- Close the bleeder valve.
- Have your assistant release the clutch pedal.
- Repeat steps 3-6 until no more air bubbles are visible in the fluid flowing through the hose.
- Check the brake fluid reservoir frequently and top it off as needed to prevent it from running dry.
b) Pressure Bleeding
A pressure bleeder connects to the brake fluid reservoir and pressurizes the system, forcing fluid through the lines. This is a much easier and more efficient method, especially for one-person operation. Follow the instructions provided with your pressure bleeder.
c) Vacuum Bleeding
A vacuum bleeder uses a vacuum pump to draw fluid through the bleeder valve. This is another good option for one-person bleeding. Follow the instructions provided with your vacuum bleeder.
No matter which bleeding method you use, the key is to continue bleeding until you get a firm clutch pedal and no more air bubbles are visible in the fluid.
9. Testing and Final Checks
Once you've bled the clutch system, start the engine and test the clutch. Shift through all the gears to ensure smooth engagement and disengagement. If the clutch pedal still feels soft or spongy, repeat the bleeding process. Check for any leaks around the CMC and hydraulic line fittings. Double-check that the brake fluid reservoir is filled to the proper level. Take the car for a test drive, paying close attention to the clutch feel and shifting performance.
10. Clean Up
Dispose of the old brake fluid properly (it's considered hazardous waste). Clean up any spilled brake fluid from the engine bay and footwell. Reconnect the negative battery terminal.
Troubleshooting Tips
- Still having trouble bleeding the clutch? Consider bench bleeding the CMC before installing it. This involves manually pushing the pushrod in and out to prime the cylinder with fluid.
- Hydraulic line fitting won't budge? Use a penetrating oil and let it soak for several hours, or even overnight. You can also try heating the fitting with a heat gun (be careful not to overheat it).
- Clutch pedal still feels soft after bleeding? Check for leaks in the hydraulic system. Also, inspect the clutch slave cylinder for leaks or damage.
Replacing the clutch master cylinder on your 370z is a challenging but rewarding DIY project. By following these steps carefully and taking your time, you can save yourself a significant amount of money on labor costs and gain a deeper understanding of your car's mechanics. Remember to prioritize safety and use the correct tools for the job. Good luck!