A/c Compressor For 2010 Nissan Altima
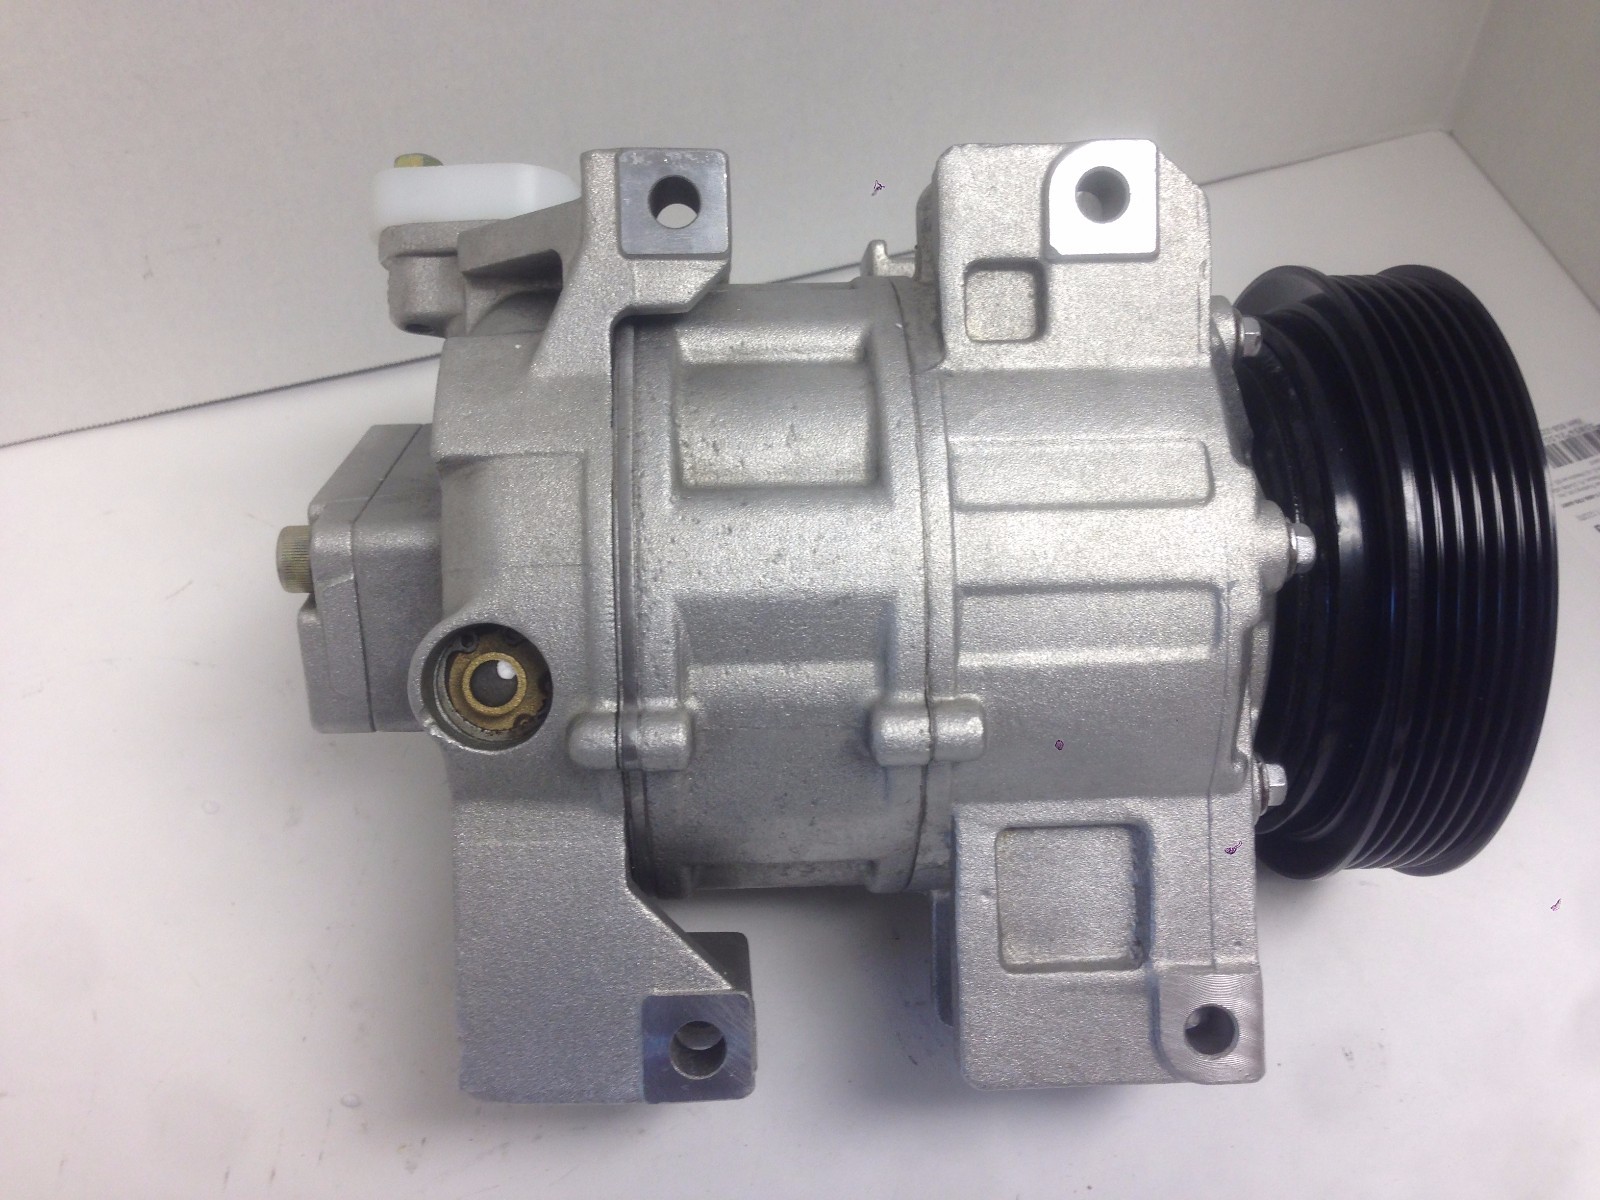
Delving into the intricacies of automotive air conditioning systems, we focus on a critical component: the A/C compressor in a 2010 Nissan Altima. This guide aims to provide a comprehensive understanding of its function, design, operation, common issues, and potential diagnostic approaches. Whether you're a curious car enthusiast or an aspiring automotive engineer, this breakdown should offer valuable insight.
The Role of the Compressor: Heart of the Cooling System
The A/C compressor is, without exaggeration, the heart of your 2010 Altima's air conditioning system. Its primary function is to circulate refrigerant throughout the system. This refrigerant, typically R-134a in this model year, absorbs heat from the cabin and releases it outside. The compressor achieves this by compressing the low-pressure, low-temperature refrigerant gas coming from the evaporator into a high-pressure, high-temperature gas. This pressure increase is crucial for the condensation process that occurs in the condenser, where the refrigerant releases its absorbed heat.
Think of it like a pump. Instead of moving water, it moves refrigerant, but with a critical difference: it significantly increases the pressure, which changes the state of the refrigerant, allowing it to carry heat more efficiently.
Compressor Design and Operation in the 2010 Altima
The 2010 Nissan Altima typically utilizes a swashplate-type compressor. This design is favored for its relative simplicity, efficiency, and compact size. Here's a closer look at the components and how they work together:
Key Components:
- Cylinder Block: This houses the cylinders where the refrigerant is compressed. The 2010 Altima compressor usually has multiple cylinders arranged around a central axis.
- Pistons: Reciprocating pistons within the cylinders compress the refrigerant. Their movement is driven by the swashplate.
- Swashplate: This angled plate rotates, causing the pistons to move back and forth within their cylinders. The angle of the swashplate determines the stroke length of the pistons, and therefore the amount of refrigerant compressed per cycle.
- Suction Valve(s): Allow low-pressure refrigerant gas from the evaporator to enter the cylinders.
- Discharge Valve(s): Allow high-pressure refrigerant gas to exit the cylinders and flow towards the condenser.
- Clutch Assembly: An electromagnetic clutch engages and disengages the compressor pulley from the engine's crankshaft. When the A/C is turned on, an electrical current energizes the clutch, pulling the pressure plate against the pulley. This locks the pulley to the compressor shaft, causing the compressor to turn. When the A/C is off, the clutch disengages, and the pulley spins freely without turning the compressor.
- Oil Sump: Holds a specific type and quantity of oil to lubricate the internal moving parts of the compressor. Proper lubrication is critical for compressor longevity.
Operational Cycle:
- Suction: As the piston moves downward (away from the cylinder head), the suction valve opens, allowing low-pressure refrigerant gas to be drawn into the cylinder.
- Compression: As the piston moves upward, the suction valve closes, and the refrigerant gas is compressed within the cylinder, increasing its pressure and temperature.
- Discharge: When the pressure within the cylinder exceeds the pressure in the discharge line, the discharge valve opens, and the high-pressure, high-temperature refrigerant gas is forced out of the cylinder and into the condenser.
- Exhaust: The piston continues moving upwards, completely expelling the remaining refrigerant gas. The cycle then repeats.
This cycle happens repeatedly and rapidly, maintaining a continuous flow of refrigerant throughout the A/C system.
Common Problems and Diagnostic Approaches
The A/C compressor is a complex mechanical device subjected to significant stress. Consequently, it is prone to several common issues. Here's a breakdown of potential problems and diagnostic strategies:
Noisy Compressor:
Possible Causes: Internal bearing wear, piston or cylinder damage, lack of lubrication, excessive refrigerant charge.
Diagnostic Approach: Use a mechanic's stethoscope to listen to the compressor while the engine is running. Grinding, squealing, or knocking noises indicate internal damage. Check the refrigerant charge levels – overcharging can put excessive strain on the compressor. Inspect the compressor oil level and condition (if possible – some compressors are sealed). If the oil is dark or contains metal shavings, it indicates significant internal wear.
Compressor Clutch Failure:
Possible Causes: Worn clutch plates, damaged electromagnetic coil, excessive air gap between the pressure plate and pulley.
Diagnostic Approach: Visually inspect the clutch assembly for signs of wear or damage. Check the air gap between the pressure plate and pulley with a feeler gauge. If the gap is too large, the clutch may not engage properly. Test the electromagnetic coil for continuity using a multimeter. If there is no continuity, the coil is likely faulty. Applying 12V directly to the clutch coil (with appropriate safety precautions) can test its engagement. However, be very cautious when doing this as you can damage the coil if it's already compromised.
Compressor Not Engaging:
Possible Causes: Low refrigerant charge, faulty pressure switch, electrical wiring issues, faulty climate control module.
Diagnostic Approach: A low refrigerant charge will often prevent the compressor from engaging to protect it from damage. Check the refrigerant pressure using A/C manifold gauges. If the pressure is low, the system needs to be leak tested and recharged. Verify the pressure switch is functioning correctly – it typically sends a signal to the engine control unit (ECU) to enable the compressor clutch. Use a multimeter to check for voltage at the compressor clutch connector when the A/C is turned on. Trace the wiring harness back to the A/C relay and climate control module to identify any breaks or shorts. Scan the vehicle's computer for any diagnostic trouble codes (DTCs) related to the A/C system.
Compressor Leaking Refrigerant:
Possible Causes: Worn seals or O-rings, damaged compressor housing.
Diagnostic Approach: Inspect the compressor for signs of refrigerant leaks, such as oily residue or dye stains (if dye has been added to the system). Use an electronic refrigerant leak detector to pinpoint the source of the leak. Leaks are most common at the compressor seals and connections.
Insufficient Cooling:
Possible Causes: Inefficient compressor performance, clogged condenser or evaporator, restricted refrigerant flow.
Diagnostic Approach: Check the high and low side pressures with A/C manifold gauges. Compare the readings to the manufacturer's specifications. Unusual pressure readings can indicate compressor inefficiency. Inspect the condenser and evaporator for debris that may be restricting airflow. Check the expansion valve (or orifice tube) for restrictions. Evacuate and recharge the system according to manufacturer specifications, ensuring proper refrigerant charge.
Preventative Maintenance
Regular maintenance can significantly extend the life of your 2010 Altima's A/C compressor. Here are some helpful tips:
- Regular A/C System Checks: Have a qualified technician inspect the A/C system annually, including checking refrigerant levels, inspecting for leaks, and verifying compressor performance.
- Proper Refrigerant Charge: Maintaining the correct refrigerant charge is crucial for efficient cooling and compressor longevity. Avoid overcharging or undercharging the system.
- Clean Condenser: Keep the condenser free of debris, such as leaves, bugs, and dirt. This ensures proper airflow and heat exchange.
- Run the A/C Regularly: Even during the winter months, run the A/C for a few minutes each week to circulate the refrigerant and lubricant, which helps to prevent seals from drying out and cracking.
- Use the Correct Type of Refrigerant Oil: When adding or changing refrigerant oil, always use the type specified by the vehicle manufacturer. Using the wrong type of oil can damage the compressor.
By understanding the operation and potential issues of your 2010 Nissan Altima's A/C compressor, you're better equipped to diagnose problems, perform preventative maintenance, and ensure a comfortable driving experience.