Apexi N1 Dual Exhaust For 240sx: Sound And Performance
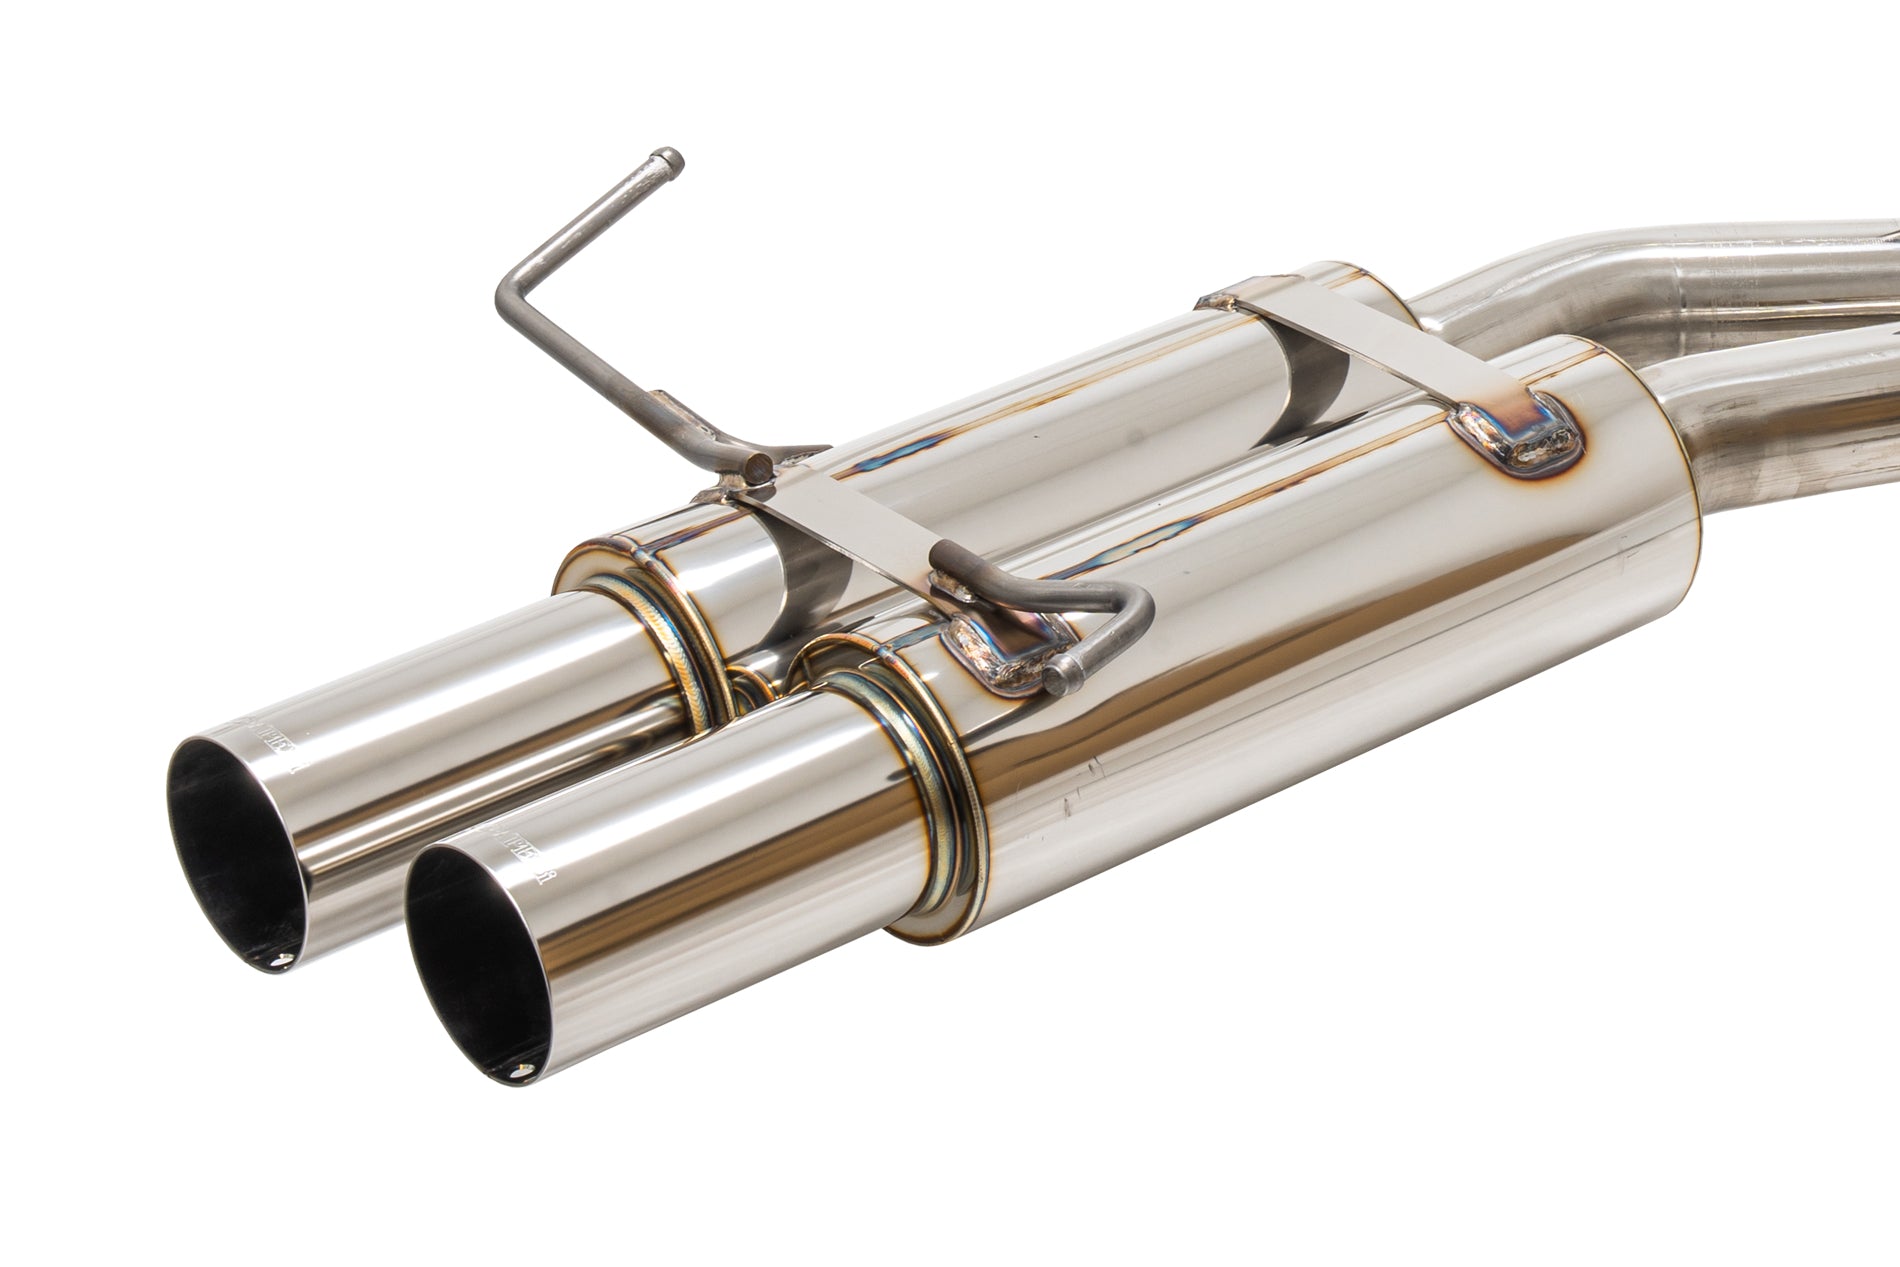
So, you're thinking about, or already have, an Apexi N1 Dual exhaust for your 240SX. Excellent choice! These systems are known for their aggressive sound and performance gains. However, like any aftermarket modification, you might run into a few snags along the way. This guide will address some common problems and offer solutions to help you get the most out of your Apexi N1 Dual.
Problem 1: Excessive Drone at Cruising Speeds
One of the most frequent complaints about performance exhausts, including the Apexi N1 Dual, is excessive drone, especially at highway speeds. This low-frequency humming noise can become tiring on longer drives.
Solution 1: Resonator Installation
The most effective way to combat drone is to install a resonator. A resonator is a small muffler that targets specific frequencies, effectively canceling out the droning sound. A universal resonator can be welded into the exhaust system, usually in the mid-pipe section.
Tools Needed: Welder, cutting tools (sawzall or angle grinder), measuring tape, welding helmet and gloves, safety glasses, jack and jack stands, appropriate sized exhaust clamps, and the resonator itself.
Approximate Cost: Resonator ($50-$150), welding labor (if you're not doing it yourself, expect $100-$300 depending on the shop's hourly rate).
Tip: When selecting a resonator, consider the size and type. A larger resonator will generally be more effective at reducing drone but might slightly impact exhaust flow. Research different resonator types to find the best balance for your needs.
Solution 2: Sound Dampening Material
While not as effective as a resonator for directly eliminating drone, adding sound dampening material inside the car can significantly reduce the perceived noise level. Products like Dynamat or similar sound deadening mats can be applied to the floorboards, trunk, and firewall to absorb vibrations and dampen sound waves.
Tools Needed: Roller (for applying the sound deadening material), cutting tools (scissors or utility knife), cleaning supplies (for preparing the surfaces).
Approximate Cost: Sound deadening material ($100-$400, depending on the area covered).
Tip: Focus on areas closest to the exhaust system, such as the rear seats and trunk floor, for maximum impact.
Solution 3: Exhaust Hangers and Isolation
Sometimes, drone can be amplified by vibrations transmitted through the exhaust hangers to the chassis. Inspect your exhaust hangers and replace any worn or damaged ones. Consider using polyurethane exhaust hangers, as they are more durable and offer better vibration isolation compared to rubber hangers.
Tools Needed: Wrench or socket set, jack and jack stands.
Approximate Cost: Polyurethane exhaust hangers ($20-$50).
Tip: Ensure the exhaust system is properly aligned and not making contact with any part of the chassis, as this can also contribute to vibrations and drone.
Problem 2: Fitment Issues
Aftermarket exhausts, while designed to be a direct fit, can sometimes present fitment challenges. These can range from minor adjustments to requiring some fabrication.
Solution 1: Exhaust Manifold/Header Alignment
Ensure your exhaust manifold or header is properly aligned. If it's been removed or replaced, it's possible it's not seated correctly, causing the exhaust to sit at an odd angle. Loosen the manifold/header bolts slightly, re-align the exhaust system, and then re-tighten the manifold/header bolts to the manufacturer's specifications.
Tools Needed: Wrench or socket set, torque wrench, jack and jack stands (potentially).
Approximate Cost: Time (free if you do it yourself, otherwise shop labor rates apply, potentially 1-2 hours).
Tip: Always use a torque wrench when tightening exhaust manifold/header bolts to avoid damaging the gasket or studs.
Solution 2: Exhaust Hanger Adjustment
Most aftermarket exhaust systems have adjustable exhaust hangers. Loosen the bolts on the hangers and reposition them until the exhaust system sits correctly, providing adequate clearance around the chassis and rear bumper. You might need to bend the hangers slightly for optimal fitment. Use a pry bar carefully to avoid damaging the hangers.
Tools Needed: Wrench or socket set, pry bar, jack and jack stands.
Approximate Cost: Time (free if you do it yourself, otherwise shop labor rates apply, potentially 0.5-1 hour).
Tip: Ensure the exhaust system has adequate clearance around the fuel tank, brake lines, and other sensitive components.
Solution 3: Welding and Fabrication
In some cases, minor welding or fabrication may be necessary to achieve perfect fitment. This could involve shortening or lengthening a section of the exhaust pipe or modifying the exhaust hangers. This is best left to a professional exhaust shop.
Tools Needed: N/A (professional services required).
Approximate Cost: Varies widely depending on the extent of the fabrication required. Expect $100-$500 or more.
Tip: Before resorting to welding, double-check all other possible solutions. Welding can sometimes void the exhaust manufacturer's warranty.
Problem 3: Exhaust Leaks
Exhaust leaks can rob you of power, create an annoying hissing sound, and potentially be dangerous due to carbon monoxide exposure.
Solution 1: Check Exhaust Gaskets
The most common cause of exhaust leaks is damaged or improperly installed exhaust gaskets. Inspect all gaskets, especially those at the exhaust manifold/header, catalytic converter (if applicable), and muffler connections. Replace any damaged gaskets with new ones. Always use high-quality exhaust gaskets for a proper seal.
Tools Needed: Wrench or socket set, jack and jack stands, scraper (for cleaning mating surfaces).
Approximate Cost: Exhaust gaskets ($10-$30 per gasket).
Tip: Clean the mating surfaces thoroughly before installing new gaskets. Use a scraper or wire brush to remove any old gasket material or rust.
Solution 2: Tighten Exhaust Clamps
Loose exhaust clamps can also cause leaks. Ensure all exhaust clamps are properly tightened. If the clamps are old or rusted, replace them with new ones. Consider using U-bolt clamps for a more secure connection.
Tools Needed: Wrench or socket set.
Approximate Cost: Exhaust clamps ($5-$15 per clamp).
Tip: Avoid overtightening the clamps, as this can damage the exhaust pipes. Tighten them just enough to create a good seal.
Solution 3: Welding Repairs
If you find a crack or hole in the exhaust pipe itself, it will need to be welded. This is another job best left to a professional welder. They can patch the hole or crack and ensure a strong, leak-free repair.
Tools Needed: N/A (professional services required).
Approximate Cost: Varies depending on the size and location of the damage. Expect $50-$200.
Tip: For small holes, exhaust repair putty can be a temporary fix, but it's not a long-term solution. Welding is always the best option.
Problem 4: Reduced Performance (Unexpectedly)
While the Apexi N1 Dual is designed for performance gains, sometimes, you might experience a perceived loss of power, especially in the low-end.
Solution 1: ECU Tuning
The 240SX ECU (Engine Control Unit) is programmed for the stock exhaust system. Installing a free-flowing exhaust like the Apexi N1 Dual can change the air-fuel ratio and timing, potentially leading to a lean condition or other inefficiencies. An ECU tune can optimize the engine's performance for the new exhaust, restoring and even enhancing power.
Tools Needed: N/A (professional tuning services required).
Approximate Cost: ECU tuning ($300-$800, depending on the tuner and the complexity of the tune).
Tip: Research reputable tuners who are experienced with the 240SX and its engine (KA24DE or SR20DET) for optimal results.
Solution 2: Check for Exhaust Restrictions
While the Apexi N1 Dual itself is free-flowing, ensure there are no other restrictions in the exhaust system. A clogged catalytic converter (if applicable) or a severely dented exhaust pipe can negate the benefits of the new exhaust.
Tools Needed: Visual inspection, potentially a backpressure test gauge.
Approximate Cost: Varies depending on the repair or replacement needed (catalytic converter replacement can be expensive).
Tip: A backpressure test can help determine if the catalytic converter is clogged. Consult a mechanic for this test.
Solution 3: Verify Installation
Double-check the installation of the exhaust system. Ensure all connections are secure, and there are no leaks. A leak in the exhaust system can disrupt the exhaust flow and negatively impact performance.
Tools Needed: Wrench or socket set, jack and jack stands.
Approximate Cost: Time (free if you do it yourself, otherwise shop labor rates apply, potentially 0.5-1 hour).
Tip: Use a soapy water solution to check for leaks. Spray the solution on the exhaust connections while the engine is running. Bubbles will indicate a leak.
By addressing these common issues, you can ensure that your Apexi N1 Dual exhaust system delivers the sound and performance you expect from your 240SX. Remember to prioritize safety and consult with a qualified mechanic when necessary. Happy driving!