Application Guide For A Professional Windshield Banner Installation
A professional windshield banner installation can dramatically enhance your vehicle's appearance, adding a touch of personalization or promoting your brand. However, a poorly installed banner can look amateurish and even obstruct your vision, compromising safety. This comprehensive guide provides a step-by-step approach to achieving a flawless and professional windshield banner installation.
Preparing for Your Windshield Banner Installation
Before you even think about peeling off the backing, careful preparation is paramount. This stage sets the foundation for a successful and long-lasting banner application. Neglecting these initial steps can lead to bubbles, wrinkles, and premature peeling.
Choosing the Right Banner
The market offers a wide variety of windshield banners. Consider these factors when selecting one:
- Material: High-quality vinyl is generally the best choice for durability and weather resistance. Look for banners designed specifically for automotive use.
- Size: Measure your windshield accurately to ensure the banner fits properly without excessive overhang or leaving gaps.
- Design: Select a design that suits your aesthetic preferences and complies with local traffic laws. Some jurisdictions have restrictions on banner height and transparency.
- Adhesive: Opt for banners with a strong, weather-resistant adhesive designed to withstand temperature fluctuations and moisture.
Gathering the Necessary Tools
Having the right tools on hand will streamline the installation process and improve the final result. Here's a checklist of essential items:
- Measuring Tape: For accurate banner placement.
- Isopropyl Alcohol (Rubbing Alcohol): To thoroughly clean the windshield.
- Microfiber Cloths (Lint-Free): For cleaning and drying the windshield without leaving residue.
- Spray Bottle with Water: To create a slip solution.
- Squeegee (Felt-Edged): For smoothing out the banner and removing air bubbles. A felt edge prevents scratching.
- Heat Gun or Hair Dryer (Optional): To help the banner conform to curved surfaces and improve adhesion. Use with caution.
- Razor Blade or Exacto Knife: For trimming excess banner material. Use with extreme care.
- Masking Tape: To temporarily hold the banner in place during alignment.
- Gloves (Optional): To prevent fingerprints on the banner and protect your hands from cleaning solutions.
Cleaning the Windshield
A clean windshield is crucial for optimal adhesion. Follow these steps:
- Wash the Windshield: Use soap and water to remove dirt, grime, and debris. Rinse thoroughly.
- Clean with Isopropyl Alcohol: Saturate a microfiber cloth with isopropyl alcohol and wipe the entire area where the banner will be applied. This removes any remaining contaminants and ensures a clean surface for the adhesive.
- Dry the Windshield: Use a clean, dry microfiber cloth to wipe away any remaining alcohol residue. The windshield must be completely dry before proceeding.
The Windshield Banner Installation Process
Now that you've prepared your materials and cleaned the windshield, it's time to install the banner. This process requires patience and attention to detail. Avoid rushing, as mistakes can be difficult to correct.
Positioning and Alignment
This is a critical step to ensure the banner is straight and centered. Take your time and double-check your measurements.
- Dry Fit: Carefully position the banner on the windshield without removing the backing. Use masking tape to temporarily hold it in place.
- Center the Banner: Use your measuring tape to ensure the banner is centered horizontally and vertically. Pay attention to any design elements and ensure they are properly aligned.
- Mark the Position: Use small pieces of masking tape to mark the corners and edges of the banner's desired position. This will serve as a guide when you remove the backing.
Applying the Slip Solution
The slip solution allows you to reposition the banner easily during application, preventing wrinkles and bubbles. Don't overdo it, a light mist is all you need.
- Prepare the Slip Solution: Fill a spray bottle with distilled water and add a few drops of mild dish soap (dish soap is optional). Shake gently to mix.
- Spray the Windshield: Lightly mist the area of the windshield where the banner will be applied with the slip solution.
Applying the Banner
This is where the magic happens! Be patient and work slowly to avoid bubbles and wrinkles.
- Peel the Backing: Carefully peel back a portion of the banner's backing, starting from one edge. Avoid touching the adhesive side.
- Align and Apply: Align the exposed adhesive edge of the banner with your masking tape guides. Gently press the banner onto the windshield.
- Continue Peeling and Applying: Slowly peel back the remaining backing while simultaneously smoothing the banner onto the windshield with the felt-edged squeegee. Work from the center outwards, using overlapping strokes to remove air bubbles and wrinkles.
- Repeat for the Other Side: If you only peeled a small portion of the backing initially, repeat the peeling and applying process for the remaining section of the banner.
Squeegeeing and Bubble Removal
Thorough squeegeeing is essential for a smooth, professional finish. Pay close attention to removing all air bubbles.
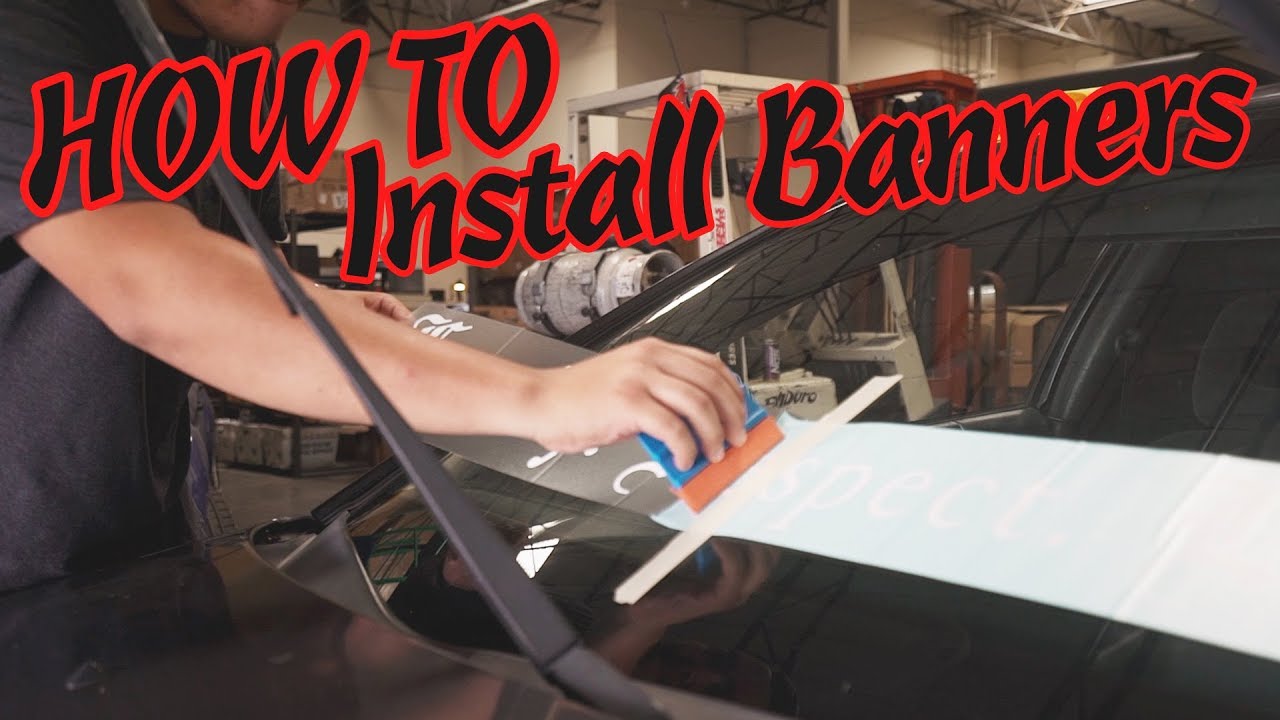
- Squeegee Thoroughly: Use the felt-edged squeegee to firmly smooth the banner onto the windshield, working from the center outwards. Use overlapping strokes to ensure complete adhesion.
- Address Air Bubbles: If you encounter air bubbles, try to work them towards the edge of the banner with the squeegee. For stubborn bubbles, you can carefully prick them with a needle or pin and then squeegee out the air.
- Heat Application (Optional): If you're working with a curved windshield or in cold weather, you can use a heat gun or hair dryer to gently warm the banner. This will make it more pliable and help it conform to the surface. Be careful not to overheat the banner, as this can damage the vinyl.
Trimming Excess Material
Once the banner is firmly adhered, trim any excess material with a razor blade or Exacto knife.
- Use a Sharp Blade: Ensure your razor blade or Exacto knife is sharp to avoid tearing or snagging the banner.
- Trim Carefully: Carefully trim the excess banner material along the edges of the windshield. Use a straight edge as a guide if necessary.
- Smooth the Edges: After trimming, use the squeegee to smooth the edges of the banner and ensure they are firmly adhered to the windshield.
Post-Installation Care
Proper post-installation care will prolong the life of your windshield banner and keep it looking its best.
- Avoid Washing for 24-48 Hours: Allow the adhesive to fully cure before washing your vehicle.
- Hand Wash Only: When washing your vehicle, avoid using high-pressure washers on the banner. Hand washing is recommended.
- Avoid Harsh Chemicals: Do not use harsh chemicals or abrasive cleaners on the banner, as these can damage the vinyl.
- Protect from UV Exposure: Prolonged exposure to direct sunlight can fade the banner over time. Consider parking your vehicle in a shaded area when possible.
By following these detailed steps, you can achieve a professional windshield banner installation that enhances your vehicle's appearance and lasts for years to come. Remember to take your time, pay attention to detail, and use high-quality materials for the best results.
Disclaimer: Local laws regarding windshield banners vary. Always check your local regulations before installing a banner to ensure compliance. Incorrect installation or illegal banners may result in fines.