Auto To Manual Conversion Kit 240sx
The Nissan 240SX, a beloved platform for drifting and modification, often finds itself under the knife for various performance upgrades. One of the most popular, and sometimes necessary, modifications is converting the factory automatic transmission to a manual. While seemingly straightforward, an auto-to-manual swap involves a complex interplay of mechanical and electrical systems. This guide delves into the intricacies of an auto-to-manual conversion kit for the 240SX, providing a technical overview of the components and considerations involved.
Understanding the Need for Conversion
Before diving into the components, it's crucial to understand why enthusiasts opt for this conversion. Automatic transmissions, while convenient, often lack the direct control and responsiveness desired for performance driving. They also tend to be less durable under increased power. A manual transmission offers greater control over engine RPM, allowing for more aggressive acceleration, precise gear selection for cornering, and overall enhanced driving experience. Furthermore, manual transmissions are generally simpler to work on and rebuild than their automatic counterparts. However, it's not just about performance; reliability and the lifespan of a swapped engine may also be a factor.
A well-maintained manual transmission can often outlast a heavily modified automatic.
Components of a Typical Auto-to-Manual Conversion Kit
A comprehensive auto-to-manual conversion kit typically includes the following crucial components:
Transmission
The heart of the conversion. Usually a Nissan 5-speed manual transmission from another 240SX or compatible model like a 300ZX (with appropriate modifications) is used. The transmission needs to be in good working order, with synchros that engage smoothly and no excessive gear noise. Careful inspection and potential rebuilding are recommended before installation. Consider gear ratios; different transmissions may offer varying gear ratios that can impact acceleration and top speed.
Clutch Kit
This includes the clutch disc, pressure plate, and throwout bearing. The clutch disc transfers power from the engine to the transmission. The pressure plate provides the clamping force necessary to engage the clutch. The throwout bearing (also called a release bearing) pushes on the pressure plate to disengage the clutch. Selecting a clutch kit appropriate for your engine's horsepower and torque output is essential. Upgrading to a stronger clutch is often necessary for modified engines.
Flywheel
The flywheel is a heavy disc that bolts to the crankshaft and provides a surface for the clutch to engage. It also helps to smooth out engine vibrations. Auto 240SX's will typically not have a flywheel. A manual transmission flywheel must be used. Ensure the flywheel is balanced and in good condition, with no signs of cracking or excessive wear. Some kits offer lightweight flywheels, which can improve engine response but may also increase vibration.
Pilot Bushing/Bearing
This small bushing or bearing sits in the end of the crankshaft and supports the input shaft of the transmission. It is essential to replace the pilot bushing/bearing during the conversion, as a worn or damaged one can cause transmission damage.
Transmission Mount
The transmission mount secures the transmission to the chassis. Auto and manual 240SX's use different transmission mounts. The kit will often include a new transmission mount appropriate for the manual transmission being used. Verify the mount is compatible with your chassis and transmission. Polyurethane mounts offer increased stiffness and durability, but can also transmit more vibration into the cabin.
Driveshaft
The driveshaft connects the transmission to the differential. The driveshaft length differs between automatic and manual 240SX models. The kit will typically include a manual transmission driveshaft. Check the driveshaft for any signs of damage or wear, such as bent yokes or worn U-joints.
Clutch Master Cylinder and Slave Cylinder
These hydraulic cylinders operate the clutch. The master cylinder is located under the dashboard and is activated by the clutch pedal. The slave cylinder is located on the transmission and pushes on the clutch fork to disengage the clutch. A manual transmission car will come with these already, so they will need to be installed in the auto car. Inspect these cylinders for leaks and ensure they are properly bled after installation. Upgrading to stainless steel clutch lines can improve pedal feel and responsiveness.
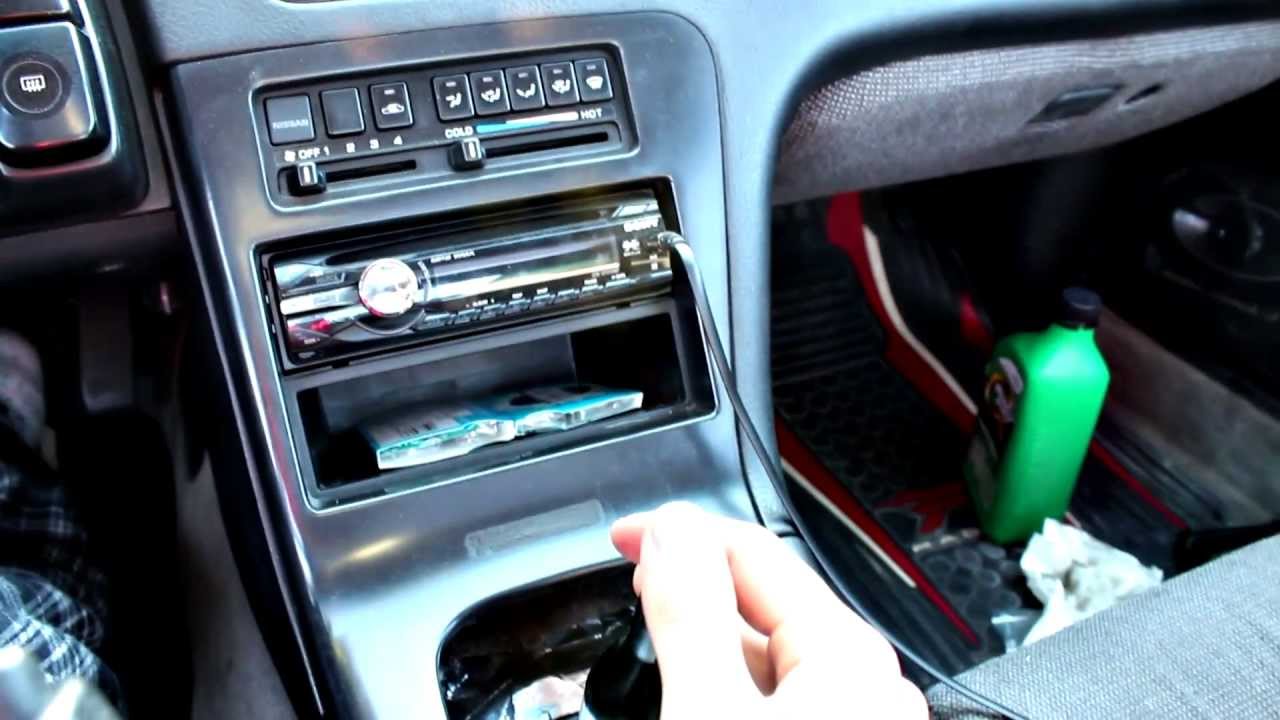
Clutch Pedal Assembly
The clutch pedal assembly includes the pedal, linkage, and mounting bracket. This needs to be installed, as an auto car will not have a clutch pedal. Ensure the pedal moves smoothly and freely, and that the linkage is properly adjusted.
Shifter Assembly
This includes the shifter, shift linkage, and shift knob. Different shifter options are available, including short shifters, which reduce the throw between gears. A short shifter can provide a more precise and responsive shifting experience.
ECU (Engine Control Unit) Considerations
This is where the conversion gets tricky. The automatic transmission ECU controls the transmission based on various sensor inputs. When converting to a manual, the automatic transmission ECU needs to be bypassed or replaced. There are several options:
- Manual ECU Swap: The cleanest solution is to swap to a manual transmission ECU. This requires finding a manual transmission ECU compatible with your engine and wiring harness.
- ECU Reprogramming: Some companies offer ECU reprogramming services that can disable the automatic transmission control functions. This is a good option if you want to retain the factory ECU.
- Wiring Modifications: This involves modifying the wiring harness to trick the ECU into thinking the automatic transmission is still present, or to eliminate the need for the automatic transmission signals. This can be a complex and time-consuming process.
Proper ECU management is crucial for correct engine operation and to avoid error codes. Failing to address the ECU can result in reduced power, poor fuel economy, and other drivability issues. An additional consideration is the neutral safety switch wiring. An automatic car uses this switch to prevent starting in gear. This needs to be bypassed or re-wired in order for the manual swap to start reliably.
Wiring Harness Modifications
Besides the ECU, other wiring modifications may be necessary. For example, the reverse lights are typically wired through the automatic transmission control module. The reverse light wiring needs to be re-routed to the manual transmission switch. Also, the cruise control system may need modifications, depending on the model year.
Miscellaneous Hardware
The kit should include all the necessary bolts, nuts, washers, and other small hardware required for the conversion. Double-check that all hardware is included before starting the installation.
Installation Considerations
The auto-to-manual conversion is a complex project that requires mechanical aptitude, patience, and the proper tools. It's highly recommended to have a repair manual specific to your 240SX model. Safety is paramount; always disconnect the battery before working on the electrical system. Here are some key installation considerations:
- Preparation: Gather all the necessary tools and parts before starting. Thoroughly clean the engine bay and transmission tunnel.
- Removal of Automatic Transmission: This involves disconnecting all the wiring, fluid lines, and linkages, then removing the transmission mount and driveshaft. Support the engine with a jack or engine support bar.
- Installation of Manual Transmission Components: This involves installing the clutch pedal assembly, master cylinder, transmission, driveshaft, and other components. Ensure all components are properly aligned and torqued to the manufacturer's specifications.
- Wiring Modifications: Carefully follow the wiring diagrams and instructions to modify the wiring harness and connect the necessary wires.
- Bleeding the Clutch: Properly bleed the clutch hydraulic system to remove any air bubbles.
- Testing and Adjustment: After installation, test the clutch, shifter, and reverse lights. Adjust the clutch pedal free play as needed.
Potential Challenges and Troubleshooting
Even with a complete kit and meticulous installation, challenges may arise. Here are some common issues:
- Clutch Drag: This occurs when the clutch does not fully disengage, making it difficult to shift gears. Potential causes include air in the hydraulic system, a worn or damaged clutch disc, or an improperly adjusted clutch pedal.
- Shifting Difficulty: This can be caused by worn synchros, a bent shift linkage, or an improperly adjusted shifter.
- Vibrations: Excessive vibrations can be caused by an unbalanced flywheel, a worn driveshaft, or a damaged transmission mount.
- Error Codes: Engine error codes can be caused by incorrect wiring modifications or issues with the ECU.
Troubleshooting these issues may require specialized tools and knowledge. Consult with experienced mechanics or online forums for assistance.
Conclusion
The auto-to-manual conversion is a rewarding upgrade that can significantly enhance the driving experience of a 240SX. While it requires significant effort and technical expertise, the increased control, performance, and potential reliability make it a worthwhile endeavor for many enthusiasts. By understanding the components involved, following proper installation procedures, and addressing potential challenges, you can successfully transform your 240SX into a true driver's car. Remember to prioritize safety and seek professional help when needed.