Battery For 2009 Nissan Maxima
So, you're looking to replace the battery in your 2009 Nissan Maxima. Good choice – a healthy battery is crucial for reliable starting and overall electrical system performance. This guide dives deep into the specifics you need to know, covering everything from selecting the right battery group size to performing the installation safely and efficiently. We'll skip the fluff and get right to the technical details.
Understanding the 2009 Maxima's Battery Requirements
The 2009 Nissan Maxima typically uses a Group Size 35 battery. This is the standard recommendation, but it's always best to double-check your owner's manual or the existing battery's label to confirm. Group sizes are standardized by the Battery Council International (BCI) and define the battery's physical dimensions, terminal placement, and general performance characteristics.
Here's why Group Size 35 is usually the right choice:
- Physical Fit: Group 35 batteries are designed to fit perfectly into the Maxima's battery tray and utilize the existing mounting hardware. This is critical for secure placement and preventing movement, which can damage the battery and surrounding components.
- Cold Cranking Amps (CCA): CCA is a measure of a battery's ability to deliver a high current at low temperatures (typically 0°F or -18°C). The 2009 Maxima, especially in colder climates, needs a battery with sufficient CCA to crank the engine reliably. A Group 35 battery usually offers a CCA rating between 620 and 750, which is generally adequate.
- Reserve Capacity (RC): RC indicates how long a fully charged battery can supply a constant current (usually 25 amps) before its voltage drops below a usable level. This is important if your alternator fails, allowing you to drive for a limited time using only the battery's power. Look for an RC of at least 90 minutes.
While Group 35 is the standard, you might consider a slightly larger battery like a Group 24F if you live in a very cold climate or have added significant electrical accessories (e.g., a powerful aftermarket sound system). A Group 24F offers increased CCA and RC, but ensure it physically fits in the battery tray before purchasing. Minor modifications might be necessary.
Choosing the Right Battery Type
Batteries aren't all created equal. For the 2009 Maxima, you'll primarily encounter the following types:
- Flooded Lead-Acid (Wet Cell): This is the most common and typically the least expensive type. They contain liquid electrolyte and require occasional topping off with distilled water. While affordable, they're more prone to corrosion and have a shorter lifespan compared to other types.
- AGM (Absorbent Glass Mat): AGM batteries are a type of sealed lead-acid battery. The electrolyte is absorbed into a fiberglass mat, making them spill-proof, vibration-resistant, and maintenance-free. They offer better performance in cold weather and generally have a longer lifespan than flooded batteries. However, they are more expensive. AGM batteries are a solid upgrade for the Maxima.
- EFB (Enhanced Flooded Battery): EFB batteries are an improvement over standard flooded batteries. They offer better cycling performance (ability to handle frequent charging and discharging) and improved charge acceptance. They are a good middle ground between flooded and AGM batteries in terms of price and performance.
For a 2009 Maxima, especially if you plan to keep the car for a while, an AGM battery is highly recommended. The increased lifespan, improved performance, and maintenance-free design justify the higher initial cost.
Preparing for Battery Replacement
Before you start, gather the necessary tools and safety equipment:
- New Battery: Group Size 35 (or 24F if appropriate), with the desired CCA and RC ratings.
- Wrench Set: Typically 10mm and 13mm wrenches for terminal clamps and hold-down hardware.
- Socket Set: Similar sizes to the wrench set might be needed.
- Battery Terminal Cleaner: To clean corrosion from the terminals.
- Battery Terminal Protector: To prevent future corrosion.
- Gloves: To protect your hands from acid and dirt.
- Safety Glasses: To protect your eyes.
- Memory Saver (Optional): A device that plugs into the cigarette lighter or OBD II port to maintain the car's computer settings (radio presets, etc.) while the battery is disconnected.
- Rags or Paper Towels: For cleaning.
Safety First! Ensure the car is parked on a level surface, the engine is off, and the parking brake is engaged. Disconnect any accessories that are plugged into the cigarette lighter or other power outlets.
Step-by-Step Battery Replacement Process
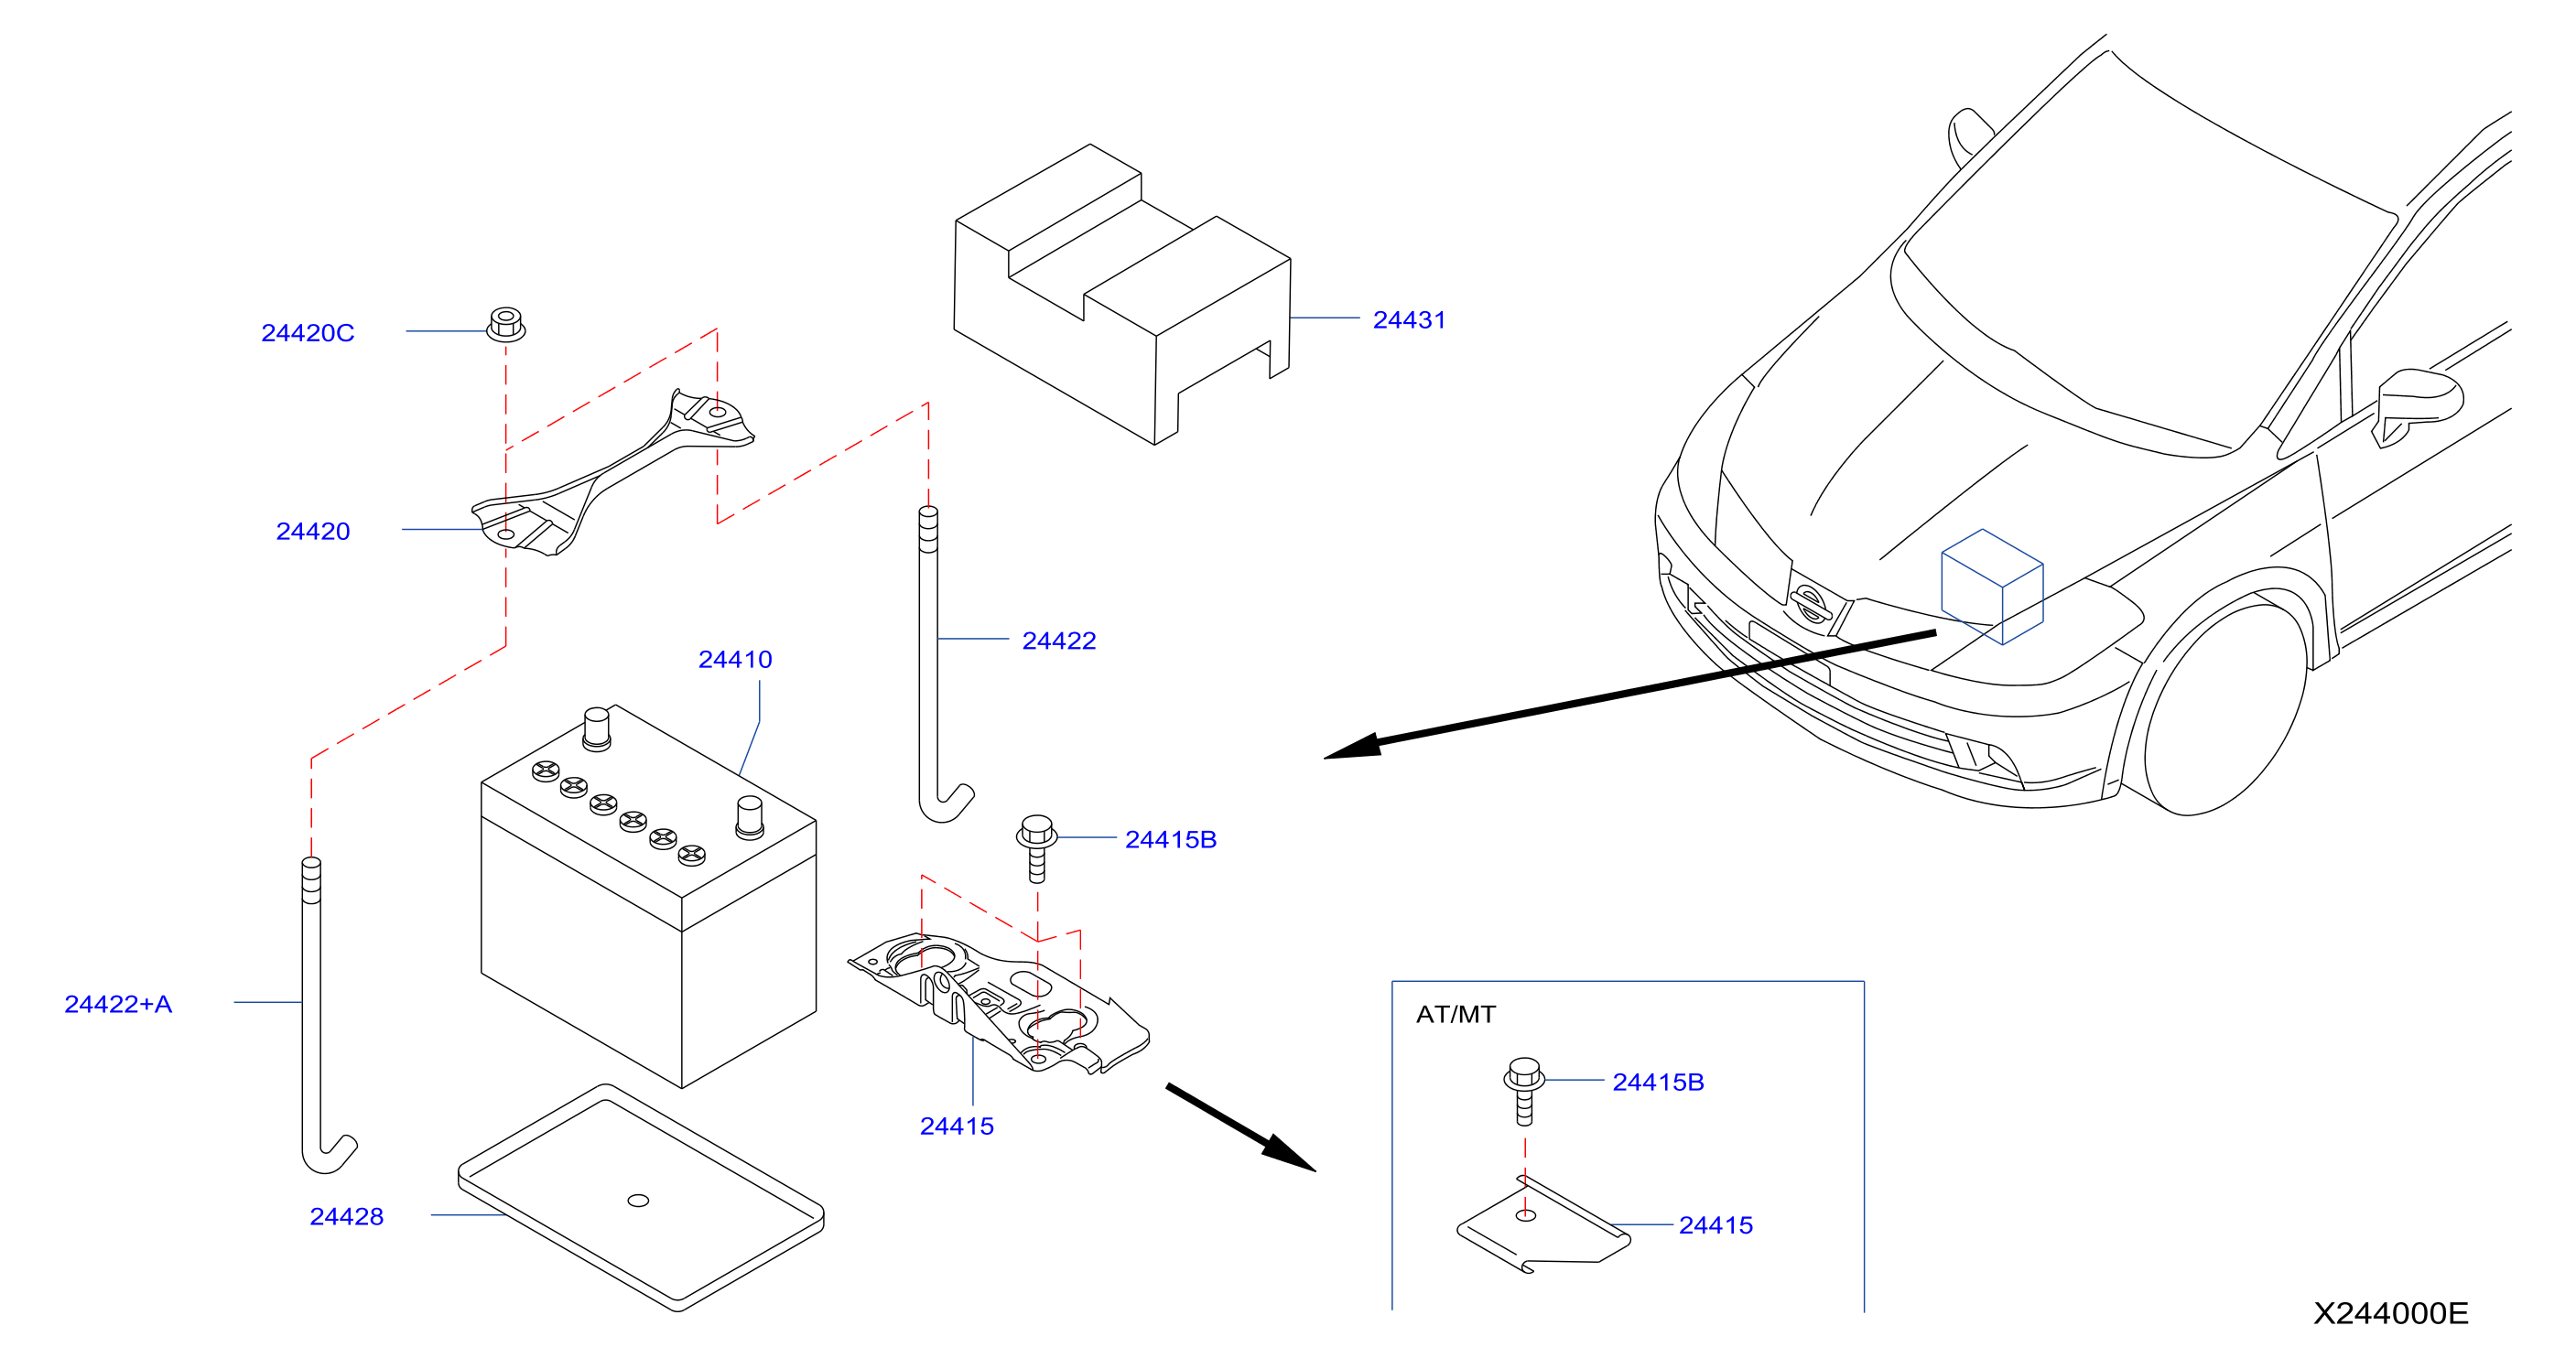
- Locate the Battery: In the 2009 Maxima, the battery is typically located under the hood, usually on either the driver's or passenger's side.
- Disconnect the Negative Terminal: Using the appropriate wrench (usually 10mm), loosen the nut on the negative (-) terminal clamp. Carefully remove the clamp from the terminal. Tuck it away so it doesn't accidentally contact the terminal. This is crucial to prevent short circuits.
- Disconnect the Positive Terminal: Repeat the process for the positive (+) terminal. Again, tuck the clamp away to prevent accidental contact.
- Remove the Battery Hold-Down: The battery is usually secured by a hold-down clamp or strap. Remove the hardware holding it in place. This might involve removing bolts, wing nuts, or a strap with a buckle.
- Lift Out the Old Battery: Carefully lift the battery out of the tray. Batteries can be heavy, so use caution. Keep it upright to avoid spilling any acid (especially important with flooded batteries).
- Clean the Battery Tray and Terminals: Use a wire brush or battery terminal cleaner to remove any corrosion from the battery tray and terminal clamps. Clean the battery terminals thoroughly. A clean connection is essential for optimal performance.
- Install the New Battery: Carefully lower the new battery into the tray, ensuring it's oriented correctly.
- Secure the Battery Hold-Down: Reinstall the hold-down clamp or strap, ensuring the battery is securely fastened.
- Connect the Positive Terminal: Reattach the positive (+) terminal clamp to the positive terminal. Tighten the nut securely.
- Connect the Negative Terminal: Reattach the negative (-) terminal clamp to the negative terminal. Tighten the nut securely.
- Apply Terminal Protector: Apply a thin coat of battery terminal protector to both terminals to prevent future corrosion.
- Double-Check Connections: Ensure all connections are tight and secure.
Post-Installation Checks and Tips
- Start the Engine: After connecting the new battery, start the engine to ensure it's working properly.
- Check Electrical Systems: Test the headlights, taillights, turn signals, radio, and other electrical accessories to ensure they are functioning correctly.
- Reset Electronic Devices: If you didn't use a memory saver, you might need to reset your radio presets, clock, and other electronic settings.
- Dispose of the Old Battery Properly: Take the old battery to a local auto parts store or recycling center for proper disposal. Batteries contain hazardous materials and should not be thrown in the trash.
Troubleshooting Common Issues
Even with careful installation, you might encounter some issues:
- Car Won't Start: Double-check the battery connections to ensure they are clean and tight. Also, verify that the battery has sufficient charge. If the car still won't start, there may be other underlying issues with the starting system (e.g., starter motor, solenoid).
- Loose Battery Terminals: If the terminal clamps don't tighten properly, you might need to replace them. Loose terminals can cause intermittent starting problems and damage the battery.
- Check Engine Light: Disconnecting the battery can sometimes trigger a check engine light. This might clear itself after a few driving cycles. If it doesn't, you might need to use an OBD II scanner to read the code and diagnose the problem.
Important Note: Working with automotive batteries involves handling potentially hazardous materials (acid). Always wear safety glasses and gloves. If acid comes into contact with your skin or eyes, flush immediately with plenty of water and seek medical attention if necessary.
Replacing the battery in your 2009 Nissan Maxima is a straightforward process that most DIYers can handle. By understanding the battery requirements, choosing the right type, and following these steps carefully, you can ensure a reliable starting system and extend the life of your electrical components. Remember, if you're uncomfortable performing any of these steps, it's always best to consult with a qualified mechanic.