Coilover Suspension Selection And Installation For A 1992 Nissan 240sx
The Nissan 240SX, particularly the S13 chassis produced from 1989-1994, has become an icon. Revered for its lightweight construction, rear-wheel drive configuration, and inherent tunability, it's a favorite among drifters, track enthusiasts, and weekend warriors alike. One of the most impactful upgrades you can make to an S13 is a coilover suspension. But selecting the right coilover and installing it correctly requires more than just bolting on parts. This guide delves into the technical aspects of coilover selection and installation for a 1992 240SX, providing a foundation for informed decision-making and proper execution.
Understanding Coilover Functionality
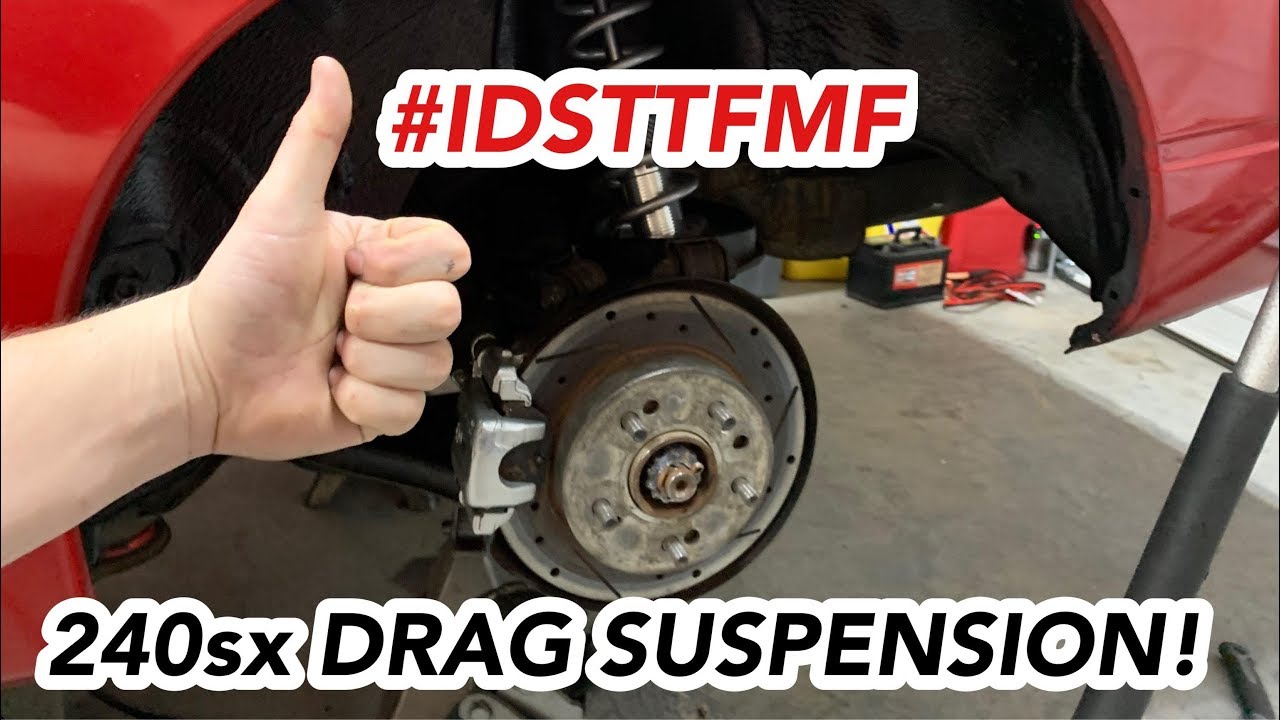
Before diving into specific recommendations, let's dissect the mechanics of a coilover. A coilover, short for "coil-over-shock," is a suspension assembly that combines the coil spring and shock absorber into a single unit. This design offers several advantages over the stock separate spring and shock setup, including adjustable ride height, customizable damping characteristics, and often, improved handling performance.
Key Components:
- Coil Spring: The spring's primary function is to support the vehicle's weight and absorb bumps. Spring rate, measured in pounds per inch (lbs/in) or kilograms per millimeter (kg/mm), determines how much force is required to compress the spring one inch or millimeter. A higher spring rate means a stiffer suspension, reducing body roll but potentially compromising ride comfort.
- Shock Absorber (Damper): The shock absorber controls the motion of the spring. It dampens oscillations, preventing the car from bouncing excessively after encountering a bump. Dampers utilize hydraulic fluid forced through valves. The size and configuration of these valves control the damping force.
- Adjustable Ride Height: Coilovers allow for ride height adjustments by changing the position of the spring perch, the platform upon which the spring sits. This allows you to fine-tune the car's center of gravity and achieve your desired stance.
- Adjustable Damping: Many coilovers offer adjustable damping, allowing you to modify the shock absorber's resistance to compression (bump) and rebound (extension). This provides precise control over the car's handling characteristics. Adjustments are typically made via knobs or dials that control the valve openings within the damper.
- Camber Plates (Optional): Some coilover kits include camber plates, which replace the upper strut mounts and allow for adjustments to camber angle. Camber is the angle of the wheel relative to the vertical, and adjusting it can improve cornering grip.
Coilover Selection Criteria for a 1992 240SX
Choosing the right coilover for your 240SX depends on your intended use. Factors to consider include:
Intended Use:
- Street Driving: Prioritize ride comfort and noise reduction. Look for coilovers with lower spring rates and dampers designed for comfortable compliance. Adjustable damping is still beneficial for fine-tuning.
- Track Days: Higher spring rates and more aggressive damping are necessary to minimize body roll and maintain control at high speeds. Adjustable damping is crucial for adapting to different track conditions.
- Drifting: A balance between stiffness and compliance is needed. Stiffer springs in the front can help initiate slides, while softer springs in the rear provide better traction. Adjustable damping is essential for controlling the car's behavior during drifts.
- Drag Racing: Focus on weight transfer to the rear wheels during acceleration. Softer rear springs can improve traction, while stiffer front springs can prevent excessive nose dive.
Spring Rate Selection:
Selecting the correct spring rate is critical. Too soft, and the car will exhibit excessive body roll and bottom out easily. Too stiff, and the ride will be harsh, and the car may lose traction on bumpy surfaces. A general guideline for a 240SX is:
- Street: 6-8 kg/mm front, 4-6 kg/mm rear
- Track/Drift: 8-12 kg/mm front, 6-10 kg/mm rear
These are just starting points. You may need to adjust based on your specific driving style and preferences.
Damper Adjustability:
Invest in coilovers with adjustable damping. Single-adjustable dampers allow you to adjust both compression and rebound simultaneously. Double-adjustable dampers offer independent control over compression and rebound, providing greater flexibility in tuning the suspension. Triple-adjustable dampers add a third adjustment for low-speed compression, offering even finer control. For most applications, single- or double-adjustable dampers will suffice.
Build Quality and Reputation:
Research different brands and read reviews. Look for coilovers made from high-quality materials with robust construction. Consider brands known for their reliability and performance. Don't automatically assume the most expensive option is always the best. Consider your specific needs and budget.
Spring Preload:
Spring preload is the amount of compression applied to the spring when the suspension is at full droop. Adjusting preload affects ride height but *doesn't* change the spring rate. Excessive preload can reduce suspension travel and negatively impact ride quality. Most coilovers have markings to ensure equal preload on both sides of the vehicle.
Coilover Installation Guide (Simplified)
Warning: Suspension work can be dangerous. If you are not comfortable working on your car's suspension, have a qualified mechanic perform the installation.
Tools Required:
- Jack and jack stands
- Wheel chocks
- Socket set (metric)
- Wrench set (metric)
- Torque wrench
- Spring compressor (may be needed for removing stock struts)
- Penetrating oil
- Alignment tools (optional but highly recommended)
Installation Steps:
- Preparation: Park the car on a level surface, engage the parking brake, and chock the rear wheels. Loosen the lug nuts on the wheels you will be removing.
- Raising the Vehicle: Jack up the car and support it securely with jack stands. Never work under a vehicle supported only by a jack.
- Removing the Old Struts/Shocks: Disconnect any brake lines, ABS sensors, or sway bar end links that are attached to the struts/shocks. Spray penetrating oil on any rusted or corroded bolts. Carefully remove the bolts securing the strut/shock to the hub and the upper strut mount. Use a spring compressor if necessary to safely remove the spring from the old strut.
- Installing the Coilovers: Install the new coilover in the reverse order of removal. Ensure the coilover is properly seated in the hub and that the upper mount is securely fastened. Reconnect any brake lines, ABS sensors, and sway bar end links.
- Ride Height Adjustment: Adjust the ride height to your desired setting. Measure from a consistent point on the chassis (e.g., fender lip) to the ground to ensure both sides are even. Remember that adjusting ride height also affects the suspension geometry.
- Torque Specifications: Torque all bolts to the manufacturer's specifications. Refer to a service manual for the correct torque values.
- Repeat for all corners: Repeat steps 2-6 for the remaining three corners of the car.
- Lowering the Vehicle: Carefully lower the car to the ground and remove the jack stands.
- Wheel Tightening: Torque the lug nuts to the manufacturer's specifications.
- Alignment: A wheel alignment is absolutely essential after installing coilovers. Take the car to a reputable alignment shop to have the alignment properly adjusted. This will ensure optimal handling and prevent premature tire wear.
- Damping Adjustment: Once the car is aligned, experiment with the damping settings to find the optimal balance between ride comfort and handling performance. Start with the dampers set to the middle of their range and adjust in small increments.
Important Considerations:
- Preload Adjustment: Avoid excessive spring preload, as it can limit suspension travel.
- Bump Stop Clearance: Ensure that there is adequate clearance between the bump stops and the chassis. Trim the bump stops if necessary.
- Sway Bar End Link Length: Adjustable sway bar end links may be necessary to eliminate sway bar preload, especially if you have significantly lowered the car.
- Brake Line Routing: Check the routing of the brake lines to ensure they are not rubbing against any suspension components.
- After Installation Inspection: After driving the car for a short distance, re-torque all bolts to ensure they remain secure.
Conclusion
Upgrading to coilovers can dramatically improve the handling and appearance of your 1992 Nissan 240SX. However, it's crucial to select the right coilovers for your intended use and install them correctly. By understanding the principles of suspension design and following the guidelines outlined in this guide, you can achieve a suspension setup that meets your specific needs and enhances your driving experience. Remember to prioritize safety and consult with a qualified mechanic if you have any doubts about the installation process. Good luck, and happy tuning!