Coupe Fender Flare Fitment And Body Modification Techniques
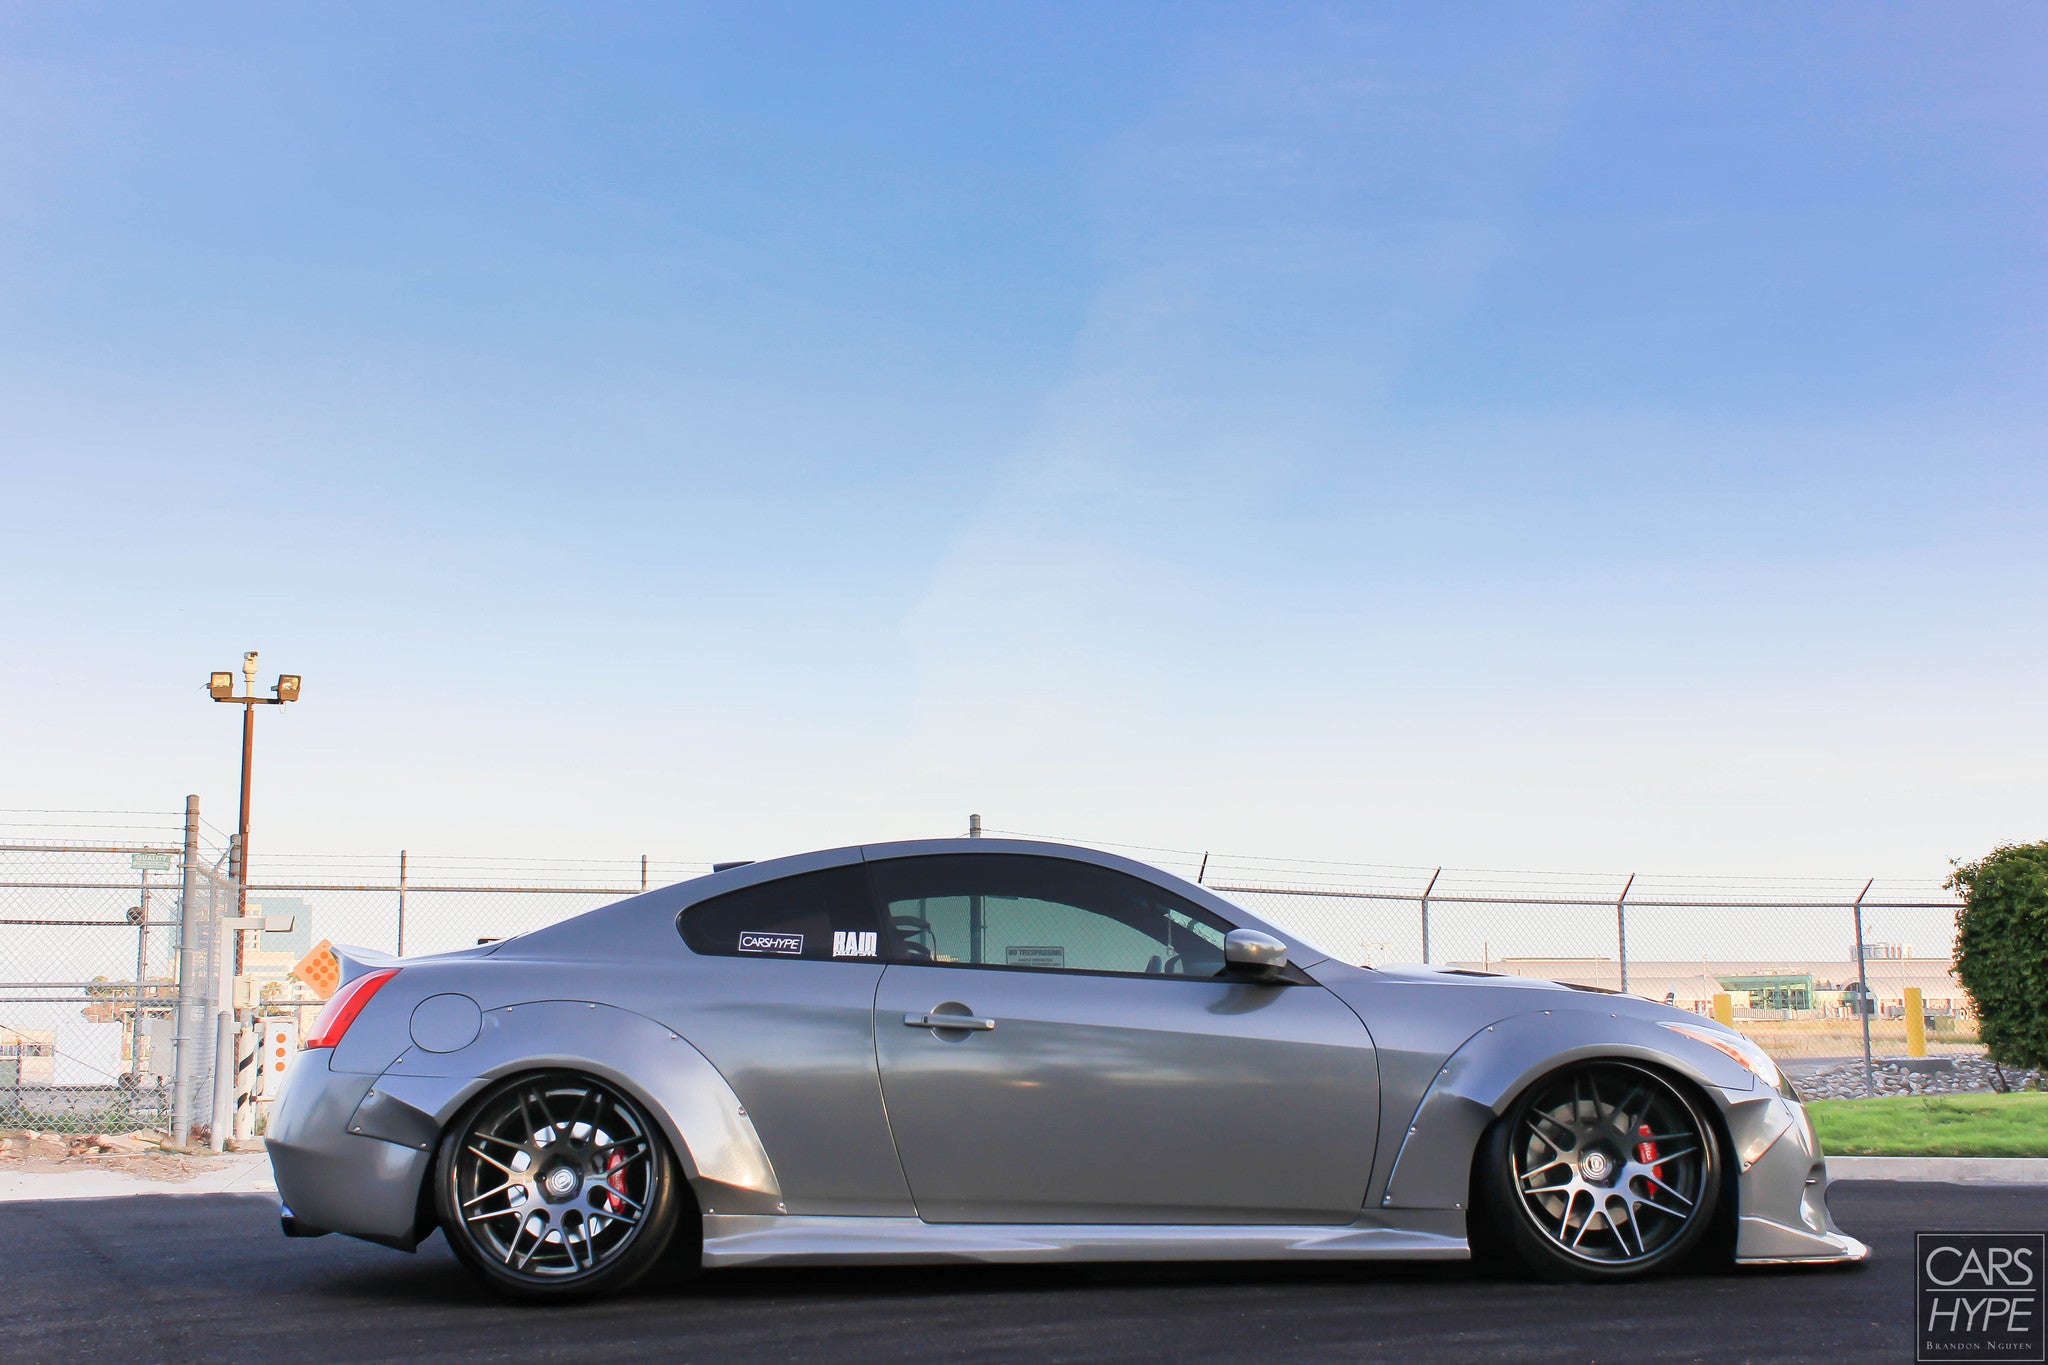
So, you're thinking about adding fender flares to your coupe? Excellent choice! They can drastically improve your car's stance, accommodate wider wheels and tires, and give it a more aggressive look. But before you go diving in, it's crucial to understand the fitment process and the body modification techniques involved. This isn't a bolt-on-and-forget kind of job. It requires careful planning, precision, and a good understanding of automotive bodywork.
Understanding Fender Flares and Fitment
First, let's define what we're talking about. Fender flares are essentially extensions added to the existing fenders to increase wheel well clearance. They come in various materials, including fiberglass, polyurethane (PU), and sometimes even metal. The material you choose will influence the installation methods and the level of effort required.
Types of Fender Flares
- Bolt-On Flares: These are the easiest to install, as the name suggests. They typically use existing fender mounting points or require minimal drilling. Fitment can be less precise than other options.
- Adhesive Flares: Rely on strong automotive-grade adhesive for attachment. Good for a clean look, but surface preparation is critical for long-term adhesion.
- Weld-On Flares: Offer the most secure and integrated look. They require welding to the existing fender, demanding advanced skill and specialized equipment. Welding causes heat which can warp and damage paint.
- Over-Fenders (Widebody Kits): These are larger, more aggressive flares that often necessitate significant cutting and modification of the original fenders. They're essentially a whole new fender section.
Before you even think about cutting or drilling, you need to assess the fitment. This means holding the flares up to your fenders and checking how they align with the body lines. Look for any significant gaps or discrepancies. Different manufacturers have different tolerances, so even flares advertised as "direct fit" may require some tweaking.
Key considerations during fitment:
- Offset and Wheel/Tire Size: The whole point of flares is to accommodate wider wheels and tires. Make sure your chosen flares provide enough clearance for your desired setup. Calculate your wheel offset carefully. This is the distance from the wheel's center line to its mounting surface. A lower offset pushes the wheel further outwards.
- Body Lines: The flares should flow seamlessly with the existing body lines of your car. A poorly fitted flare can look completely out of place.
- Door Clearance: Check that the flares don't interfere with the opening and closing of your doors.
- Suspension Travel: Consider your suspension travel. When the suspension compresses, the wheel will move upwards into the wheel well. Ensure there's enough clearance to prevent rubbing.
Body Modification Techniques
Here's where things get technical. Depending on the type of flares you're installing and the desired result, you might need to perform some body modifications. This could range from simple trimming to full-on fender cutting and welding.
Basic Trimming
Even with bolt-on flares, you might need to trim the inner fender liner or the edge of the fender itself to prevent rubbing. This is typically done with a rotary tool (like a Dremel) with a cutting wheel or a specialized fender rolling tool.
Important: Always wear safety glasses and a respirator when cutting or grinding metal. And don't forget to protect the surrounding paintwork with masking tape or a drop cloth.
Fender Rolling and Pulling
Fender rolling involves using a specialized tool to fold the inner lip of the fender upwards, creating more clearance. Fender pulling goes a step further, actually stretching the fender outwards to create even more space. This is typically done with a fender rolling tool and a heat gun. The heat gun helps to make the metal more pliable and prevent cracking. However, excessive heat can damage the paint, so use it sparingly.
Procedure:
- Clean the area thoroughly.
- Apply heat evenly to the fender using a heat gun.
- Use the fender roller to gradually roll or pull the fender. Start with small increments and work your way up.
- Constantly check for any signs of cracking or paint damage.
- Cool the area down slowly after rolling/pulling.
Fender Cutting and Welding
This is the most advanced technique and should only be attempted by experienced welders. It involves cutting away a portion of the existing fender to create even more clearance for the wheels and tires. This is common with over-fenders and widebody kits.
Procedure:
- Precise Marking: Accurately mark the area to be cut. Use the fender flare as a template. Double-check your measurements.
- Cutting: Use a cutting wheel or plasma cutter to carefully cut along the marked lines. Be precise and avoid cutting too much material.
- Welding: Weld the fender flare to the remaining fender section. Use a MIG or TIG welder for best results. Stitch weld to prevent warping.
- Grinding: Grind down the welds to create a smooth, seamless transition.
- Body Filler: Apply body filler (bondo) to smooth out any imperfections.
- Sanding: Sand the body filler to create a smooth, even surface.
- Priming and Painting: Prime and paint the area to match the rest of the car.
Important Considerations for Welding:
- Metal Type: Ensure that the fender flare material is compatible with your car's fender material. Welding dissimilar metals can be problematic.
- Welding Technique: Use a proper welding technique to minimize heat input and prevent warping. Stitch welding is recommended.
- Rust Prevention: After welding, thoroughly clean the area and apply a rust-preventative coating to protect the bare metal.
Surface Preparation is KEY
Regardless of the installation method, proper surface preparation is crucial for a long-lasting and aesthetically pleasing result. This involves:
- Cleaning: Thoroughly clean the fender surface with soap and water, followed by a wax and grease remover.
- Sanding: Sand the area to be bonded or painted to create a good surface for adhesion.
- Priming: Apply a primer to the sanded area to promote adhesion and prevent rust.
Finishing Touches
Once the flares are installed and any necessary body modifications are complete, it's time for the finishing touches. This includes:
- Sealing: Seal any gaps or seams between the flares and the fenders to prevent water and dirt from entering. Automotive seam sealer is your friend.
- Paint Matching: If the flares aren't already painted to match your car, you'll need to have them professionally painted. Accurate color matching is essential.
- Wheel Alignment: After installing wider wheels and tires, it's crucial to get a proper wheel alignment. This will ensure that your car handles correctly and that your tires wear evenly.
Disclaimer: Automotive bodywork can be complex and requires specialized skills and equipment. If you're not comfortable performing these modifications yourself, it's best to consult with a qualified professional.
Adding fender flares can transform the look of your coupe, but it's a project that requires careful planning and execution. By understanding the fitment process, the body modification techniques involved, and the importance of surface preparation, you can achieve a professional-looking result that you'll be proud of. Good luck!