Diagnosis And Replacement Of The Alternator Voltage Regulator In A 240sx
So, your trusty 240SX is giving you some electrical gremlins? Dimming headlights, a battery that keeps dying, or maybe even the dreaded battery light on the dashboard? There’s a good chance your alternator voltage regulator is the culprit. This little component plays a *critical* role in maintaining a stable voltage to keep your car running smoothly. Let's break down how to diagnose a failing voltage regulator and get you back on the road.
Understanding the Voltage Regulator
Before we dive into diagnosis, let's quickly recap what the voltage regulator does. The alternator, driven by the engine, generates electricity. However, the amount of electricity it produces fluctuates with engine speed. The voltage regulator's job is to maintain a consistent output voltage (typically around 13.5-14.5 volts) regardless of how fast the engine is spinning. This stable voltage is essential for charging the battery and powering all the electrical components in your 240SX, from the fuel injectors to the radio.
A failing regulator can lead to two main problems: overcharging or undercharging. Overcharging can damage your battery and sensitive electronics. Undercharging, on the other hand, means your battery isn't getting enough juice, leading to a dead battery and potential issues with other systems.
Symptoms of a Failing Voltage Regulator
Knowing the symptoms can save you a lot of time and potentially prevent further damage. Here's what to look out for:
- Dimming Headlights: This is a classic symptom. When the regulator can't maintain voltage, the headlights will dim, especially at idle. They might brighten slightly as you accelerate.
- Battery Light On: This is a big red flag. While it could indicate a problem with the entire charging system (alternator, wiring, etc.), a faulty regulator is a common cause.
- Dead Battery: A regulator that isn't charging the battery properly will eventually lead to a dead battery, especially if you do a lot of short trips.
- Overcharging: Less common, but equally problematic. If you smell a sulfuric odor coming from the battery, or the battery is excessively hot to the touch, it could be overcharging. This can literally cook your battery.
- Erratic Gauge Readings: Voltmeter or ammeter gauges might fluctuate wildly or give incorrect readings.
- Poor Engine Performance: In some cases, inconsistent voltage can affect engine performance, leading to rough idling or stalling.
Diagnosis: Is it Really the Regulator?
Okay, you're experiencing some of these symptoms. Before you rush out and buy a new voltage regulator, let's make sure that's actually the problem. Here’s a systematic approach:
- Visual Inspection: Start with a visual check. Look for any obvious signs of damage to the alternator, wiring, and battery terminals. Check the alternator belt tension – a loose belt can also cause charging issues.
- Battery Voltage Test: Use a multimeter to check the battery voltage with the engine off. A fully charged battery should read around 12.6 volts. Then, start the engine and check the voltage again. It should be between 13.5 and 14.5 volts. If it's significantly higher or lower, this strongly suggests a regulator problem.
- Load Test: A load test puts a demand on the battery to simulate starting the car. Most auto parts stores will perform a free load test for you. This test checks the battery's ability to hold a charge under load, helping to rule out a bad battery as the culprit.
- Alternator Output Test: This test measures the alternator's output under load. Again, most auto parts stores can perform this test. They'll connect a specialized tester to the alternator and measure its voltage and amperage output. This will help determine if the alternator itself is faulty, or if the regulator is the only problem.
- Voltage Drop Test: This test identifies excessive resistance in the wiring between the alternator, battery, and ground. High resistance can prevent the battery from charging properly. A voltage drop test involves measuring the voltage drop across various wiring connections. A significant voltage drop (more than 0.5 volts) indicates a problem.
Important Note: It's often recommended to test the entire charging system (battery, alternator, and regulator) as a unit. This will give you the most comprehensive picture of what's going on.
Replacement: Getting Your Hands Dirty
Alright, you've diagnosed the problem and confirmed that the voltage regulator is indeed the culprit. Now it's time to replace it. The exact procedure may vary slightly depending on your 240SX's year and specific alternator model, but here's a general outline:
Tools Needed:
- Socket set (metric)
- Wrench set (metric)
- Screwdrivers (Phillips and flathead)
- Multimeter
- Safety glasses
- Gloves
- New voltage regulator (make sure it's the correct one for your alternator!)
- Possibly a small pry bar
Steps:
- Disconnect the Battery: This is absolutely crucial! Disconnect the negative (-) battery cable first, followed by the positive (+) cable. This will prevent any accidental shorts or electrical shocks.
- Locate the Alternator: The alternator is usually located at the front of the engine, driven by a belt.
- Disconnect Wiring: Disconnect all the wiring connected to the alternator. This usually involves removing a nut securing a large wire and unplugging one or two electrical connectors. Take pictures before disconnecting anything! This will help you remember how everything goes back together.
- Remove the Alternator: Loosen the alternator's mounting bolts and remove the belt. You may need to loosen an adjustment bolt to relieve tension on the belt. Once the belt is off, remove the mounting bolts completely and carefully remove the alternator from the engine compartment.
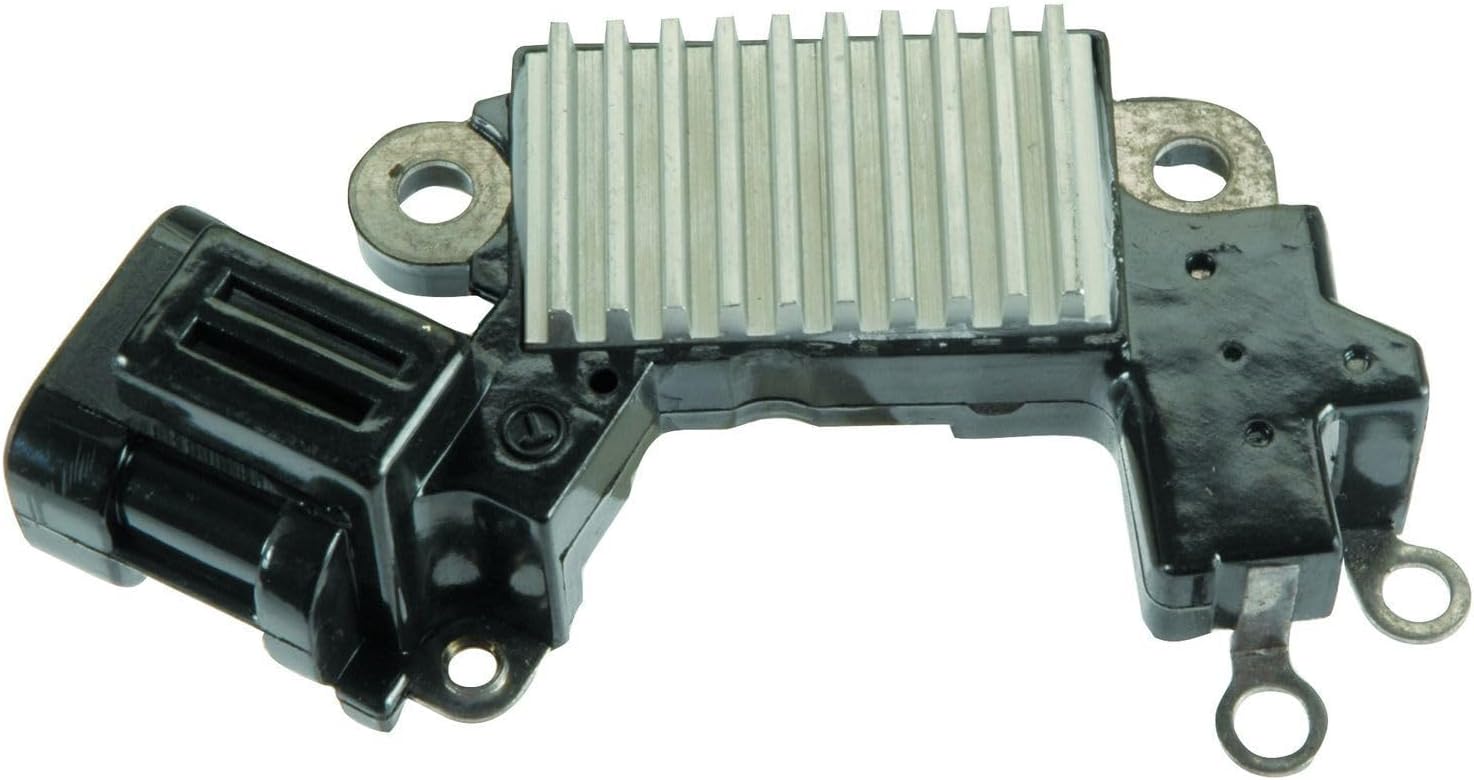
- Access the Voltage Regulator: The voltage regulator is usually located on the back of the alternator. It might be held in place by screws or bolts.
- Remove the Old Regulator: Carefully remove the screws or bolts holding the old regulator in place. Gently pry it out if necessary. Be careful not to damage the alternator housing.
- Install the New Regulator: Install the new voltage regulator, making sure it's properly seated and aligned. Secure it with the screws or bolts.
- Reinstall the Alternator: Reinstall the alternator back into the engine compartment. Tighten the mounting bolts securely.
- Reconnect Wiring: Reconnect all the wiring to the alternator, referring to the pictures you took earlier.
- Reinstall the Belt: Reinstall the alternator belt and adjust the tension to the correct specification.
- Reconnect the Battery: Reconnect the positive (+) battery cable first, followed by the negative (-) cable.
- Start the Engine and Test: Start the engine and check the battery voltage with a multimeter. It should be between 13.5 and 14.5 volts. Also, check that the battery light on the dashboard is off.
Important Considerations:
- Alternator Brushes: While you have the alternator out, consider inspecting the brushes. These carbon brushes wear down over time and can cause charging problems. If they are worn close to the limit, it’s a good idea to replace them. Some voltage regulators include the brushes as part of the assembly.
- Alternator Bearings: Check the alternator bearings for any signs of wear or noise. If the bearings are noisy or rough, it might be time to rebuild the entire alternator.
- Wiring Condition: Carefully inspect the wiring connected to the alternator. Look for any signs of damage, corrosion, or loose connections. Repair or replace any damaged wiring.
Cost Considerations
The cost of replacing a voltage regulator can vary depending on several factors, including the make and model of your 240SX, the brand of the regulator, and whether you're doing the work yourself or having a mechanic do it.
DIY Replacement:
- Voltage Regulator: $20 - $100 (depending on brand and quality)
- Possible core charge on the old regulator (if you're buying a rebuilt unit)
- Tools (if you don't already have them): $20 - $100 (for basic sockets and wrenches)
Professional Replacement:
- Voltage Regulator: $50 - $150
- Labor: $100 - $300 (depending on the shop's hourly rate and the complexity of the job)
- Possible additional charges for diagnosing the problem or replacing other components (e.g., alternator belt)
Total Cost: Expect to pay anywhere from $150 to $450 for a professional voltage regulator replacement. Doing it yourself can save you a significant amount of money, but it requires some mechanical skill and the right tools.
Preventative Maintenance
To prolong the life of your voltage regulator (and the entire charging system), here are a few simple tips:
- Regular Battery Check: Have your battery tested regularly to ensure it's in good condition. A weak battery puts extra strain on the alternator and regulator.
- Keep Battery Terminals Clean: Clean any corrosion from the battery terminals with a wire brush. Corrosion can impede the flow of electricity and cause charging problems.
- Avoid Excessive Electrical Load: Minimize the use of accessories that draw a lot of power, such as high-powered stereos or aftermarket lighting, especially at idle.
- Check Belt Tension: Regularly check the tension of the alternator belt. A loose belt can cause the alternator to slip and not charge the battery properly.
By following these steps, you can successfully diagnose and replace the voltage regulator in your 240SX and keep your electrical system running smoothly for years to come. Good luck, and happy wrenching!