Diagnosis And Replacement Of The Mechanical Fan Clutch On A Nissan 240sx
Alright folks, let's talk about a common issue that can plague your Nissan 240SX, especially as these beauties age: the mechanical fan clutch. It's a seemingly simple component, but when it fails, it can lead to some serious overheating problems. This article will guide you through diagnosing a faulty fan clutch and walk you through the replacement process.
Understanding the Role of the Fan Clutch
First, a quick refresher. Your 240SX's cooling system relies on a radiator to dissipate heat from the engine coolant. At lower speeds, and especially when idling in traffic, the airflow through the radiator might not be enough. That's where the mechanical fan clutch comes in. It's a fluid-filled coupling that sits between the water pump pulley and the cooling fan. When the engine is cold, or the vehicle is moving at higher speeds, the clutch allows the fan to spin freely, reducing noise and parasitic drag on the engine. However, when the temperature rises, the fluid inside the clutch becomes more viscous, causing the fan to engage and draw more air through the radiator, keeping your engine cool.
Diagnosing a Faulty Fan Clutch
The good news is, diagnosing a bad fan clutch is usually pretty straightforward. Here are some tell-tale signs:
- Overheating: This is the most obvious symptom. If your temperature gauge is consistently running hotter than usual, especially at low speeds or when idling, a failing fan clutch is a prime suspect.
- Reduced Engine Performance: A slipping fan clutch can cause the engine to work harder, reducing fuel economy and overall performance. You might notice a lack of power, especially when accelerating from a stop.
- Excessive Fan Noise (or Lack Thereof): A failing clutch can either be constantly engaged, resulting in a loud, roaring fan noise even when the engine is cold, or it can be completely disengaged, meaning the fan isn't pulling any air even when the engine is hot.
- Visible Damage: Inspect the fan clutch for any signs of leakage, cracks, or physical damage. Oily residue around the clutch housing is a strong indicator of a fluid leak, which almost always means the clutch needs replacing.
- The Newspaper Test: This is a quick and easy way to check the fan clutch's engagement. With the engine running and warmed up, carefully roll up a newspaper and try to stop the fan. Be extremely cautious and keep your hands and other body parts away from the fan blades! A properly functioning fan clutch will offer significant resistance, and it should be difficult or impossible to stop the fan completely. If you can easily stop the fan with minimal effort, the clutch is likely slipping and needs to be replaced. Safety first!
Tools and Materials Needed for Replacement
Before you start, gather the necessary tools and materials. Here's a list:
- New Fan Clutch: Make sure you get the correct part for your specific year and model 240SX.
- Wrenches and Sockets: A standard set of metric wrenches and sockets will be needed. You'll likely need a wrench or socket to fit the fan clutch nut (often 36mm or similar).
- Fan Clutch Holding Tool: This is crucial! It's a specialized tool designed to hold the water pump pulley in place while you loosen the fan clutch nut. You can often rent these from auto parts stores. Trying to loosen the nut without this tool can damage the water pump.
- Hammer: For tapping the holding tool or fan clutch nut (use with caution!).
- Screwdrivers: Both flathead and Phillips head screwdrivers may be needed.
- Pliers: For removing any clips or hoses.
- Coolant: You'll likely lose some coolant during the process, so have some on hand to top it off.
- Drain Pan: To catch any spilled coolant.
- Shop Rags: For cleaning up spills and wiping down parts.
- Penetrating Oil: To help loosen stubborn nuts and bolts.
- Safety Glasses: Protect your eyes!
- Gloves: To protect your hands.
Step-by-Step Replacement Guide
Now, let's get to the replacement process. Always disconnect the negative battery cable before starting any work on your car!
- Prepare the Vehicle: Allow the engine to cool completely before starting. Park the car on a level surface and engage the parking brake.
- Drain Coolant (Optional but Recommended): While not always strictly necessary, draining some coolant will minimize the mess when you remove the fan. Locate the drain plug on the bottom of the radiator and open it to drain some coolant into your drain pan.
- Remove the Fan Shroud: The fan shroud is the plastic housing surrounding the fan. It's usually held in place by a few bolts or clips. Remove these and carefully lift the shroud out of the engine bay.
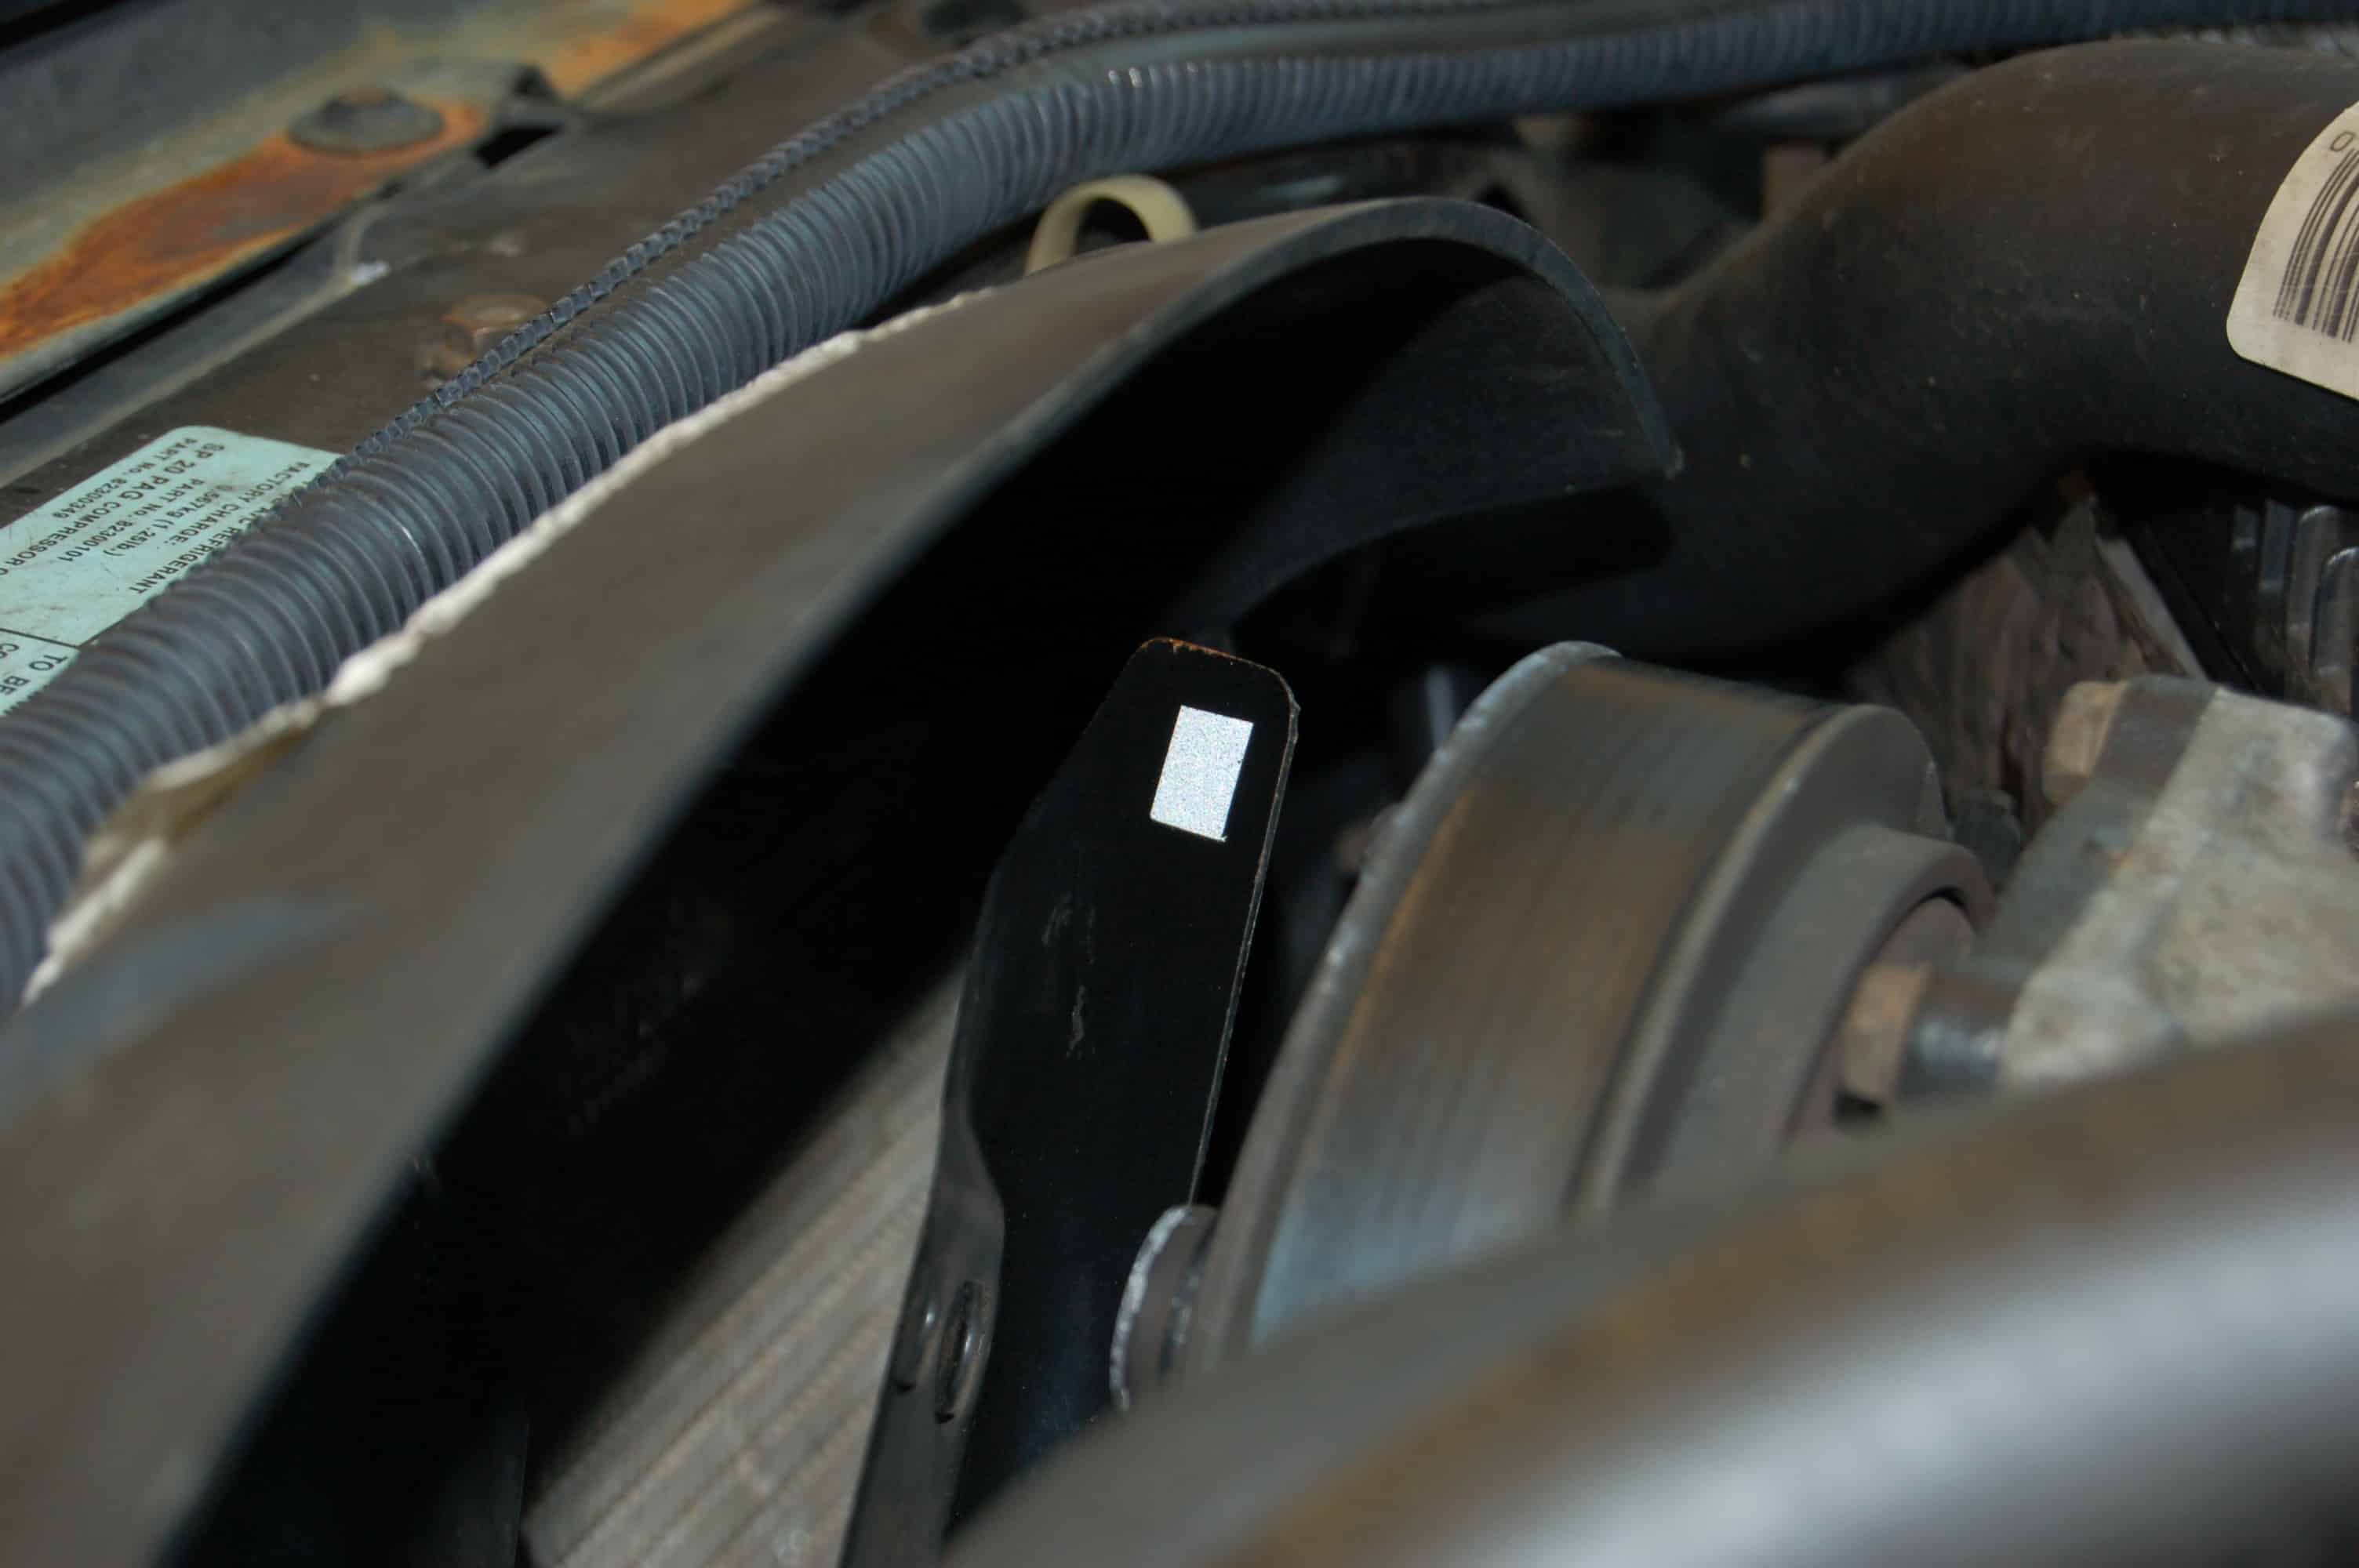
- Secure the Water Pump Pulley: This is where the fan clutch holding tool comes in. Position the tool so that it securely holds the water pump pulley in place. Make sure the tool is properly seated to avoid damaging the pulley.
- Loosen the Fan Clutch Nut: Using the appropriate wrench or socket, loosen the fan clutch nut. Important: The nut usually has a *reverse* thread (left-hand thread). This means you'll need to turn it clockwise to loosen it. Apply penetrating oil if the nut is stubborn, and gently tap the wrench with a hammer if needed.
- Remove the Fan and Clutch Assembly: Once the nut is loose, carefully remove the fan and clutch assembly from the water pump pulley. Be careful not to drop the fan, as it can damage the radiator.
- Separate the Fan (if Necessary): Some fan clutches are sold without the fan blades. If this is the case, you'll need to transfer the fan blades from the old clutch to the new one. This usually involves removing a few bolts.
- Install the New Fan Clutch: Install the new fan clutch onto the water pump pulley. Make sure it's properly aligned.
- Tighten the Fan Clutch Nut: Tighten the fan clutch nut to the manufacturer's recommended torque specification. Again, remember that it's likely a reverse thread, so you'll be turning it counterclockwise to tighten it. Use the fan clutch holding tool to keep the pulley from turning.
- Reinstall the Fan Shroud: Reattach the fan shroud, securing it with the bolts or clips you removed earlier.
- Refill Coolant: If you drained coolant earlier, refill the radiator to the proper level with the appropriate coolant mixture.
- Reconnect Battery: Reconnect the negative battery cable.
- Start the Engine and Check for Leaks: Start the engine and let it idle for a few minutes. Check for any coolant leaks around the fan clutch and water pump. Also, monitor the temperature gauge to ensure the engine is cooling properly.
Important Considerations and Tips
- Torque Specifications: Always refer to your vehicle's service manual for the correct torque specifications for the fan clutch nut and any other bolts you remove.
- Water Pump Condition: While you have the fan clutch removed, take a moment to inspect the water pump for any signs of leakage or damage. If you suspect the water pump is failing, it's a good idea to replace it at the same time.
- Coolant Type: Use the correct type of coolant for your 240SX. Using the wrong coolant can damage your cooling system.
- Safety: Always wear safety glasses and gloves when working on your car. Be careful when working around the engine fan, as it can cause serious injury.
- Difficulty: Replacing a fan clutch is a moderately difficult job. If you're not comfortable working on your car, it's best to take it to a qualified mechanic.
Estimated Repair Costs
The cost of replacing a fan clutch can vary depending on the price of the part and the labor rates in your area. Here's a rough estimate:
- Fan Clutch: $50 - $150 (depending on brand and quality)
- Labor (if you're hiring a mechanic): $100 - $300 (depending on the shop's hourly rate)
So, you're looking at a total cost of around $150 to $450 to have a mechanic replace your fan clutch. Doing it yourself will save you the labor cost, but you'll need to invest in the necessary tools.
In Conclusion
Replacing a fan clutch is a manageable task for the average DIY enthusiast. By following these steps and taking the necessary precautions, you can save yourself some money and keep your 240SX running cool. Remember, if you're unsure about any part of the process, it's always best to consult a qualified mechanic. Good luck, and happy wrenching!