Electric Fan Conversion Thermodynamic Analysis For 240sx
Hey 240SX enthusiasts! Let's talk about a common upgrade and potential problem solver: the electric fan conversion. Many owners ditch the stock clutch fan setup for electric fans, aiming for improved throttle response, a slight horsepower gain, and better cooling efficiency, especially in hot climates. However, a poorly executed conversion can lead to overheating issues and other headaches. Let's break down the thermodynamic considerations and ensure your swap is a success.
The Allure of Electric Fans: Why Bother?
The factory clutch fan is a mechanically driven component. It spins based on engine RPM, and the clutch engages based on temperature. This means it's always consuming some engine power, even when full cooling isn't necessary. Electric fans, on the other hand, only run when needed, typically triggered by a temperature sensor. This translates to:
- Slightly improved throttle response: Less parasitic drag on the engine.
- Potential horsepower gains (minimal): Again, due to reduced drag. Think single-digit horsepower increase, if any.
- Improved cooling at low speeds/idle: Electric fans can maintain consistent airflow regardless of engine RPM, a crucial benefit in stop-and-go traffic.
- More space in the engine bay: Clearing up room for other modifications or repairs.
The Thermodynamic Pitfalls: Where Things Go Wrong
The key to a successful electric fan conversion isn't just bolting on some fans. It's about understanding the thermodynamic principles at play. Here's where many owners run into trouble:
Insufficient Airflow (CFM Rating)
This is the #1 cause of overheating after an electric fan conversion. The factory fan moves a substantial amount of air. You need to ensure your electric fan(s) can match or exceed that airflow. The magic number often quoted is around 2500-3000 CFM (Cubic Feet per Minute) for a 240SX, especially if you live in a hot climate or track your car. Cheaping out on low-CFM fans is a recipe for disaster. Many aftermarket fans are rated optimistically. Research the CFM rating thoroughly and read reviews before purchasing.
Solution: Do your research! Look for reputable brands known for accurate CFM ratings. Spal, Flex-a-lite, and Mishimoto are popular choices, but there are others. Consider running dual fans for redundancy and increased airflow capacity. If you are unsure, measure the diameter of your stock fan and find electric fans that have a similar diameter and CFM rating.
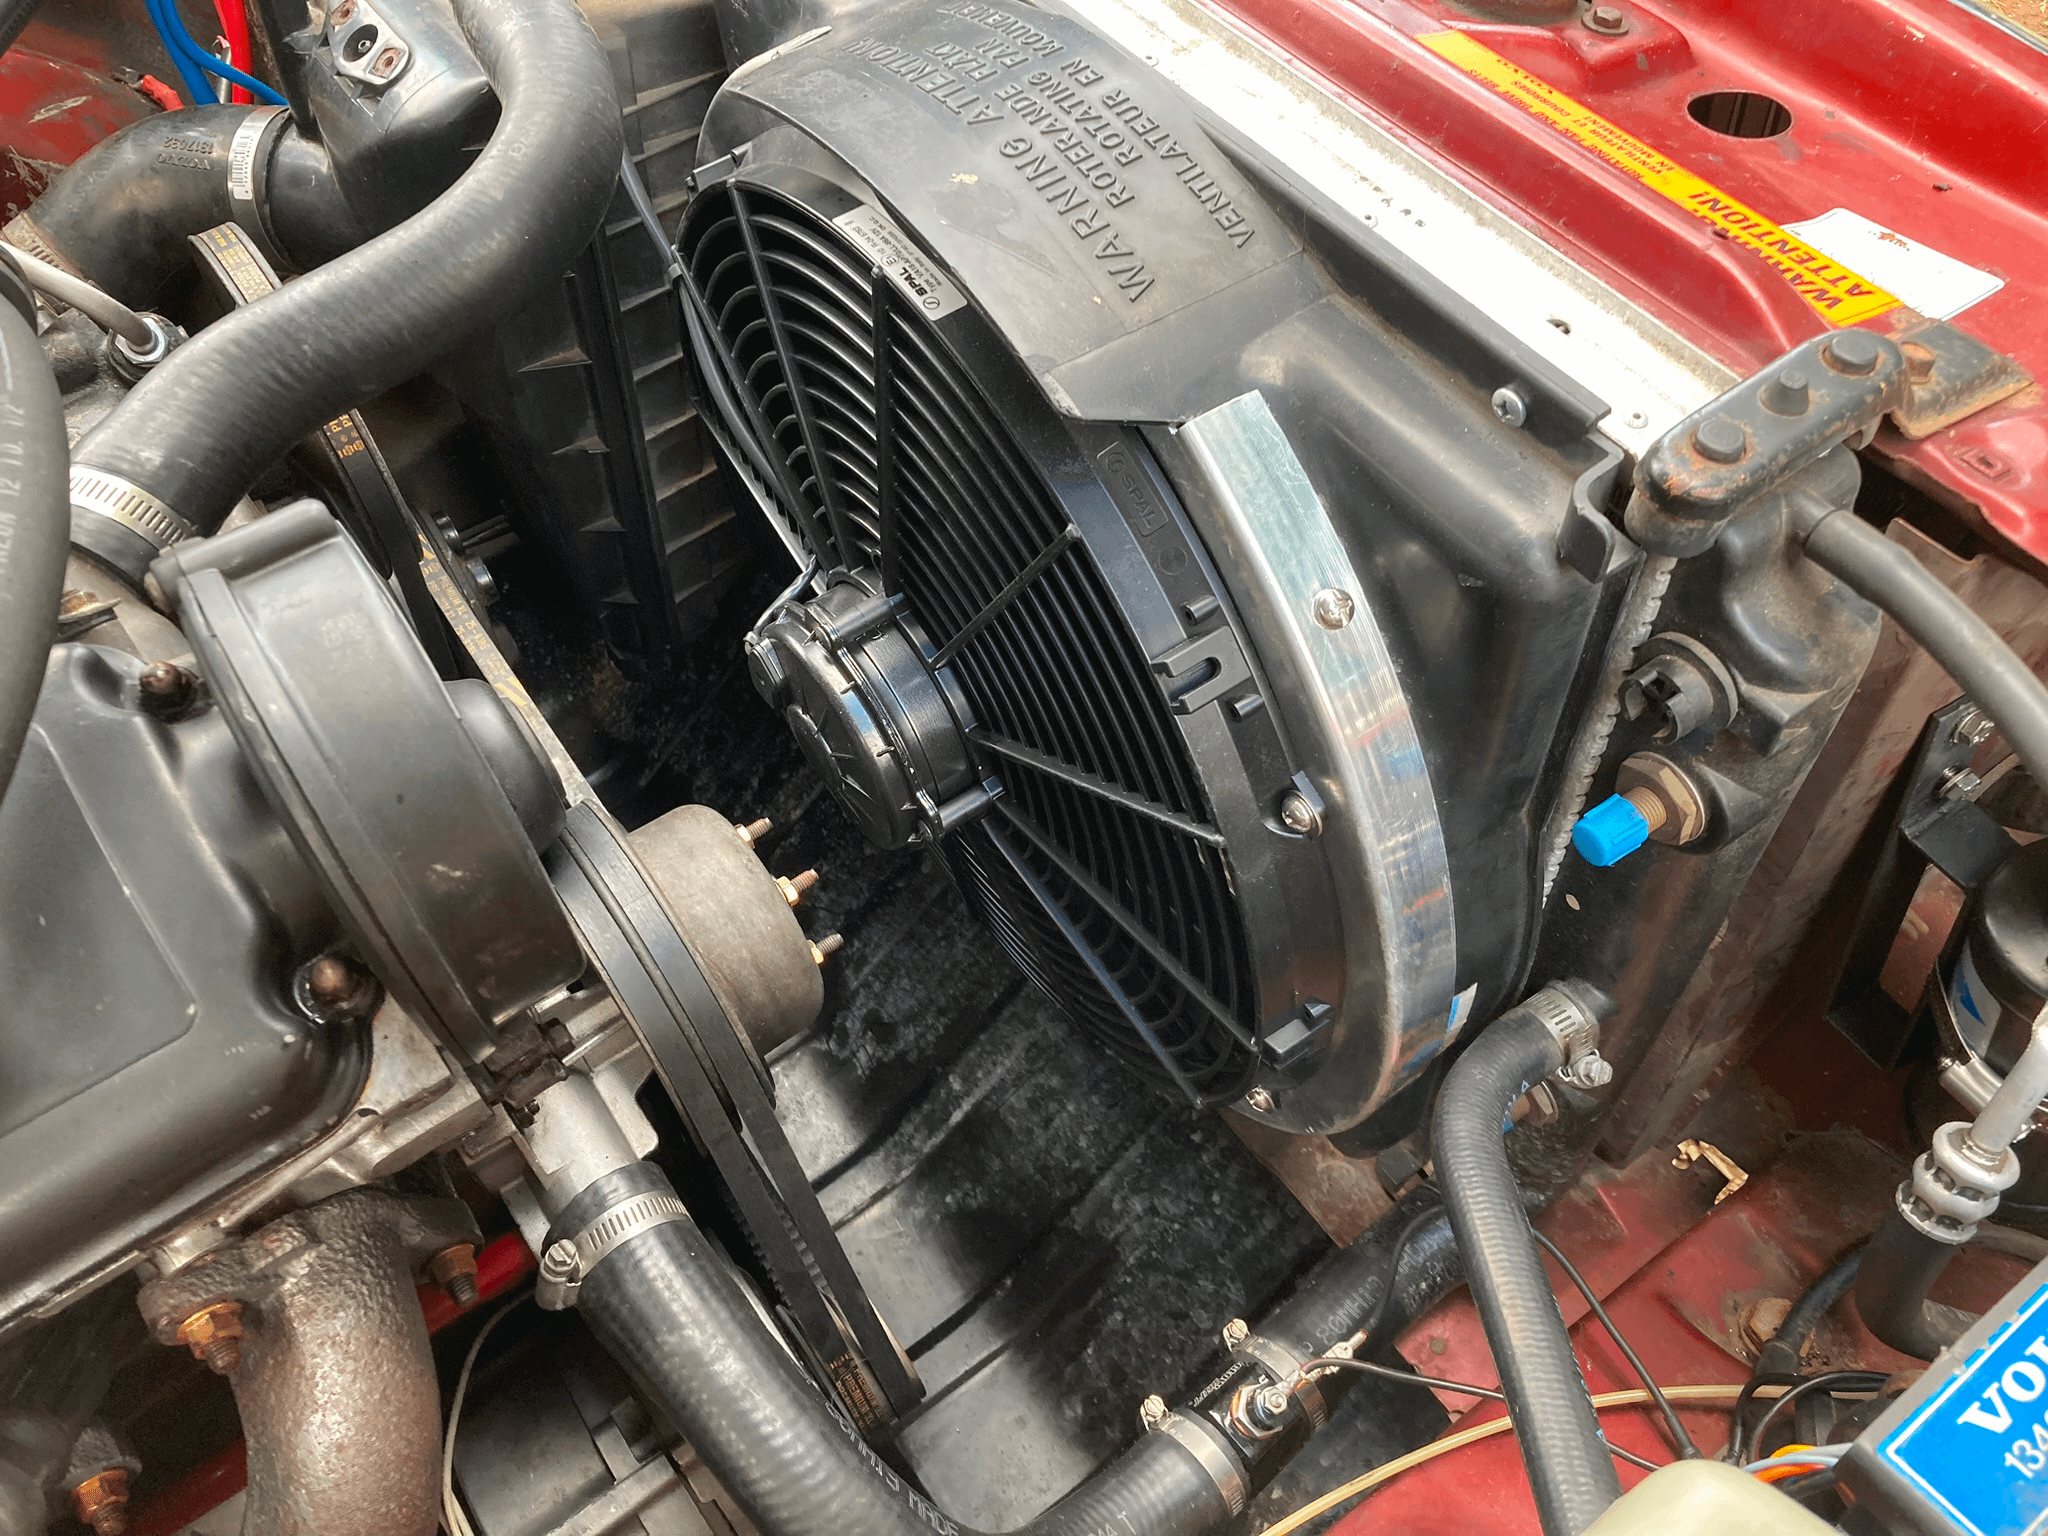
Incorrect Fan Placement and Shrouding
Even with adequate CFM, improper placement can drastically reduce cooling efficiency. The ideal setup is a puller fan configuration, mounted behind the radiator, pulling air *through* the radiator. Pushing air *into* the radiator is less efficient.
A shroud is crucial! It channels airflow from the entire radiator surface through the fan(s). Without a shroud, the fan will primarily draw air from around the radiator, leaving large portions of the core unused. A properly designed shroud can dramatically improve cooling performance.
Solution: Mount your fans as pullers. Fabricate or purchase a shroud that covers as much of the radiator surface as possible. Ensure the shroud is sealed to the radiator to prevent air from escaping around the edges. Many kits include universal shrouds that may require modification to fit properly. Measure and cut carefully!
Inadequate Wiring and Power Supply
Electric fans draw a significant amount of current, especially during startup. Undersized wiring can cause voltage drops, reducing fan speed and cooling efficiency. It can also lead to blown fuses or even electrical fires.
Solution: Use appropriately sized wiring and a dedicated relay. A 30- or 40-amp relay is recommended for most electric fan setups. Wire the fan directly to the battery with a fused circuit to avoid overloading the factory wiring harness. A wiring harness kit designed for electric fans is a good investment. Use a wiring gauge that is sufficient for the current draw of the fan over the distance of the wiring run. Online calculators can help you determine the correct gauge.
Poor Temperature Sensor Placement and Calibration
The temperature sensor tells the fan when to turn on and off. If the sensor is placed in a poorly chosen location (e.g., away from the engine), it may not accurately reflect the engine's temperature, leading to either constant fan operation or, worse, delayed activation and overheating.
Solution: The ideal location for the temperature sensor is in the radiator itself, typically near the outlet. Many aftermarket fan controllers come with threaded adapters for easy installation. Alternatively, you can tap into the engine coolant line. Ensure the sensor's operating range (on/off temperatures) is appropriate for your engine. Most thermostats open around 180-195°F (82-90°C), so the fan should activate slightly above that temperature.
Ignoring the Thermostat
The electric fan is not a replacement for a functional thermostat. The thermostat regulates the minimum operating temperature of the engine. Removing or disabling the thermostat can actually *reduce* cooling efficiency, especially in cooler climates, as the coolant will flow too quickly through the radiator, not allowing enough time for heat transfer.
Solution: Always use a properly functioning thermostat with the correct temperature rating for your engine. A slightly cooler thermostat (e.g., 170°F/77°C) can be used in high-performance applications, but avoid removing the thermostat altogether.
Tools and Approximate Costs
Here's a rough estimate of the tools and costs involved in an electric fan conversion:
Tools:
- Socket set
- Wrenches
- Wire stripper/crimper
- Multimeter
- Pliers
- Drill and drill bits (for mounting and shroud modifications)
- Cutting tools (e.g., Dremel, Sawzall, or metal shears for shroud modification)
- Wiring tools (soldering iron, solder) - Optional, but recommended for secure connections
Parts & Costs:
- Electric Fan(s): $50 - $300+ (depending on brand and CFM rating)
- Fan Controller/Relay Kit: $20 - $100
- Shroud: $30 - $200+ (universal or custom-fabricated)
- Wiring: $10 - $30
- Fuses: $5 - $10
- Connectors/Terminals: $5 - $15
- Temperature Sensor: Included in some kits, otherwise $10 - $30
Total Estimated Cost: $120 - $700+ (depending on the quality of parts and the complexity of the installation)
Troubleshooting Overheating After Conversion
If you're experiencing overheating after your electric fan conversion, follow these steps:
- Verify fan operation: Make sure the fan(s) are turning on when the engine reaches the set temperature. Use a multimeter to check for voltage at the fan terminals.
- Check CFM rating: Are the fans actually moving enough air? Compare the CFM rating to the recommended range (2500-3000 CFM).
- Inspect shroud: Is the shroud properly sealed to the radiator? Is it directing airflow effectively?
- Check wiring: Are the wires properly sized and connected? Is there any voltage drop?
- Verify temperature sensor placement and calibration: Is the sensor in a good location? Is it activating at the correct temperature?
- Bleed the cooling system: Air pockets in the cooling system can cause overheating. Ensure the system is properly bled.
- Check for other cooling system issues: Radiator blockage, faulty water pump, leaking hoses, and a bad head gasket can all contribute to overheating.
In Conclusion: An electric fan conversion can be a worthwhile upgrade for your 240SX, but it's crucial to approach it with a thorough understanding of the underlying thermodynamic principles. Don't cut corners on quality, pay attention to detail, and take the time to ensure everything is properly installed and calibrated. A well-executed conversion will provide improved cooling performance and peace of mind, while a poorly executed one can lead to frustrating and potentially damaging overheating issues. Good luck and happy wrenching!