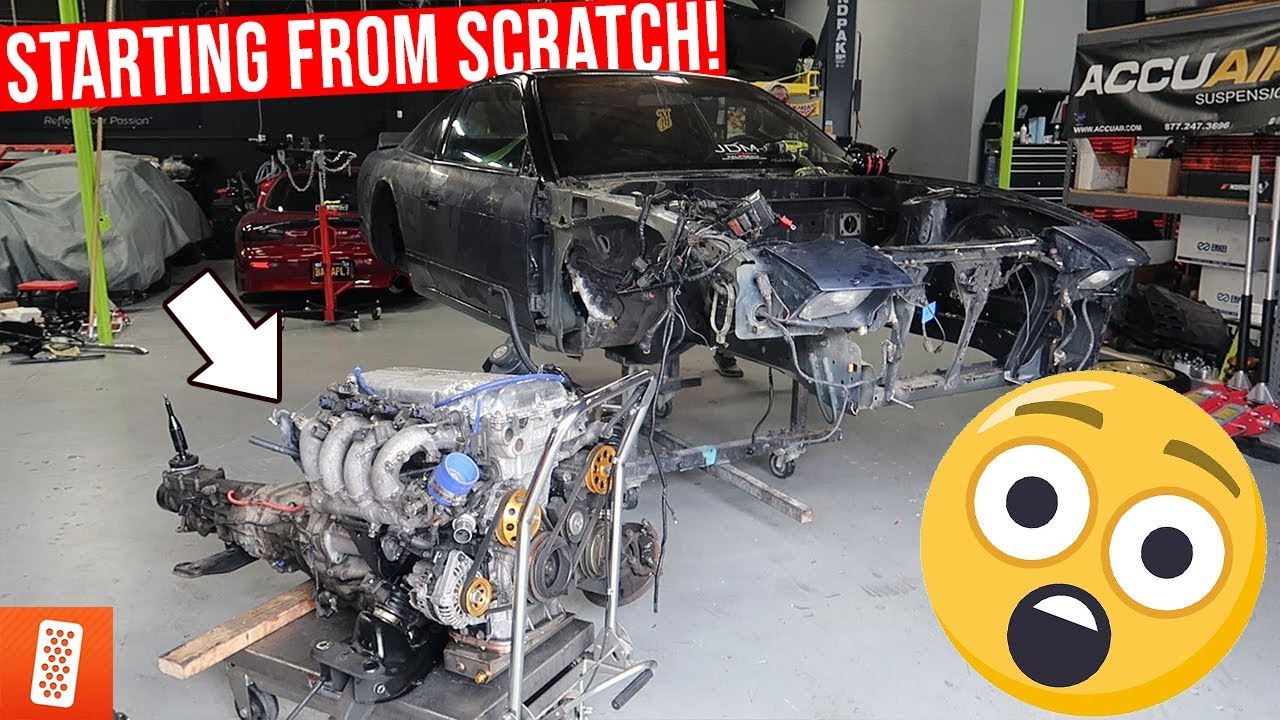
Evaluation And Preparation Of A Bare Nissan 240sx Chassis Shell
So, you've got yourself a bare Nissan 240SX chassis shell. Congratulations! This is the foundation for a truly custom build, be it a track weapon, a drift missile, or a beautifully restored classic. But before you start bolting on parts and dreaming of sideways glory, you need to thoroughly evaluate its condition and properly prepare it. This article will walk you through the essential steps, covering everything from identifying rust and damage to reinforcing key areas.
Initial Assessment: A Close Inspection
The first step is a meticulous inspection. You're essentially playing detective, searching for any weaknesses or potential problem areas that need addressing before you invest time and money in other aspects of the build. Remember, a solid foundation is crucial.
Rust Detection: The Enemy of All Cars
Rust is the bane of any car restorer, especially on older vehicles like the 240SX. Begin with a visual inspection. Look for bubbling paint, surface rust, and any areas where the metal seems thin or flaky. Use a bright light to help you see into corners and crevices. Key areas to scrutinize include:
- Rocker panels: These are notorious rust traps, particularly behind the front wheels.
- Frame rails: These provide the structural backbone of the car. Check the entire length, especially around suspension mounting points.
- Floor pans: Pay close attention to the areas where the floor meets the rocker panels and the transmission tunnel.
- Strut towers: These areas are subject to stress and can rust, especially under the strut mounts.
- Wheel wells: Check both inner and outer wheel wells for rust, especially around the edges.
- Battery tray: Battery acid spills can cause significant rust damage.
- Windshield and rear window surrounds: Water can accumulate and cause rust in these areas.
Once you've visually inspected the chassis, it's time to get a little more hands-on. Use a pick or screwdriver to gently probe any suspicious areas. If the metal is weak or crumbles easily, you've found rust. Don't be afraid to apply some pressure; better to find a problem now than later.
For areas with surface rust, consider using a rust converter. These products chemically react with the rust, converting it into a stable compound that can be painted over. However, remember that rust converters are only a temporary fix for surface rust. For anything more serious, cutting out the rusted metal and welding in new sections is the only permanent solution.
Damage Assessment: Beyond Rust
Rust isn't the only thing to look for. Check for any signs of prior accidents, such as:
- Bent or twisted frame rails: Use a straight edge and level to check for any deviations from the original shape. Misalignment can significantly affect handling and safety.
- Creases or wrinkles in the sheet metal: These indicate that the metal has been stretched or compressed, usually as a result of an impact.
- Poorly repaired welds: Check for sloppy welds, excessive filler, or signs of rust around weld seams.
- Mismatched paint: This could indicate that a panel has been replaced or repaired.
Any significant damage should be addressed by a professional body shop. Correcting frame damage requires specialized equipment and expertise.
Component Evaluation: What's Missing and What's Usable
Even though it's a bare shell, take note of any existing components. Are there any remnants of wiring harnesses? Are any brackets still attached? Are the factory seam sealer present and in good condition? This will help you understand the history of the chassis and plan your build accordingly. Document everything with photos – you'll thank yourself later!
Preparation: Making It Ready for the Build
Once you've thoroughly assessed the chassis, it's time to prepare it for your project. This involves cleaning, rust removal/repair, reinforcement, and painting.
Cleaning: Starting with a Clean Slate
Before you do anything else, thoroughly clean the chassis. Use a degreaser to remove any grease, oil, or dirt. A pressure washer can be helpful, but be careful not to damage any existing paint or coatings. After cleaning, allow the chassis to dry completely.
Rust Removal and Repair: Cutting Out the Bad
For any areas with significant rust, the best approach is to cut out the affected metal and weld in new sections. This requires welding skills and access to a welder. If you're not comfortable with welding, it's best to leave this to a professional. When welding in patches, ensure proper fitment, butt welding whenever possible to avoid overlapping seams which can trap moisture and cause future corrosion. Clean the surrounding metal before welding and use appropriate welding techniques for the steel gauge.
After welding, grind down the welds smooth and apply a rust-preventative primer. Seam sealer should be reapplied to ensure water tightness.
Reinforcement: Strengthening Key Areas
The 240SX chassis, while decent, can benefit from reinforcement, especially if you plan on using it for track days or drifting. Common areas to reinforce include:
- Strut towers: Strut tower braces and reinforcement plates can help to prevent flexing and cracking, especially with aftermarket suspension.
- Frame rails: Welding in additional plates or boxing the frame rails can significantly increase their strength.
- Rocker panels: Stiffening plates welded to the rocker panels will increase the rigidity of the chassis.
- Roll cage: For serious track use, a properly installed roll cage is essential for safety and chassis stiffening. A full roll cage provides superior protection compared to a roll bar.
When reinforcing the chassis, use high-quality welding techniques and materials. Poorly executed reinforcement can actually weaken the chassis.
Painting: Protecting Your Investment
Once all the rust repair and reinforcement is complete, it's time to paint the chassis. This will protect it from rust and corrosion and give it a clean, professional look. Before painting, thoroughly sand the entire chassis to create a smooth surface for the paint to adhere to. Use a high-quality epoxy primer to provide a barrier against rust. Then, apply several coats of your chosen topcoat. Many opt for a two-part epoxy paint, which is incredibly durable and resistant to chemicals and abrasion.
Pay attention to detail when painting. Mask off any areas that you don't want painted, such as threaded holes. Allow the paint to dry completely before handling the chassis.
Consider applying a cavity wax inside the frame rails and other enclosed areas to further protect against rust. This wax will penetrate into seams and crevices, providing long-term protection.
Final Touches
Once the paint is dry, inspect the chassis one last time. Touch up any imperfections and address any remaining issues. Now you have a solid, well-prepared 240SX chassis shell, ready to be transformed into your dream car. Remember, patience and attention to detail are key. By taking the time to properly evaluate and prepare your chassis, you'll be setting yourself up for a successful and rewarding build.
Disclaimer: This article provides general guidance. Always consult with a qualified professional for specific advice on your project. Safety is paramount; always wear appropriate safety gear when working on cars.